Session 1 · TRACE: Time & Place
Follow the water
- 10 minHook: tip a jug of water onto a crumpled sheet of paper on a tray. Where does it go? Every hill, hollow and channel on the paper is part of a 'catchment'.
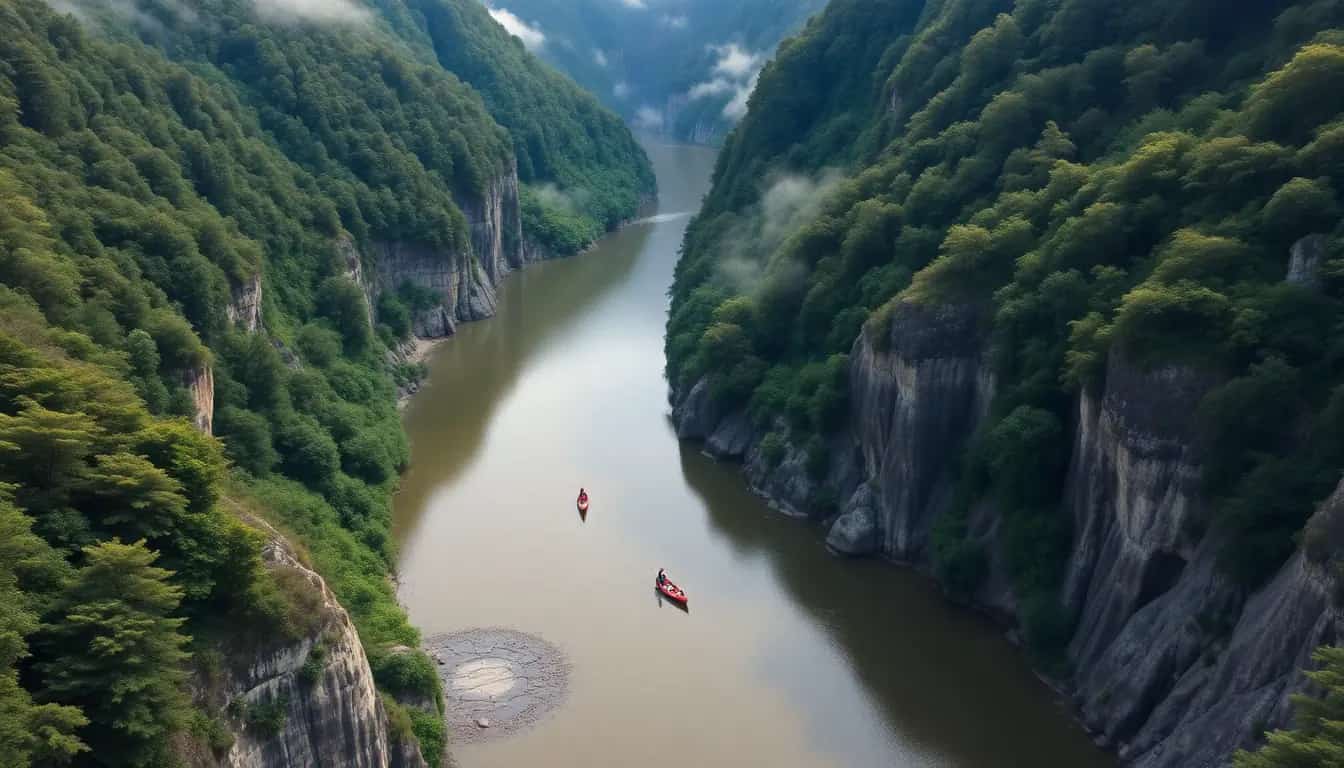
- 20 minRiver profile: on a long strip of paper, draw the Whanganui (or your river) from source to mouth. Label the upper course (steep, fast, narrow), middle course (bends and terraces), lower course (wide, slow, floodplain) and the mouth.
- 15 minWords that flow: catchment, tributary, confluence, meander, floodplain, estuary, mouth. Match each to your profile.
- 5 minExit card: name one place on your river where people live, and one reason they chose it.
Session 2 · TRACE: Time & Place
Reading a topographic map
- 10 minWhat is a topographic map? Look at a Topo50 extract of your river. Find the legend, the scale (1:50,000) and the blue grid lines.
- 15 minContours: close lines mean steep land, wide gaps mean flat land. Find a steep gorge and a flat floodplain on the map.
- 20 minGrid references: practise four-figure references for a square (eastings first, then northings: 'along the corridor, then up the stairs'), then six-figure references for exact points such as a bridge, a marae or a school.
- 5 minGrid-reference relay: each group sends a partner a reference; the partner names the feature.
Getting started
Use a river-profile template with the four sections outlined, and grid-reference cards with the square shaded.
Stretch
Work out the river's average slope in the upper course using the contour lines and the scale bar.
Checkpoint
Every student can label the parts of a river system and give a four-figure grid reference.
Activities for this week
- River profile from source to sea: How does a river change from the mountains to the mouth?
- Grid-reference treasure hunt: Can you find an exact place on a topographic map?
Useful this week
- Rivers ↗ How New Zealand's rivers formed and how they behave from source to sea.
- Water catchments ↗ What a catchment is, with clear diagrams.
- New Zealand topographic maps ↗ Free Topo50 maps to download and print for your river.
- NZ Topo Map ↗ Zoom along any river on the official topographic maps and read grid references.