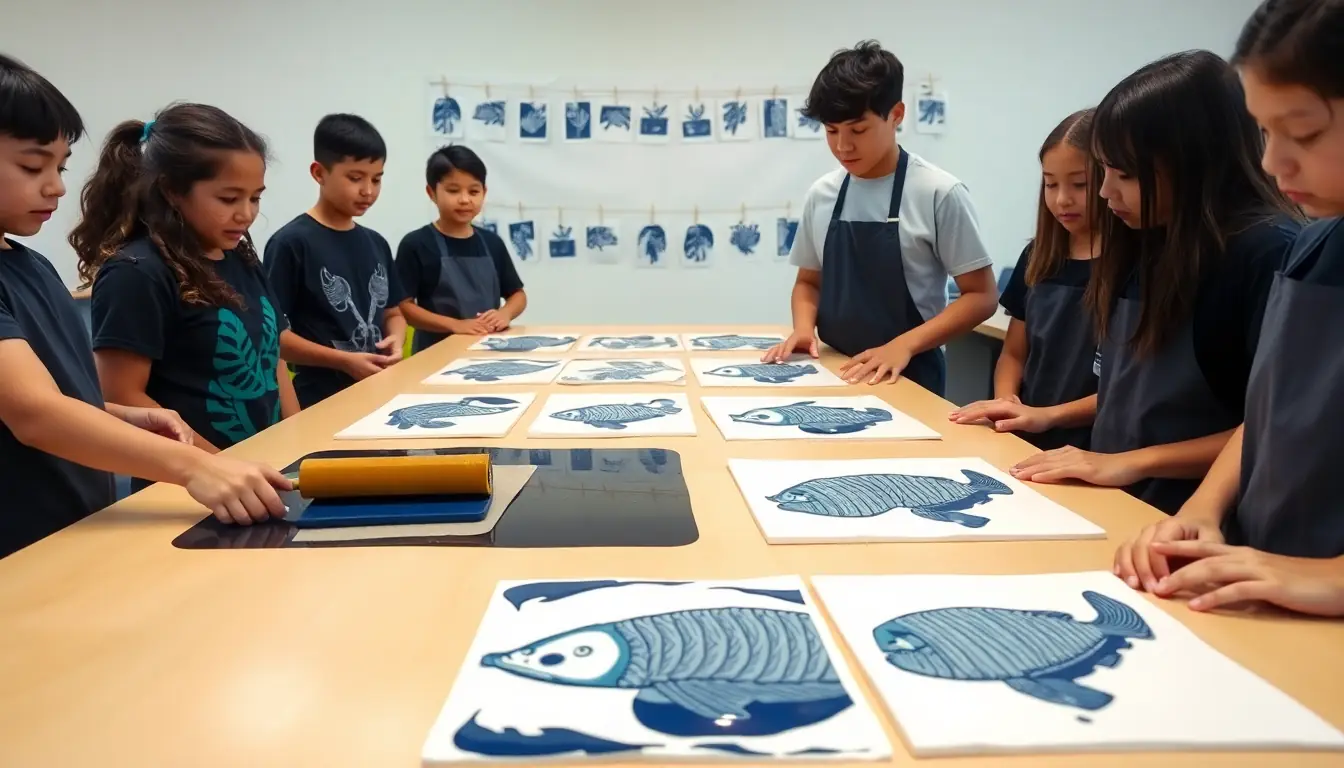
Session 1 · CREATE: Experiment
Stamps and relief foam
- 10 minDemonstrate the printing routine: squeeze a line of ink, roll until it sounds like velcro, ink the plate, lay paper, rub with a spoon or hand, peel.
- 15 minFound-object stamps: print with bottle caps, corks, leaves, corrugated card and string glued to card. Test light and heavy ink.
- 20 minFoam relief print: draw a simple design on printing foam with a blunt pencil, pressing in firmly. Ink it and pull three prints. Notice what is reversed.
- 5 minClean up with the station system. Hang prints on the line.
Session 2 · CREATE: Experiment
Monoprints
- 10 minWhat is a monoprint? A one-off print made from an inked surface that isn't carved. Every print is different.
- 20 minTrace monoprint: roll a thin layer of ink on perspex, lay paper on top and draw on the back. Lift to reveal the lines.
- 15 minSubtractive monoprint: roll ink, wipe or scratch away shapes with cotton buds and card, then print.
- 5 minPīwakawaka asks one question about which process suits your idea. Write your answer beside your best test.
Getting started
Start with three found-object stamps in one colour.
Stretch
Combine processes: a monoprint background with a stamped motif printed over the top.
Checkpoint
Labelled test prints from stamps, foam and monoprint, with a note about what worked and why.
Activities for this week
- Found-object stamps: What marks can everyday objects make?
- Foam relief print: Why does a print come out backwards?
- Monoprint experiments: How can you print something that can never be repeated?
Useful this week
- Crafts and applied arts ↗ How New Zealanders have made and designed patterned things, from settler crafts to studio design.