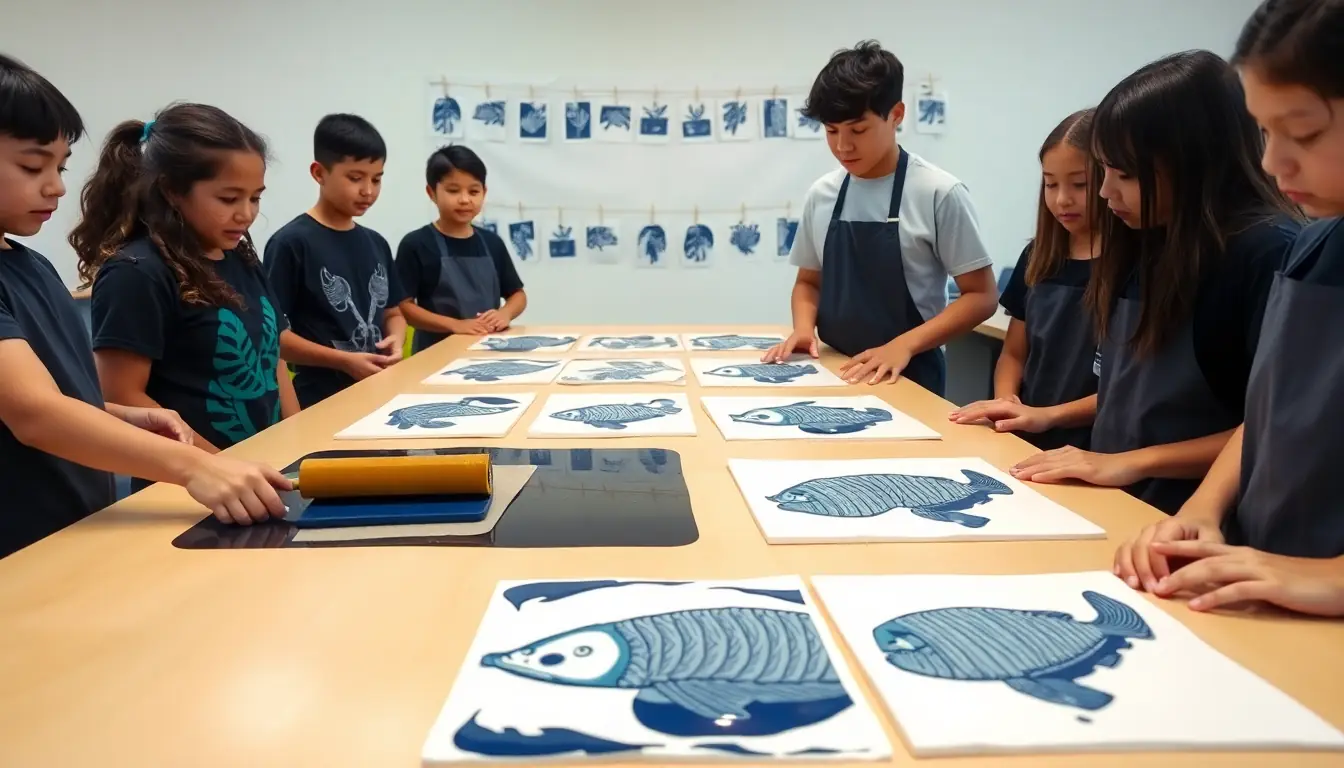
Session 1 · CREATE: Transform
Carve your block
- 10 minSafety demonstration: bench hook, cut away from the body, non-cutting hand behind the blade, cutters stay at the station.
- 5 minTransfer your motif to soft-cut lino or thick foam. Remember it prints in reverse: letters and directions must be flipped.
- 30 minCarve away everything you want to stay white. Use a V-gouge for fine lines and a U-gouge for clearing.
- 5 minBrush away the crumbs and store your block safely.
Session 2 · CREATE: Transform
Proofs and changes
- 15 minPull two proofs (test prints). Pin them up.
- 10 minCritique in pairs: 'I notice… I wonder… What if…'. Is the motif clear? Is there enough contrast between carved and uncarved areas?
- 20 minRefine the block: clear stray marks, add texture, deepen lines. Pull a third proof and compare.
- 5 minDiary: paste your proofs in order and note each change.
Getting started
Carve the outline first, then clear the background.
Stretch
Try a two-colour print: print a light colour, carve more away, then print a dark colour over it (reduction print).
Checkpoint
A carved block and a sequence of proofs showing at least one improvement.
Activities for this week
- Carving a soft-cut lino block: How do printmakers turn a drawing into a printing block?
Useful this week
- Christchurch Art Gallery collection ↗ Search for prints and see how artists refine a motif.