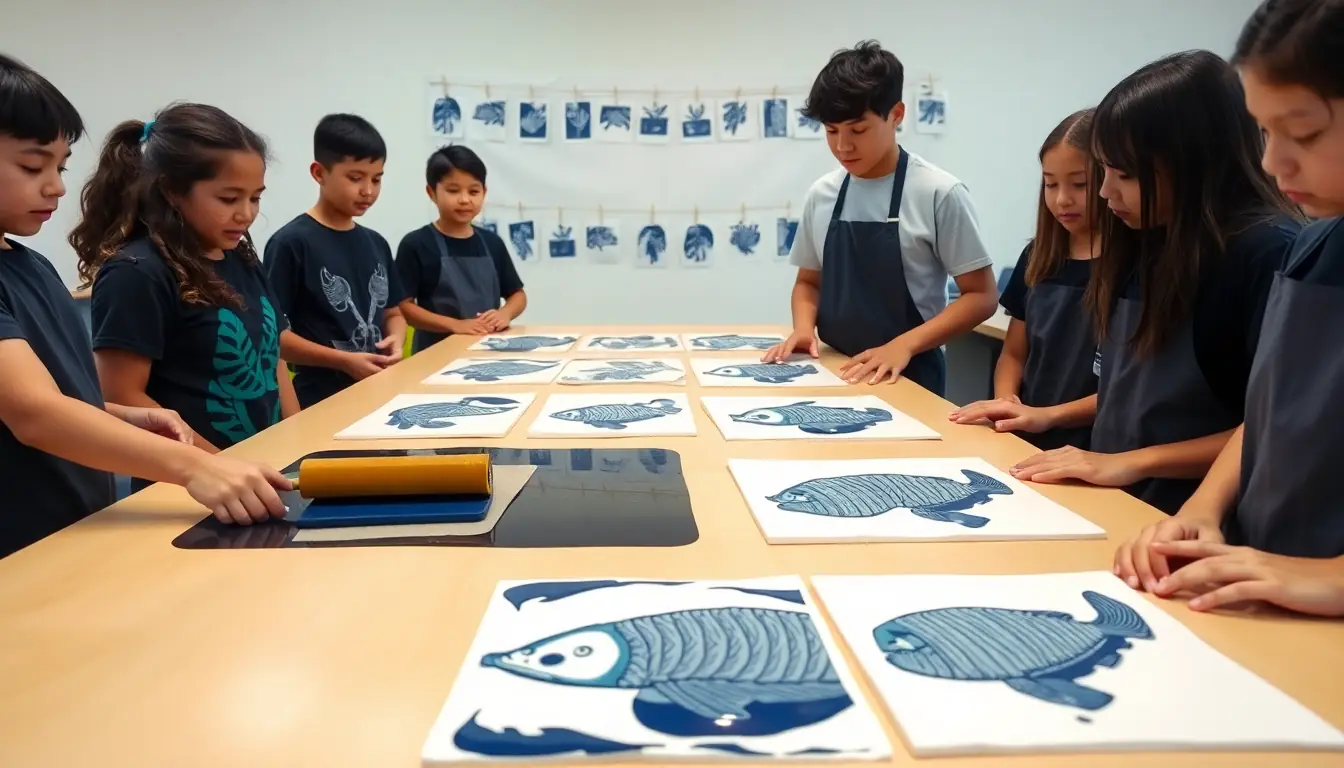
The Arts · World 7 of 8 · Years 7–8
Print and Pattern: Printmaking and Design
Carve it, ink it, press it, peel it. Design a motif that is truly yours, then turn it into prints and patterns people can use.
Big question: How can one small shape, printed again and again, tell a story about who we are?
- You'll make
- A signed, numbered edition of three to five relief prints of your own identity motif, a repeat-pattern design built from that motif, and one pattern product (wrapping paper, cards, a tote bag or a panel of a class banner) for a print fair.
- For
- Whānau and the community at a class print fair and exhibition, plus the people who receive your pattern products
- Time
- 5 weeks · 2 sessions a week
Your mission
Why it matters
Patterns are all around you: on a lavalava, a sari border, a rugby jersey, a tablecloth at nana's, the rafters of a wharenui. Many of them were printed, stamped or rubbed, and many carry meaning. Your class is running a print fair where you will exhibit a signed edition of prints and sell or gift pattern products (wrapping paper, cards, a banner) made from a motif you designed yourself.
Printmaking was one of the first ways people shared images with lots of others, long before photocopiers and screens. It teaches you to think in reverse, to simplify, and to plan carefully. Pattern design is everywhere: fashion, packaging, games, architecture. And learning how Pacific, Māori and other cultures use pattern to carry whakapapa and identity teaches you why some designs belong to people and deserve respect.
Your first step
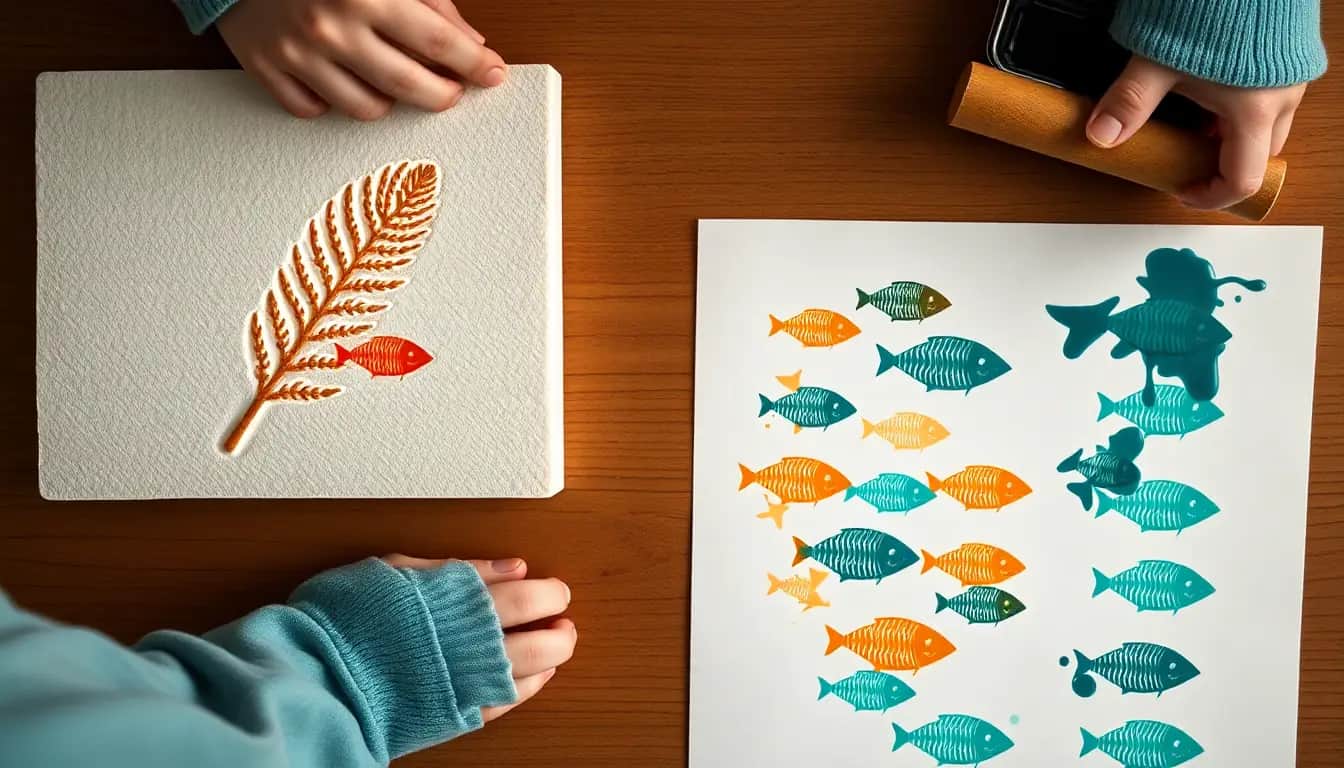
Go on a pattern hunt. Photograph or rub (with paper and crayon) five patterns or textures at home, school or in your neighbourhood. For each one, write where it came from and whether you think it means something to someone.
Make it yours
Choose a context
Same big question, three different places to explore it. Pick the one that fits your class and community.
The nature of my place
Native plants, birds and sea life, and the shapes of your landscape: a kawakawa leaf, a pīwakawaka's fan tail, a pāua shell, the ridgeline of the hills. New Zealand printmakers like E. Mervyn Taylor and Marilynn Webb made prints about the land around them. Collect real specimens (fallen leaves, shells) and draw from them.
Patterns in my family
The cloth, clothing and objects in your home: a lavalava, a tivaevae, a sari border, a tartan scarf, a kimono, embroidered pillowcases. Talk with whānau about where they came from and what they mean. Then design a motif of your own that is inspired by your story, rather than copying a design that belongs to a family or culture.
Patterns for a purpose
Design a repeat pattern for a real use in your community: wrapping paper for the school gala, cards for a rest home, library bags, a banner for a Matariki event or sports club. Meet the people who will use it, find out what they want it to say, and test your design on them.
CREATE
Week by week
Two sessions a week, each with Getting started and Stretch support so the whole class works together.
- W1Patterns all around us, and what they meanConnect: Pattern hunt · Respond: Printmakers and pattern-makers
- W2Stamp, press and peel: first printsExperiment: Stamps and relief foam · Experiment: Monoprints
- W3Design a motif and build repeat patternsArrange: From idea to motif · Arrange: Repeat pattern lab
- W4Carve, proof and refineTransform: Carve your block · Transform: Proofs and changes
- W5Print the edition and hold a print fairExhibit: Pull the edition and make products · Exhibit: Print fair
Hands-on
Activities
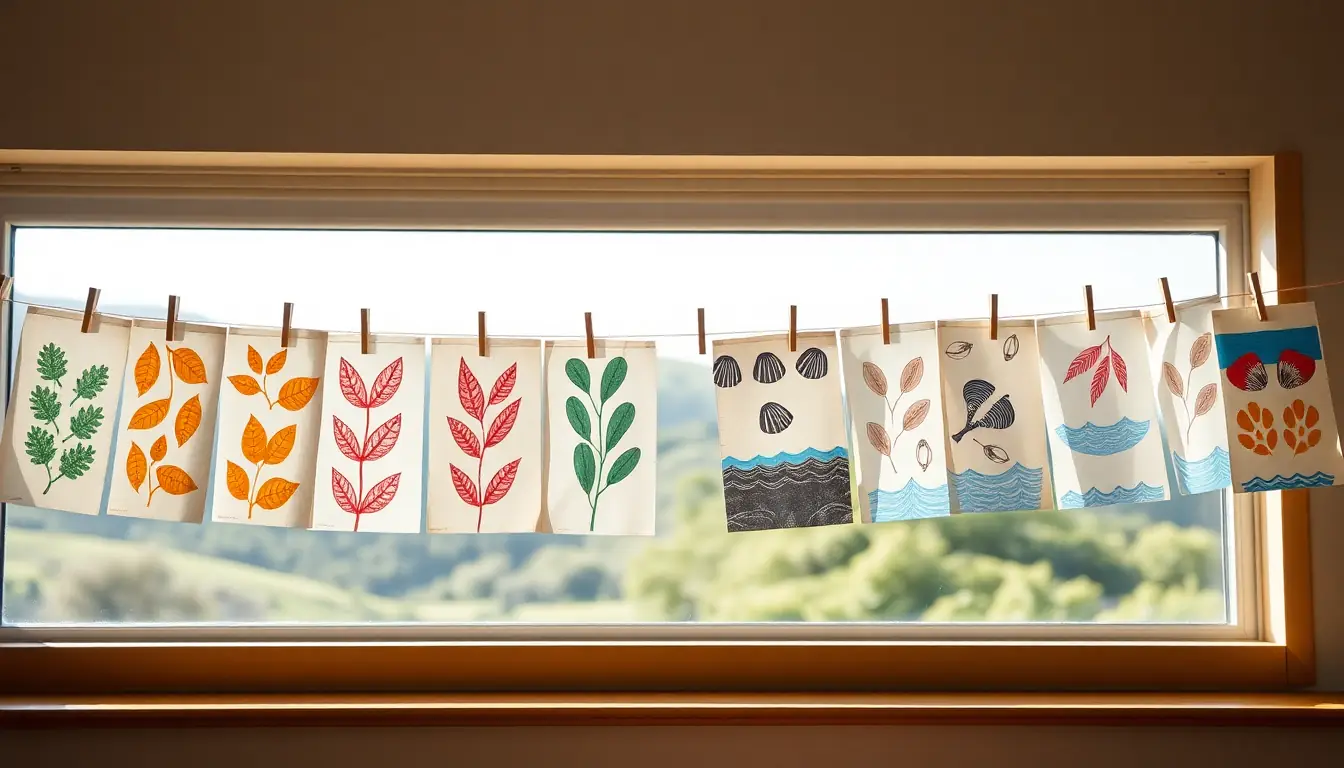
Investigations and projects that fit the weeks above. Open one to see what you need and how you'll know it worked.
Pattern hunt and rubbingsWhere are the patterns hiding in my neighbourhood?Open
You need: newsprint or thin paper · wax crayons with the paper peeled off · a phone or tablet camera · clipboard
- Hold paper firmly over a textured surface: bark, a leaf, a drain cover, bricks, a manhole lid.
- Rub with the side of the crayon until the texture appears.
- Photograph three printed or woven patterns (fabric, packaging, tiles).
- Label every find: where it was, who made it, and whether it might mean something to someone.
How you'll know: You have at least five labelled patterns, from both nature and people.
Safety: Stay in bounds, away from roads, and ask before rubbing anything on private property or on a memorial.
Go further: Make a 'pattern map' of your school showing where you found each one.
Fits week 1 →Rubbing board (inspired by kupesi)How can a raised design be copied onto cloth or paper?Open
You need: thick card · string, thin card shapes and PVA glue · thin paper or calico · crayons
- Learn how Tongan makers rub ngatu designs from kupesi, raised pattern boards. Talk about why these designs belong to families and communities.
- Design your own simple motif (not a customary Tongan design) and build it on card with glued string and card shapes.
- Let it dry, lay paper or calico over it and rub firmly with crayon.
- Move the paper and rub again to build a repeat.
How you'll know: Your motif appears clearly when rubbed, and you can explain how this process is similar to and different from ngatu-making.
Go further: Paint over parts of your rubbing to strengthen the design, the way ngatu makers paint over rubbed patterns.
Fits week 1 →Found-object stampsWhat marks can everyday objects make?Open
You need: bottle caps, corks, corrugated card, leaves, string glued to card · water-based block-printing ink · brayer and inking slab · paper
- Roll ink thinly on the slab until it looks like velvet and sounds like velcro.
- Press each object into the ink, then onto paper. Try light and firm pressure.
- Print a leaf by inking its vein side, laying paper on top and rubbing.
- Arrange three objects into a small repeat.
How you'll know: Your test sheet shows at least five different marks, each labelled with its object.
Safety: Water-based inks only; wash hands before eating; check leaves aren't from plants that irritate skin.
Go further: Build a stamp with a surprising texture (bubble wrap, lace, mesh bags) and use it as a background.
Fits week 2 →Foam relief printWhy does a print come out backwards?Open
You need: printing foam or a clean polystyrene tray · blunt pencil · ink, brayer and slab · paper · a wooden spoon
- Draw your design on paper the same size as the foam.
- Place it over the foam and trace firmly to press the lines in. Deepen them with the pencil.
- Ink the foam evenly, lay paper on top and rub all over with the back of a spoon.
- Peel back one corner to check, then peel off. Compare the print with your drawing.
How you'll know: Your print shows white lines where you pressed, and you can explain why it is reversed.
Safety: Wash polystyrene trays well; don't use trays that held raw meat unless they have been cleaned in hot soapy water.
Go further: Write your name on a plate so it prints the right way round.
Fits week 2 →Monoprint experimentsHow can you print something that can never be repeated?Open
You need: perspex or a gel plate · ink and brayer · cotton buds, card scraps, a pencil · thin paper
- Roll a thin, even layer of ink on the perspex.
- Trace monoprint: lay paper on top and draw lightly on the back. Lift.
- Subtractive monoprint: roll fresh ink, wipe shapes away with cotton buds and card, then print.
- Take a 'ghost' print: print again without adding ink and see the faded version.
How you'll know: You have one trace and one subtractive monoprint, and you can describe how they differ.
Go further: Place leaves or cut paper shapes on the inked plate as masks before printing.
Fits week 2 →Repeat pattern labHow many different patterns can one motif make?Open
You need: your motif on a 5 cm square (photocopied or stamped 12 times) · A3 grid paper · glue stick
- Block repeat: place motifs in a straight grid, all facing the same way (translation).
- Half-drop: shift every second column down by half a square.
- Mirror repeat: flip every second motif (reflection).
- Rotation: turn each motif 90° from the one before.
- Look for new shapes that appear where motifs meet.
How you'll know: You can name each transformation and say which repeat you'll use and why.
Go further: Make a motif that tessellates with no gaps, like Escher's interlocking designs.
Fits week 3 →Carving a soft-cut lino blockHow do printmakers turn a drawing into a printing block?Open
You need: soft-cut lino or thick foam block · lino cutters (V and U gouges) · bench hook · carbon paper or soft pencil
- Transfer your reversed design onto the block.
- Shade in pencil everything that will print black. Everything else will be carved away.
- With the block in the bench hook, carve outlines first, pushing away from your body.
- Clear large areas with a U-gouge. Leave some texture if you like the marks.
- Pull a proof, check and carve more if needed.
How you'll know: Your proof shows a clear motif with strong contrast and no accidental ink in cleared areas.
Safety: Always cut away from your body; keep your other hand behind the blade; use the bench hook; cutters stay at the station and are counted back in.
Go further: Carve a second block for a second colour and line them up (registration) using a card corner guide.
Fits week 4 →Pulling an editionWhat makes a set of prints an edition?Open
You need: your carved block · ink, brayer and slab · good-quality paper cut to size · a registration guide (card corner) · pencil
- Mark a registration guide so the paper goes down in the same place every time.
- Ink and print each sheet the same way, re-inking every time.
- Lay prints to dry. Choose the three to five that look the same.
- In pencil, write the edition number at the bottom left (e.g. 2/4), the title in the middle and your signature at the right.
How you'll know: Your edition prints match in placement and ink coverage, and each is signed and numbered.
Go further: Make an 'artist's proof' (A/P) in a different colour and explain why artists keep one.
Fits week 5 →Look closer
From the real world
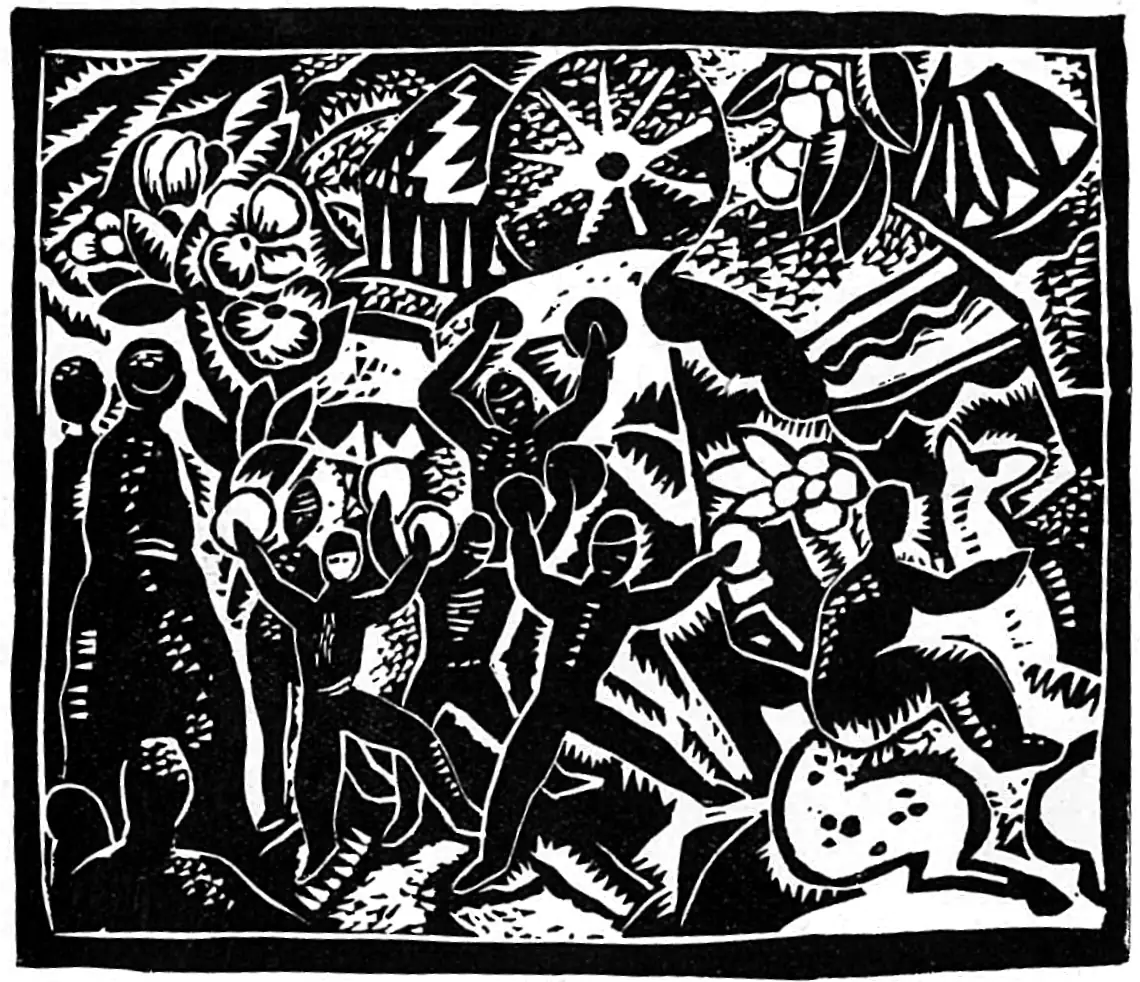
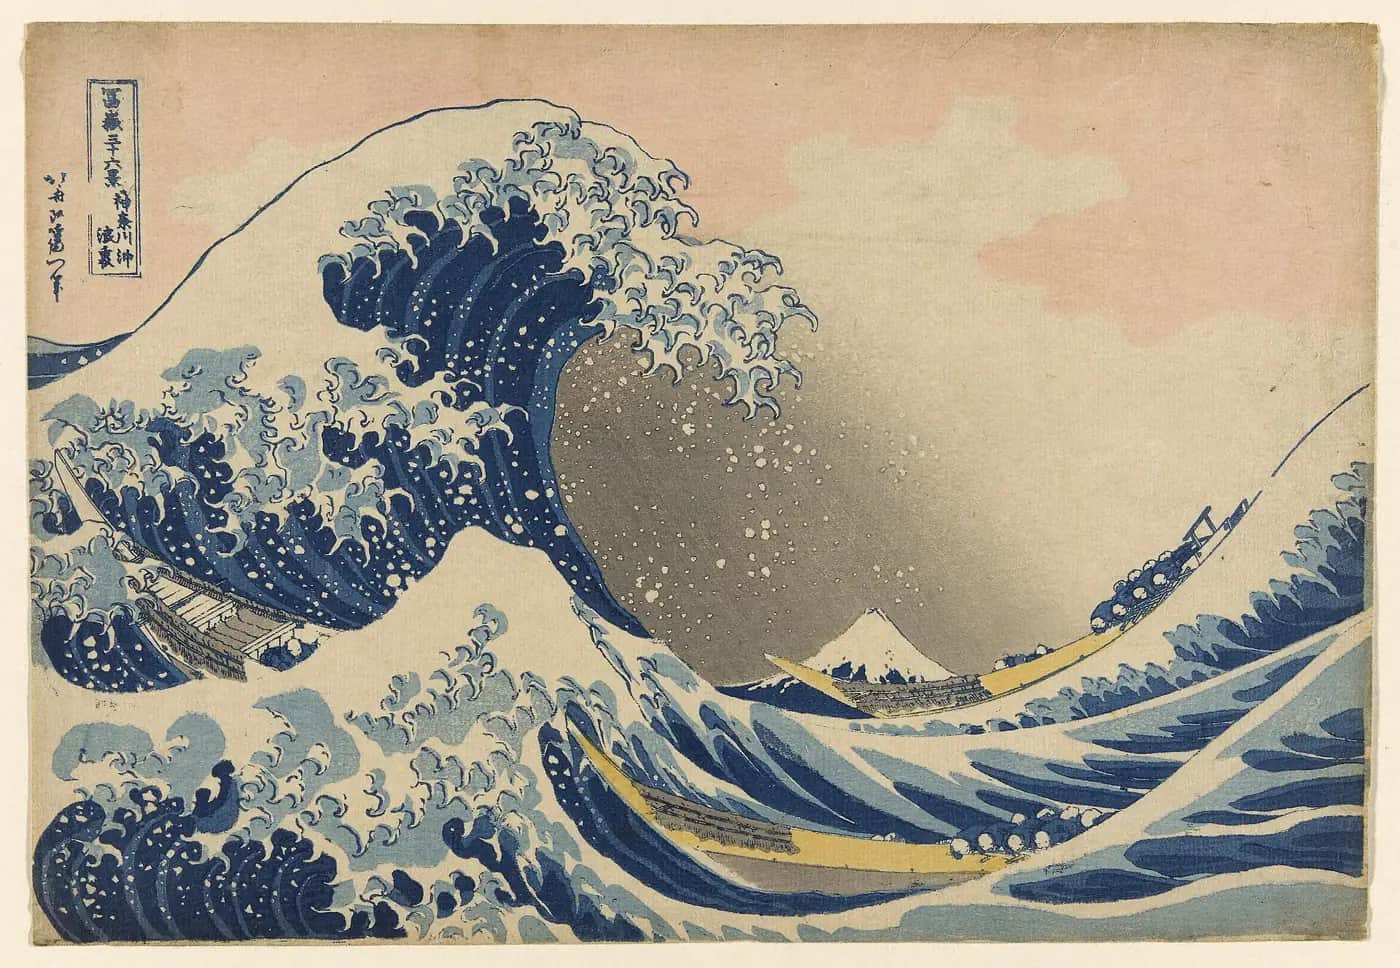
Background reading
Read to understand
Short readings written for Kōkiri Learn students, with their sources.
- What is printmaking? Carve, ink, press, peelThe main kinds of printmaking you can do at school, the words printmakers use, and some New Zealand printmakers to know.
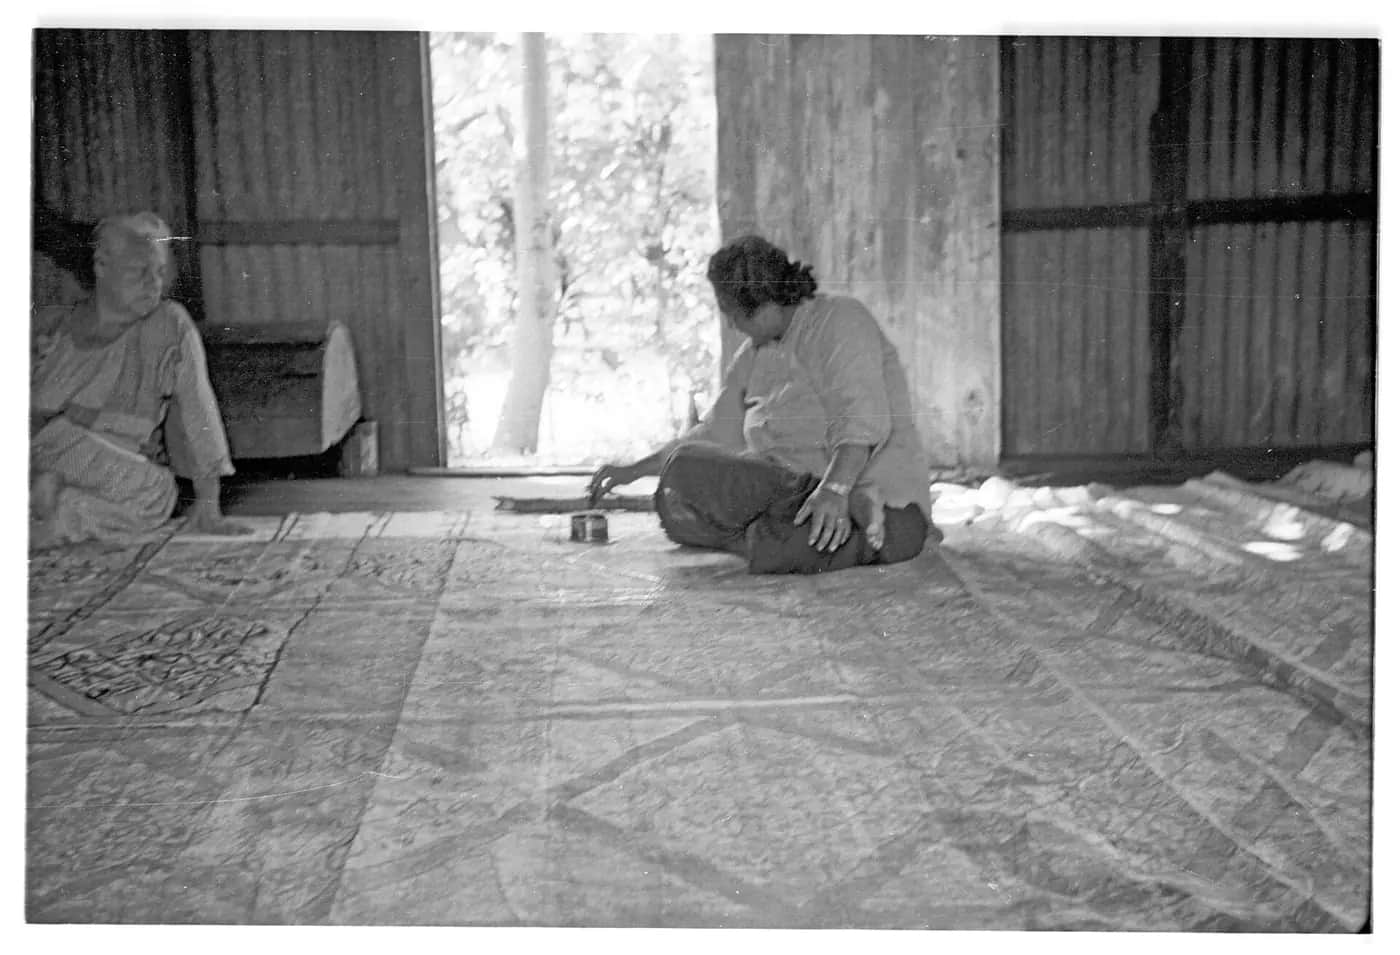
- Patterns with meaning: barkcloth, kōwhaiwhai and stamped clothHow peoples of the Pacific, Aotearoa and beyond use printed, rubbed and painted patterns to carry identity, and how to learn from them with respect.
- How repeat patterns workMotifs, tiles and transformations: the maths and design behind wallpaper, fabric and wrapping paper, from Hokusai's woodblocks to your own print.
Trusted NZ sites
Explore more
Placed at the stage of the journey where each one helps.
Connect
Pacific arts in New Zealand: visual art ↗Te Ara
Pacific artists in Aotearoa, including printmakers and painters who draw on barkcloth and pattern.
Respond
Linocuts in Te Papa's collection ↗Te Papa
Hundreds of relief prints by New Zealand artists to study up close.
Respond
National Library: linocut ↗National Library of New Zealand
Prints, posters and photos of printmaking from New Zealand's library collections.
Experiment
Crafts and applied arts ↗Te Ara
How New Zealanders have made and designed patterned things, from settler crafts to studio design.
Arrange
Graphic design ↗Te Ara
How designers in Aotearoa use shape, repetition and simplicity.
Transform
Christchurch Art Gallery collection ↗Christchurch Art Gallery
Search for prints and see how artists refine a motif.
Exhibit
Tautai Contemporary Pacific Arts Trust ↗Tautai
How Pacific artists in Aotearoa exhibit and share their work.
Real audiences
- Whānau and community at a class print fair and exhibition
- A rest home, kindergarten or community group receiving printed cards or a banner
- The school library or office foyer displaying the class pattern banner
Work with other schools
- Run a print swap by post with a partner school: every student prints an edition and swaps one print with a student in the other school, with a note about their motif.
- Make a joint 'pattern of our places' banner, where each school prints squares based on its local nature and the squares are joined into one repeat.
- Share an online pattern library (photos of motifs and repeats, with their meanings) so classes can comment on each other's designs.
Stretch challenges
- Print your pattern on fabric with fabric ink and sew it into a bag, cushion cover or banner.
- Research a New Zealand or Pacific printmaker (such as Marilynn Webb, Michel Tuffery or Dagmar Dyck) and make a print inspired by their approach, not their images.
- Make a reduction print with three colours from one block.
- Design wrapping paper for a local business or community group and print a run for them.
New Zealand Curriculum
What this world covers
Mapped to the refreshed Phase 3 statements. The whole class covers both the Year 7 and Year 8 sequences over two years.
The Arts · Visual arts
Creating an artwork that expresses a personal story or identity using a relief print and appropriate tools; conventions of printmaking; hierarchy and emphasis in composition
Year 7 sequence
The Arts · Visual arts
Symbolic forms and motifs; textile design; protocols for the respectful use of forms, motifs and materials grounded in cultural knowledge
Year 8 sequence
Mathematics and Statistics · Geometry
Translation, reflection and rotation to create repeat patterns and tessellations
Year 7 sequence
Technology · Materials and ingredients
Choosing papers, fabrics and inks for a pattern product by their properties and purpose
Year 8 sequence
Social Sciences · Global history
How patterns and textiles carry cultural identity and travel between peoples
Year 8 sequence
For teachers: how to run it
Prep: buy water-based block-printing ink (black plus two colours), 4–6 rubber brayers (rollers), inking slabs (old picture-frame glass with taped edges, perspex or laminated card), polystyrene printing foam or clean recycled meat trays, blunt pencils or ballpoints for incising, soft-cut lino (easier and safer than traditional lino) and lino cutters with bench hooks for week 4, cartridge and newsprint paper, a drying line and pegs, wet wipes and aprons. A gel plate is optional for monoprints; a sheet of perspex works. Set up an inking station, a printing station and a clean station so inky hands never touch clean paper. Safety: model lino cutting before anyone starts; always cut away from your body with the non-cutting hand behind the blade, use a bench hook, keep cutters at the station; warm soft-cut lino slightly for easier carving; check allergies before using any food items (potatoes, sponges with detergent); water-based inks only. Protocols: in week 1, teach that ngatu (Tonga), siapo (Samoa), hiapo (Niue), tivaevae (Cook Islands), kōwhaiwhai and tukutuku (Māori) and adinkra (Ghana) carry meaning, whakapapa and responsibilities. Students learn about process and purpose, and design their own motifs; they do not reproduce specific customary designs. Invite Pacific or Māori whānau or a local practitioner to share (and pay or koha for their time), and go through the school's iwi relationships for anything connected to a local wharenui. Differentiation: supported learners stay with found-object stamps and foam plates and a simple block repeat; confident learners try reduction printing (carving and printing one block in stages for several colours), half-drop and rotational repeats, or printing on fabric with fabric ink. Maths link: transformations (translation, reflection, rotation) and tessellation. Pīwakawaka, the AI companion, asks one question about a motif; it never designs for students. Kōkiri Lab links: technology worlds can use the pattern products in a design brief.
Plan this world into any term with the two-year planner. Students can record their thinking in their Kōkiri Learn portfolio.


Ready to run it with your class?
Free trial for NZ schools. One combined Years 7–8 class, any term.