
Technology · World 4 of 8 · Years 7–8
Build It Strong: Structures and Mechanisms
Straws, string and pulleys: build a bridge, tower or flying fox that holds strong, then show a real engineer how you did it.
Big question: How do engineers make structures strong, light and safe, and how can simple machines help us move heavy loads with less effort?
- You'll make
- A working scale model (a flying fox with a pulley and crank, an earthquake-ready tower on a shake table, or a cyclone-strong fale frame) plus a one-page engineer's report with an annotated sketch, a force diagram and your test results.
- For
- A local engineer, builder or council parks officer who reviews your report, and a class of younger students who test your model with a toy passenger and tell you what they notice.
- Time
- 5 weeks · 2 sessions a week
Your mission
Why it matters
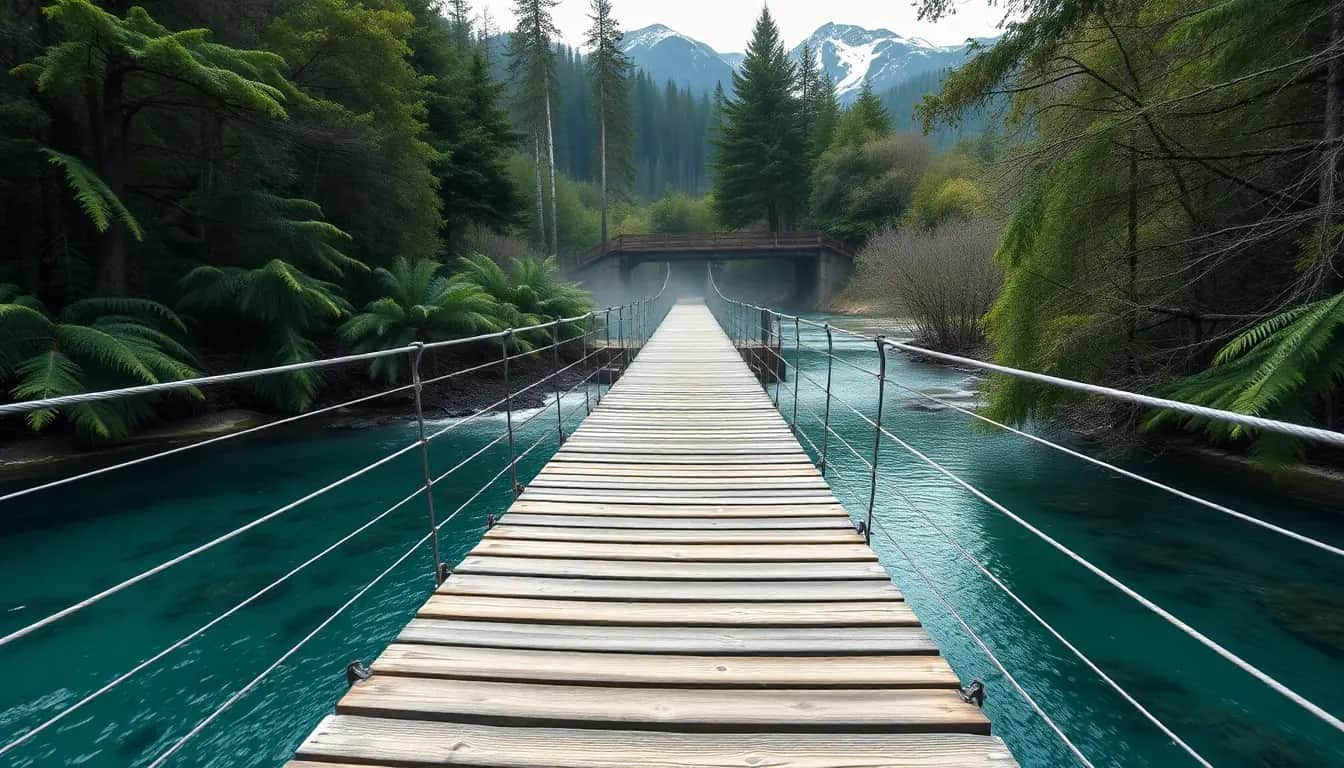
Across Aotearoa, people cross rivers on swing bridges, whizz down flying foxes at camp and work in buildings that must ride out earthquakes. Your class becomes an engineering team with a real brief: design and build a working model for a place you know, test it until it breaks, make it better, and explain it to someone who builds things for a living.
Every bridge, deck, stadium roof and playground you use was designed by someone who had to think about forces. Aotearoa sits on a plate boundary, has fast rivers and wild wind, so our engineers are some of the best in the world at making things that bend without breaking. When you understand tension, compression and triangles, you start to see the hidden skeleton in everything around you, and you can design things that keep people safe.
Your first step
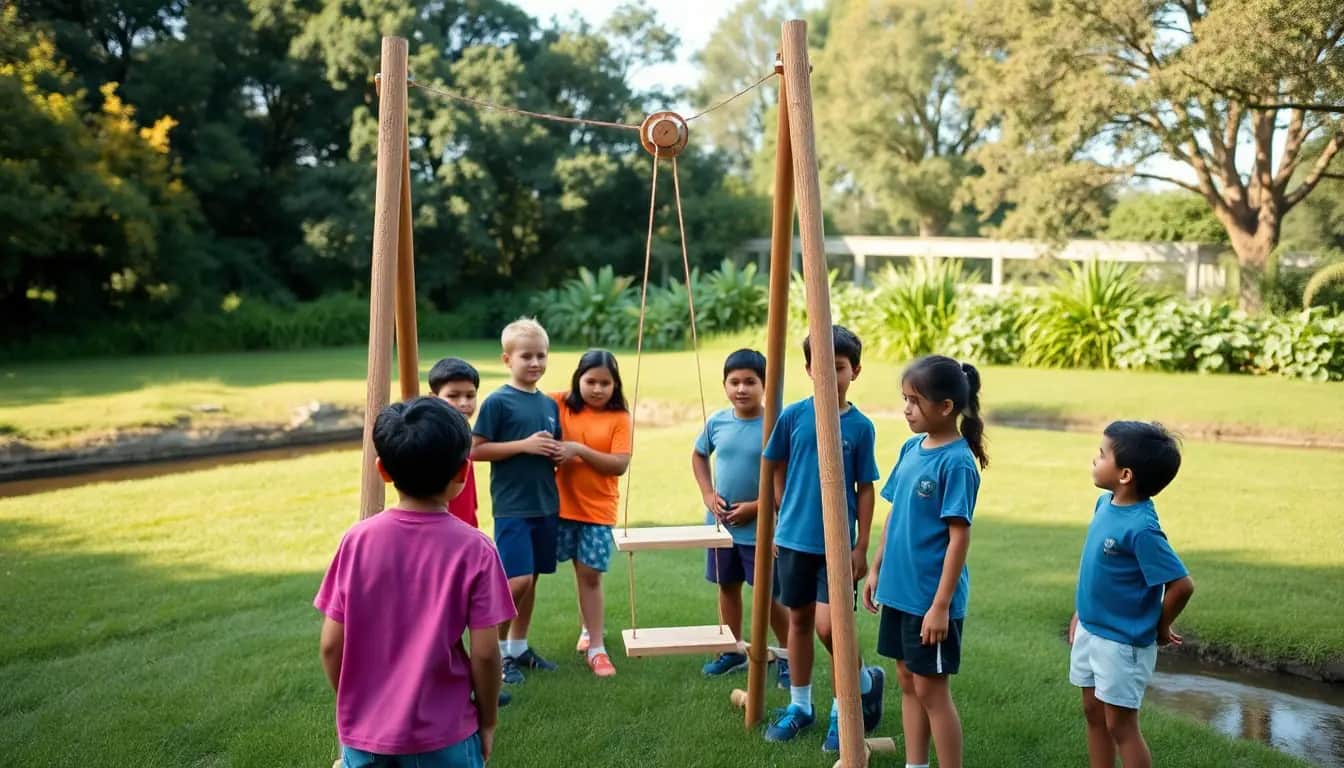
Walk around the school with a partner and photograph five structures: a goalpost, a veranda, a playground frame, a shelf, a roof. For each one, point to a part being squashed and a part being stretched.
Make it yours
Choose a context
Same big question, three different places to explore it. Pick the one that fits your class and community.
River crossing: a flying fox
A whānau lives on the far bank of the Whanganui River from the road, and every trip needs a crossing. Build two stable towers either side of a 1 m 'river', string a line between them and send a seat carrying a 500 g load across and back using a pulley, a crank handle and gravity. Nothing may touch the river.
City shake: an earthquake-ready tower
Wellington sits on active faults, and Te Papa rests on 152 base isolators invented by a New Zealand scientist. Design a tower at least 60 cm tall from straws or paper that carries a 'rooftop' load and stays standing on a home-made shake table. Then try adding your own base isolation and measure the difference.
Pacific storm: a cyclone-strong fale frame
In Sāmoa, Tonga and across the Pacific, fale and homes must stand up to cyclone winds. Traditional builders used flexible timber frames and strong lashing. Design a model house frame with a roof that resists a hair-dryer 'cyclone' and a sideways push, using triangles, bracing and ties. Talk with Pasifika whānau in your community about how their homes are built.
DESIGN
Week by week
Two sessions a week, each with Getting started and Stretch support so the whole class works together.
- W1See the hidden forces in structures around youDiscover: Squash, stretch, twist · Explore: Why triangles win
- W2Test shapes and materials before you designExplore: Straw bridge challenge · Sketch: Write the brief and sketch ideas
- W3Add a mechanism that moves the loadSketch: Pulleys, gears and cranks · Improve: First build
- W4Test it to failure and make it betterImprove: Fair tests · Improve: Version two
- W5Show what your structure is worth and what it cost youGive Value: Test day with real users · Navigate Constraints: Engineer's report and trade-offs
Hands-on
Activities
Investigations and projects that fit the weeks above. Open one to see what you need and how you'll know it worked.
Sponge force huntWhat do squashing, stretching, bending and twisting look like inside a material?Open
You need: A rectangular kitchen sponge per pair · A permanent marker · A ruler · A pool noodle (optional)
- Draw straight lines across the sponge every 1 cm, like a ladder.
- Squash it between your palms. Sketch the lines: are they closer or further apart?
- Stretch it gently from the ends and sketch again.
- Bend it into a smile. Look at the top and the bottom. Which side is squashed and which is stretched?
- Twist it. Sketch the lines now. This is torsion.
- Push the top one way and the bottom the other way. This is shear.
- Label your four sketches with the words compression, tension, torsion and shear.
How you'll know: You can point to a beam or shelf at school and say which side is in compression and which is in tension when it is loaded.
Go further: Bend a pool noodle with lines on it. Where is there no squash or stretch at all? Engineers call this the neutral axis.
Fits week 1 →Square or triangle?Why do engineers fill bridges, towers and cranes with triangles?Open
You need: 8 paper straws · Split pins or pipe cleaners for joints · A hole punch or skewer to make holes · A small weight or a stack of coins
- Make a square frame from four straws, joined at the corners with split pins.
- Make a triangle frame from three straws.
- Stand each frame up and press down on the top corner. What happens to each shape?
- Add one diagonal straw to the square. Test it again.
- Try the same test on a pentagon. How many diagonals does it need before it stops moving?
- Record: shape, number of straws, did it change shape (yes/no).
How you'll know: Your braced square holds its shape, and you can explain that a triangle can only change shape if one of its sides changes length.
Safety: Take care with skewers and split pins; push them through on a cutting board, not towards your hand.
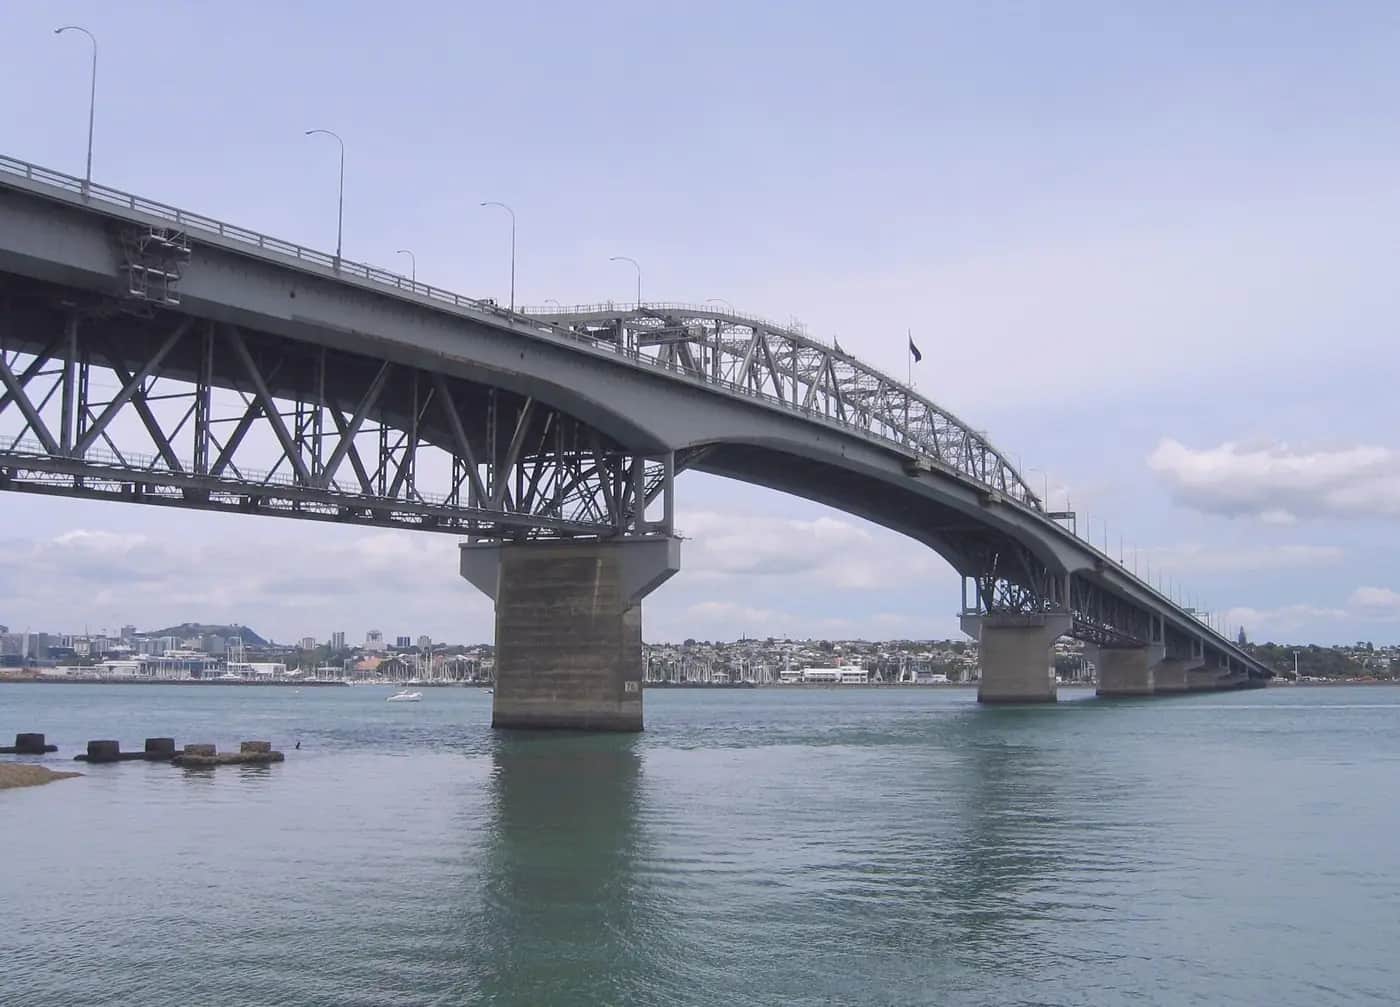
Go further: Find three places in a photo of the Auckland Harbour Bridge where a square panel has been turned into two triangles.
Fits week 1 →Straw truss bridgeHow much load can a 30 cm bridge made from 20 straws carry, and where does it fail?Open
You need: 20 paper straws · 1 m of masking tape · Two desks or book stacks 30 cm apart · A paper cup hung from string · Washers or coins · A ruler
- Plan on paper first. Sketch a side view with triangles along the length.
- Build two identical side trusses, then join them with cross pieces.
- Lay the bridge across the 30 cm gap. Hang the cup from the middle.
- Add washers one at a time. After every five, measure how far the middle has sagged in millimetres.
- Keep going until it fails. Record the load and film or photograph the failure.
- Look at the broken bridge. Was it a straw that buckled (compression) or a joint that pulled apart (tension)?
How you'll know: You have a table of load and sag, and you can point to the exact part that failed and name the force that broke it.
Safety: Keep feet out from under the load. Stop before the cup is heavier than 1 kg.
Go further: Build a second bridge with the same materials but a different truss pattern (all triangles pointing up, then alternating). Which carries more per straw?
Fits week 2 →Paper column challengeDoes the shape of a column change how much it can hold?Open
You need: Three A4 sheets of the same paper · Sticky tape · A stack of books of similar weight · A kitchen scale
- Roll one sheet into a round tube, fold one into a triangular prism and one into a square prism. Each is the full height of the page.
- Tape each seam with the same amount of tape.
- Stand a column up and gently stack books on top, one at a time, keeping them level.
- Weigh the books the column held just before it crumpled.
- Repeat for all three shapes. Make it fair: same paper, same height, same tape.
- Draw a bar graph of your results.
How you'll know: You can explain which column held most and suggest why, using the words buckle and compression.
Go further: Test whether four round columns under a board can hold your own body weight, with a teacher spotting.
Fits week 2 →Pulley powerHow do pulleys make lifting easier, and what do you pay for that?Open
You need: Two cotton reels or bottle-cap pulleys on pencils · String (2 m) · A 1 kg bag of rice · A spring balance or kitchen luggage scale · A strong broom handle across two chairs · A metre ruler
- Lift the rice straight up with the spring balance. Record the force.
- Hang one pulley from the broom handle. Run the string over it and lift the rice. Record the force and which way you pull.
- Now make a block and tackle: one fixed pulley on the broom and one moving pulley attached to the rice.
- Lift again. Record the force.
- Measure how much string you pull to lift the rice 20 cm in each setup.
- Fill a table: setup, force needed, string pulled. What pattern do you see?
How you'll know: Your results show that the two-pulley system needs less force but more string, and you can explain that as a trade: less force, more distance.
Safety: Keep the load below knee height and feet clear. Tie off the string when not pulling.
Go further: Design a system with three pulleys and predict the force before you test it.
Fits week 3 →Gear trains and a crank winchHow can turning a handle pull a flying fox seat home?Open
You need: Card gears from a printable template (or bottle caps with notched edges) · Split pins · A corrugated card base · A cotton reel, pencil and string for the winch · A small toy passenger
- Pin a big gear and a small gear on the card so their teeth mesh.
- Mark a dot on each gear. Turn the big gear once. Count how many times the small gear turns.
- Swap which gear you turn. What changes: speed, force or direction?
- Push a pencil through a cotton reel to make an axle. Tape a card crank handle to one end.
- Tie string to the reel and to the toy passenger. Turn the handle to reel the passenger in.
- Sketch your gear train and label input, output and direction of turning.
How you'll know: You can predict how many turns the output gear makes, and your crank winch pulls a small load along a line.
Go further: Add a third gear. What happens to direction? Use gears to make the winch easier to turn.
Fits week 3 →Shake table showdownCan a tower survive an earthquake, and does base isolation help?Open
You need: A baking tray on four tennis balls or 12 marbles inside a larger tray · String tied to the top tray · A tower of straws, card or paper at least 60 cm tall · A 100 g 'rooftop' load (a bag of rice) · A timer and phone for slow-motion video
- Tape your tower to the top tray. Put the rooftop load on top.
- Agree a fair shake: pull the string 5 cm back and forth, once per second, for 20 seconds.
- Run the test. Record whether it stands, leans or falls, and when.
- Now add base isolation: rest the tower on a card platform sitting on four rubber erasers or marbles in bottle caps.
- Run exactly the same shake. Compare.
- Film both tests in slow motion and watch where the tower bends most.
How you'll know: You have evidence from two matched tests and can explain what the isolators changed.
Safety: Test on the floor, away from walls and desks. Clear up marbles straight away so no one slips.
Go further: Measure how far the top of the tower sways in millimetres against a ruler taped behind it, with and without isolators.
Fits week 4 →Flying fox tipping testWhy do the towers of a flying fox want to tip inward, and how do guy ropes stop it?Open
You need: Two towers from dowel, rulers or EPro8 rods (at least 40 cm tall) · String for the main line and guy ropes · A 500 g weight on a hook · A protractor · Masking tape
- Stand the towers 1 m apart and tie the main line tight between their tops.
- Hang the 500 g weight from the middle. Observe what the towers do.
- Measure the angle of sag at one tower with a protractor.
- Loosen the line so it sags more. Hang the weight again. Which setup tips the towers more?
- Tie guy ropes from the back of each tower to a desk leg. Test again.
- Draw a force diagram: arrows showing the weight pulling down and the line pulling the tower inward.
How you'll know: Your towers stay upright with the load, and your force diagram shows why a tight line pulls harder on the towers than a saggy one.
Safety: Wear goggles when tightening lines. Keep heads away from the line in case it snaps.
Go further: Lower the finishing tower so the seat rolls down by gravity, then design a way to stop it gently at the bottom.
Fits week 4 →Look closer
From the real world
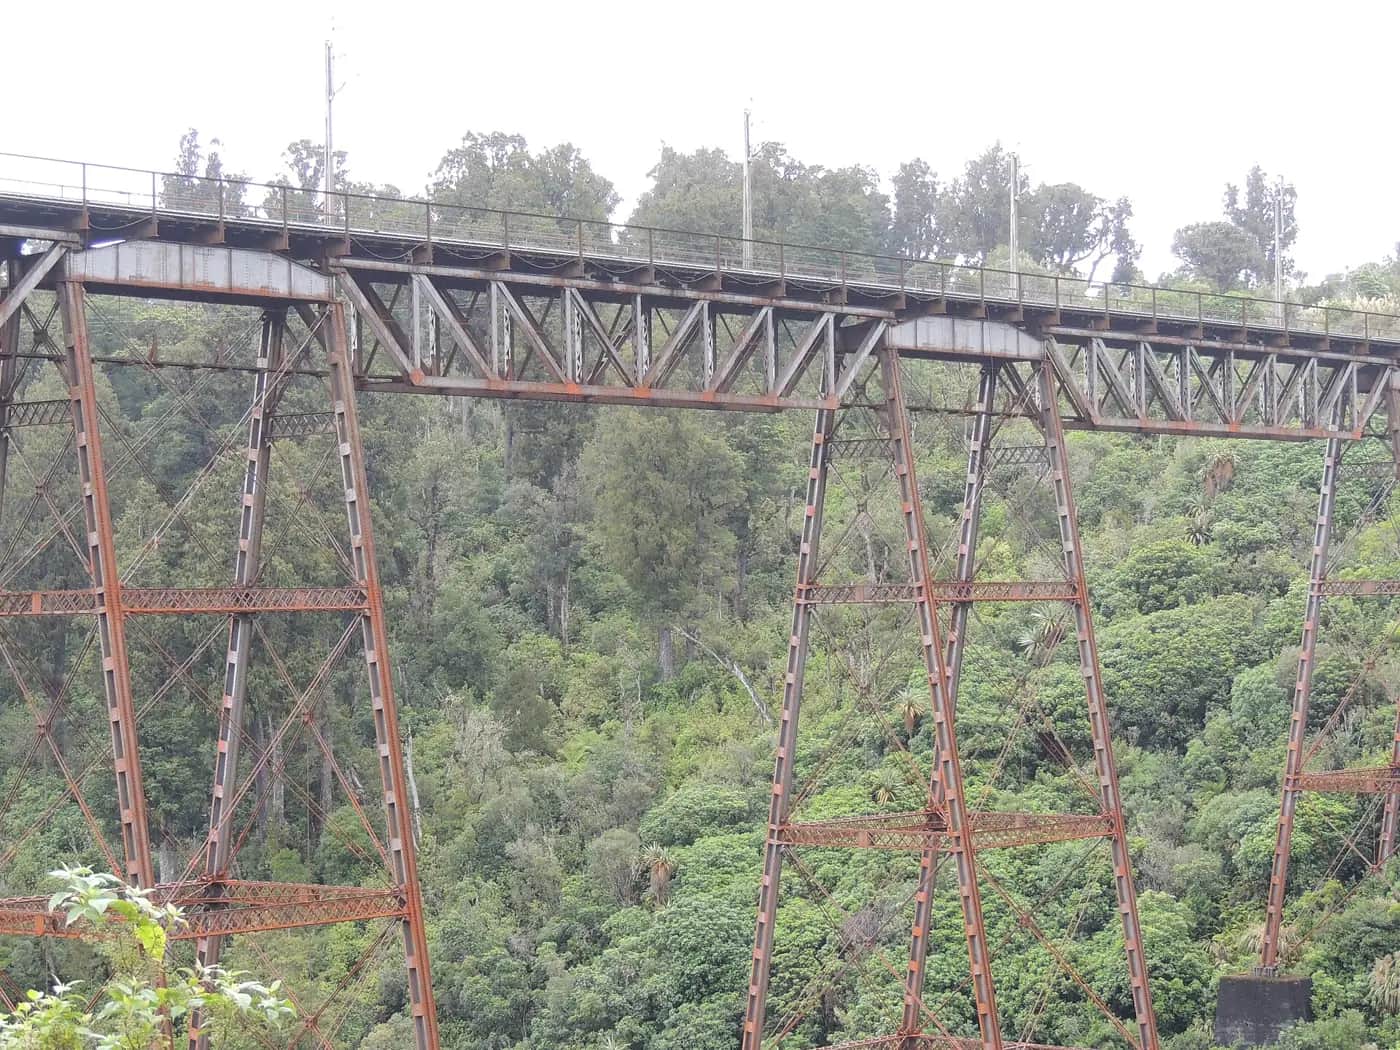
Background reading
Read to understand
Short readings written for Kōkiri Learn students, with their sources.
- Squash, stretch and the power of trianglesThe four forces every structure fights, and why engineers fill bridges and towers with triangles.
- Machines that multiply your musclesHow levers, pulleys, gears and cranks let you move big loads with small forces, and the trade you always make.
- Built to shake: how Aotearoa designs for earthquakesWhy New Zealand buildings need to bend without breaking, and the Kiwi invention that lets Te Papa slide safely.
Trusted NZ sites
Explore more
Placed at the stage of the journey where each one helps.
Discover
Halting the jolts: how Te Papa resists earthquakes ↗Te Papa
See how a New Zealand invention lets a whole museum slide gently in an earthquake.
Discover
Auckland Harbour Bridge opens ↗NZ History
The story of our best-known truss bridge and why it needed extra lanes.
Explore
Bridges and tunnels ↗Te Ara – Encyclopedia of New Zealand
Photos and stories of how Aotearoa crossed rivers and gorges.
Explore
Physical World: forces ↗Science Learning Hub
Clear explanations and activities about forces and motion.
Sketch
Triangles and trusses ↗TeachEngineering
Diagrams showing why trusses use triangles and how forces travel.
Sketch
Tinkercad ↗Autodesk
Free 3D modelling to draw your tower or bridge before building.
Improve
Simple machines ↗Explain that Stuff
How levers, pulleys and gears trade force for distance.
Improve
EPro8 Challenge ↗EPro8
New Zealand engineering challenges, including the flying fox and helicopter rescue.
Navigate Constraints
William Henry Robinson ↗NZ Society for Earthquake Engineering
The scientist behind the lead rubber bearing, and the problem he solved.
Give Value
Engineering New Zealand ↗Engineering New Zealand
Find out what engineers do and how to connect with one near you.
Real audiences
- A local structural or civil engineer, or a member of Engineering New Zealand, who reviews your engineer's report
- Junior classes who test the flying fox, tower or fale with a toy passenger
- The council parks and reserves team or a camp operator who looks after real flying foxes and bridges
- Whānau at a design expo evening
Work with other schools
- Swap specifications with a partner school: each class builds to the other's brief and sends back photos and test results.
- Run a shared straw-bridge challenge on the same day with the same materials, then compare which truss designs worked best and why (not which class won).
- Keep a shared online folder of slow-motion shake-table videos so classes in different regions can compare how towers fail.
Stretch challenges
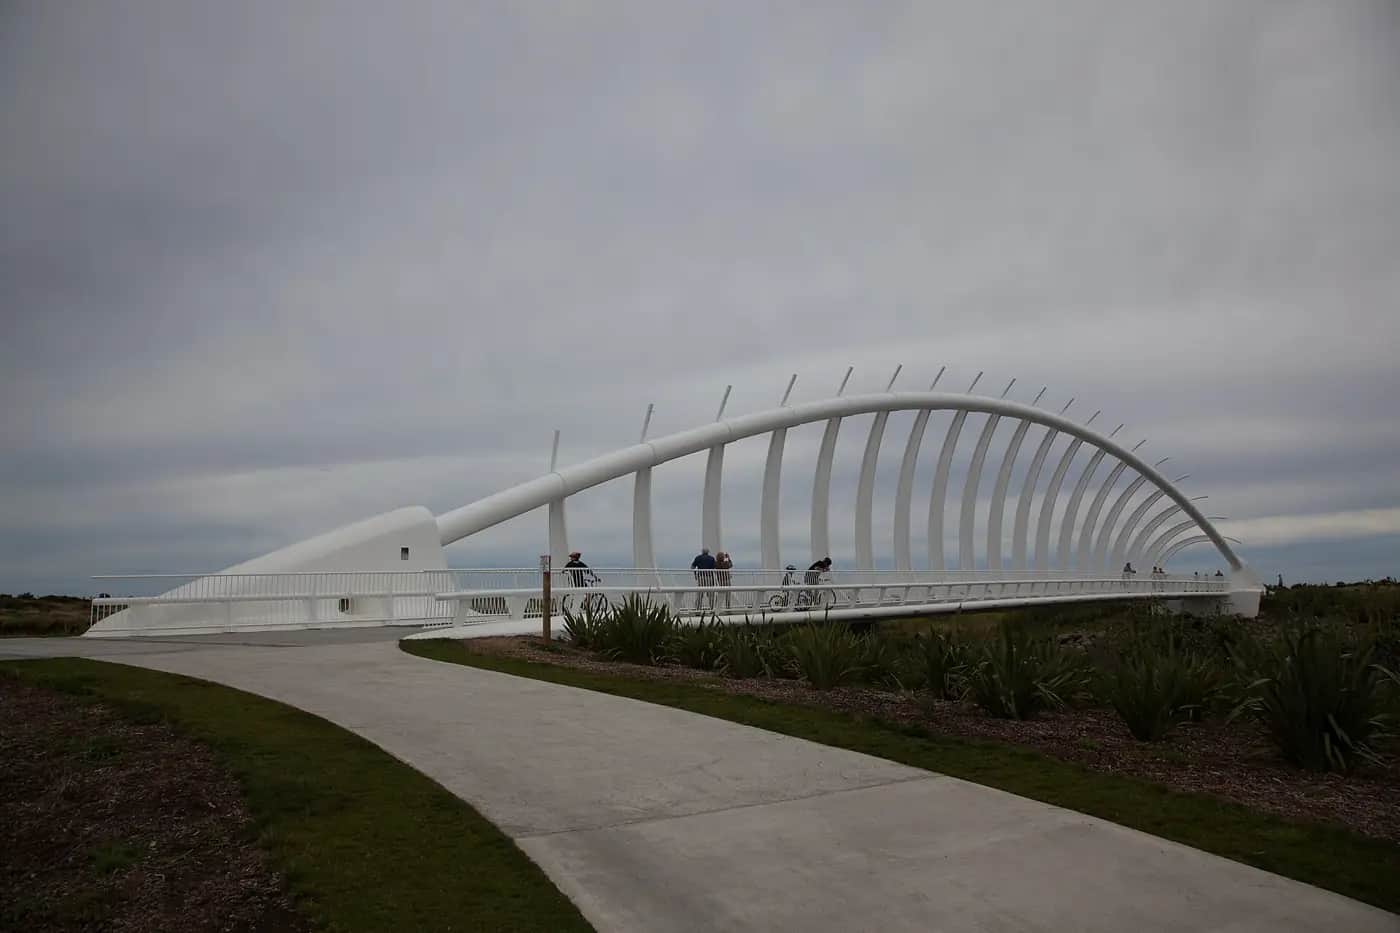
- Research a New Zealand structure (Auckland Harbour Bridge, Te Rewa Rewa Bridge, the Sky Tower or a swing bridge on a DOC track) and make an annotated poster showing its forces.
- Design a structure for a real problem at school, such as a shade frame or a bike rack, and pitch it to the principal with a model and a cost estimate.
- Try the EPro8 Helicopter Rescue challenge: rig four ropes over pulleys to fly a model helicopter from a helipad to a 'mountain' and back.
- Interview a builder, engineer or grandparent who built their own shed about how they kept it from wobbling.
New Zealand Curriculum
What this world covers
Mapped to the refreshed Phase 3 statements. The whole class covers both the Year 7 and Year 8 sequences over two years.
Technology · Systems and control
Structural forces (compression, tension, shear, torsion) and types of motion; investigating simple machines and mechanisms; examining how structures support and resist loads
Year 7 sequence
Technology · Design and innovation
Annotated sketches and scaled 3D drawings; measurable specifications for judging fit-for-purpose; improving designs with feedback
Year 7 sequence
Technology · Materials and ingredients
Performance properties such as strength and flexibility; functional modelling to test design intent; choosing materials responsibly
Year 7 sequence
Science · Physical Science
Forces, friction and motion; fair tests of how shape changes strength
Year 7 sequence
Mathematics and Statistics · Geometry
Classifying triangles and using them for rigid frames; nets of 3D shapes for columns
Year 7 sequence
Mathematics and Statistics · Measurement
Metric conversions and measuring to the millimetre for spans, heights and sag
Year 7 sequence
For teachers: how to run it
Prep: collect a 'structures kit' per group before week 1: 40 paper straws, bamboo skewers, ice-block sticks, masking tape, string, paper clips, split pins, cotton reels or bottle caps for pulleys, card, and loads (washers, a bag of rice, a 500 g weight or a filled water bottle). A kitchen luggage scale or spring balance lets students measure effort. Build one shake table in advance (a baking tray on four tennis balls or marbles inside a larger tray, with a string to pull). The flying fox and helicopter rig ideas come from the EPro8 Challenge cards (activity codes FLFX and HLRS); if your school has EPro8 construction gear, use it, otherwise dowel, string and clamps work. Run the EPro8 Technical Words activity in week 1 so students use words like horizontal, vertical, diagonal, span, rigid and reinforced precisely. Safety: goggles when anything is under tension (strings, rubber bands, skewers can flick); keep feet and heads clear of hanging loads and cap loads at 1 kg; low-temperature glue guns only, with a set station; craft knives only with a cutting mat and a teacher nearby, or use safety scissors. Skewers: snip sharp points first. Protocols: the fale context draws on Pasifika building knowledge. Invite a Pasifika parent, church builder or community member to share, rather than having students guess at traditional methods; students design their own frames and do not copy sacred or chiefly forms. For the flying fox context, the Whanganui River is Te Awa Tupua, a legal person; name it respectfully and connect with your school's iwi relationships if you use a local river. Differentiation: give a starter frame (a taped square and a taped triangle) to students who need an entry point; extend confident students with measuring deflection in millimetres, calculating mechanical advantage, or adding a motor. Pūkeko asks questions about a plan; it never designs for students. Links: this world pairs with Kōkiri Lab's Robotics & Systems world (forces, friction and motion; motors and control) and leads into Smart Circuits, where the flying fox gets a motor and a call button.
Plan this world into any term with the two-year planner. Students can record their thinking in their Kōkiri Learn portfolio.
More Technology worlds






Ready to run it with your class?
Free trial for NZ schools. One combined Years 7–8 class, any term.