
Technology · World 5 of 8 · Years 7–8
Smart Circuits: Electronics and Control
Sensors that notice, code that decides, motors that move: build a smart gadget that solves a real problem at your place.
Big question: How can we design an electronic system that senses something, makes a decision and does something useful, reliably, for a real person?
- You'll make
- A working prototype of a smart system (a trap alert, a thirsty-garden alarm or an automatic night light) built with a micro:bit or similar microcontroller, a sensor and an output, plus an annotated system diagram and a reliability test log.
- For
- The person who will use it: a local trapping group, the school caretaker or garden team, or a whānau member. They trial your prototype and give feedback.
- Time
- 5 weeks · 2 sessions a week
Your mission
Why it matters
Trapping volunteers walk kilometres to check traps that are usually empty. The school garden dries out over a hot weekend. A kaumātua stumbles in a dark hallway at night. Each of these is a job for a smart circuit: a sensor that notices, a small computer that decides, and an output that lights up, beeps or moves. Your team designs, codes and tests one for a real user.
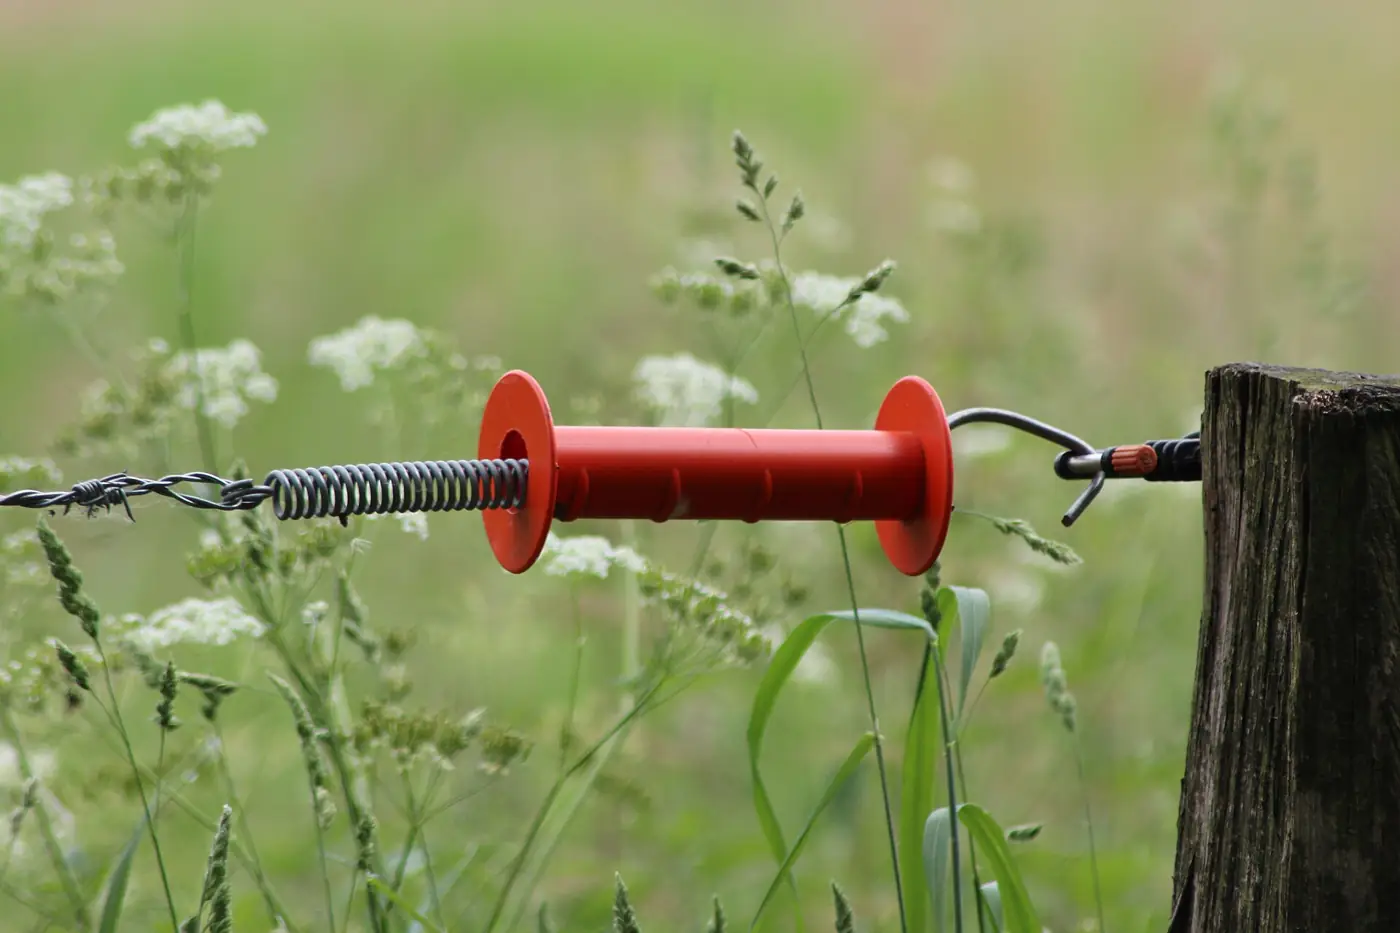
Smart systems are everywhere: heat pumps, traffic lights, milking sheds, phone screens, pest traps and the electric fence invented by a Waikato farmer. Knowing how inputs, processes and outputs fit together lets you fix, improve and invent them instead of just using them. It is also the start of robotics, engineering and conservation technology, which are growing fast in Aotearoa.
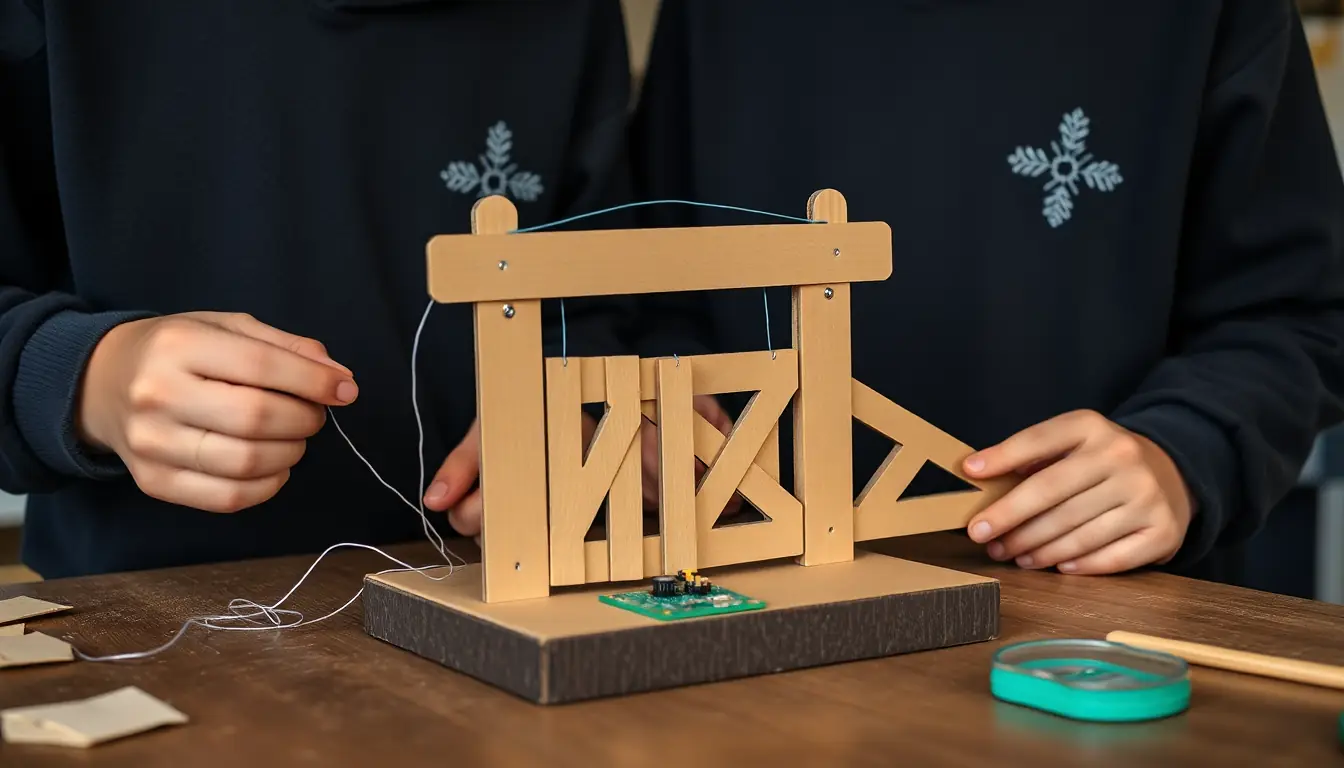
Your first step
List ten things at home or school that switch on by themselves. For each one, write what it notices (input), what decides (process) and what it does (output).
Make it yours
Choose a context
Same big question, three different places to explore it. Pick the one that fits your class and community.
Bush: a trap alert for predator-free volunteers
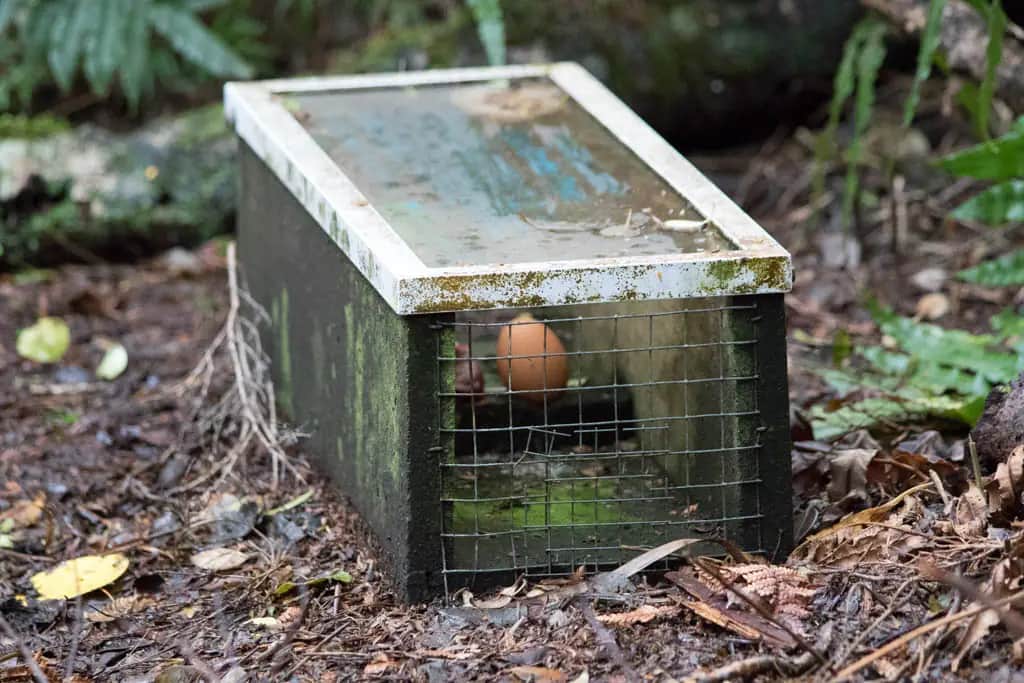
Community trapping groups across Aotearoa are working towards Predator Free 2050, and some already use sensors that send a message when a trap goes off. Design a model trap monitor: a switch that senses when a trap lid or arm moves, and a radio message to a second micro:bit that shows which trap fired. Work with a local trapping group or DOC ranger to learn what they really need.
School garden: a thirsty-plant alarm
Seedlings in the school garden or a classroom planter can dry out over a long weekend. Build a soil moisture sensor from two galvanised nails, read it with a microcontroller, and design an alert (lights, a sound, or a servo-driven flag) that tells the garden team when to water. Test it in wet and dry soil to set the right trigger level.
Home: an automatic night light that helps someone
A kaumātua, a younger sibling or someone using a walking frame needs a safe path at night without hunting for a switch. Design a light-activated or movement-activated light, and think about brightness, battery life and where it goes. Interview your user first: what time do they get up, and what would annoy them?
DESIGN
Week by week
Two sessions a week, each with Getting started and Stretch support so the whole class works together.
- W1Spot the systems around you and build your first circuitDiscover: Black box detectives · Explore: Circuits and symbols
- W2Understand voltage, current and resistance, then plan your systemExplore: Pressure, flow and push-back · Sketch: System diagram and specification
- W3Code the decision and build the sensorSketch: If this, then that · Improve: Build the sensor
- W4Add movement and test for reliabilityImprove: Electro-mechanical output · Give Value: Reliability trials
- W5Put it in the hands of your user and weigh up the trade-offsGive Value: User trial · Navigate Constraints: Power, cost, weather and waste

Hands-on
Activities
Investigations and projects that fit the weeks above. Open one to see what you need and how you'll know it worked.
Black box detectivesWhat is really inside a simple electronic gadget, and what does each part do?Open
You need: An old battery toy, torch or electronic greeting card (batteries removed) · Small screwdrivers · A tray for screws · Safety glasses · Input–process–output sorting mat
- Check the batteries are out. Put on safety glasses.
- Before you open it, draw what you think is inside.
- Unscrew it carefully and lay each part on the tray in order.
- Find the power supply, the input (button, switch, sensor), anything that processes (a chip or circuit board) and the output (light, motor, speaker).
- Place each part on the sorting mat under input, process or output.
- Draw a three-box system diagram for the gadget.
How you'll know: Your system diagram names the real input, process and output parts of the gadget, with arrows showing what flows between them.
Safety: Battery toys only. Never open anything that plugs into the wall, microwaves, or anything with a large capacitor such as a camera flash. Remove any button batteries and hand them to your teacher.
Go further: Find a subsystem inside a subsystem, such as the power supply inside the process block.
Fits week 1 →First circuit, drawn properlyCan you build a circuit and draw it so anyone in the world could rebuild it?Open
You need: 2×AA battery pack · An LED and a 220 Ω resistor · A push button or slide switch · Crocodile clip leads or a breadboard · Circuit symbol cards
- Connect the battery pack, switch, resistor and LED in one loop.
- Check the LED's long leg goes towards the positive side. Press the switch.
- If it does not light, trace the loop with your finger to find the gap.
- Draw the circuit using standard symbols only, with straight lines and right angles.
- Swap diagrams with another team. Can they rebuild your circuit from the drawing alone?
- Now test ten objects (a spoon, a pencil lead, foil, a rubber) in a gap in the circuit and sort them into conductors and insulators.
How you'll know: Another team rebuilds your circuit from your diagram, and it works first time.
Safety: Never connect the battery wires straight to each other; this is a short circuit and gets hot.
Go further: Add a second LED in parallel and a buzzer in series. Predict first, then test.
Fits week 1 →Resistor colour code labHow do resistors control how much current flows, and how do you read their value?Open
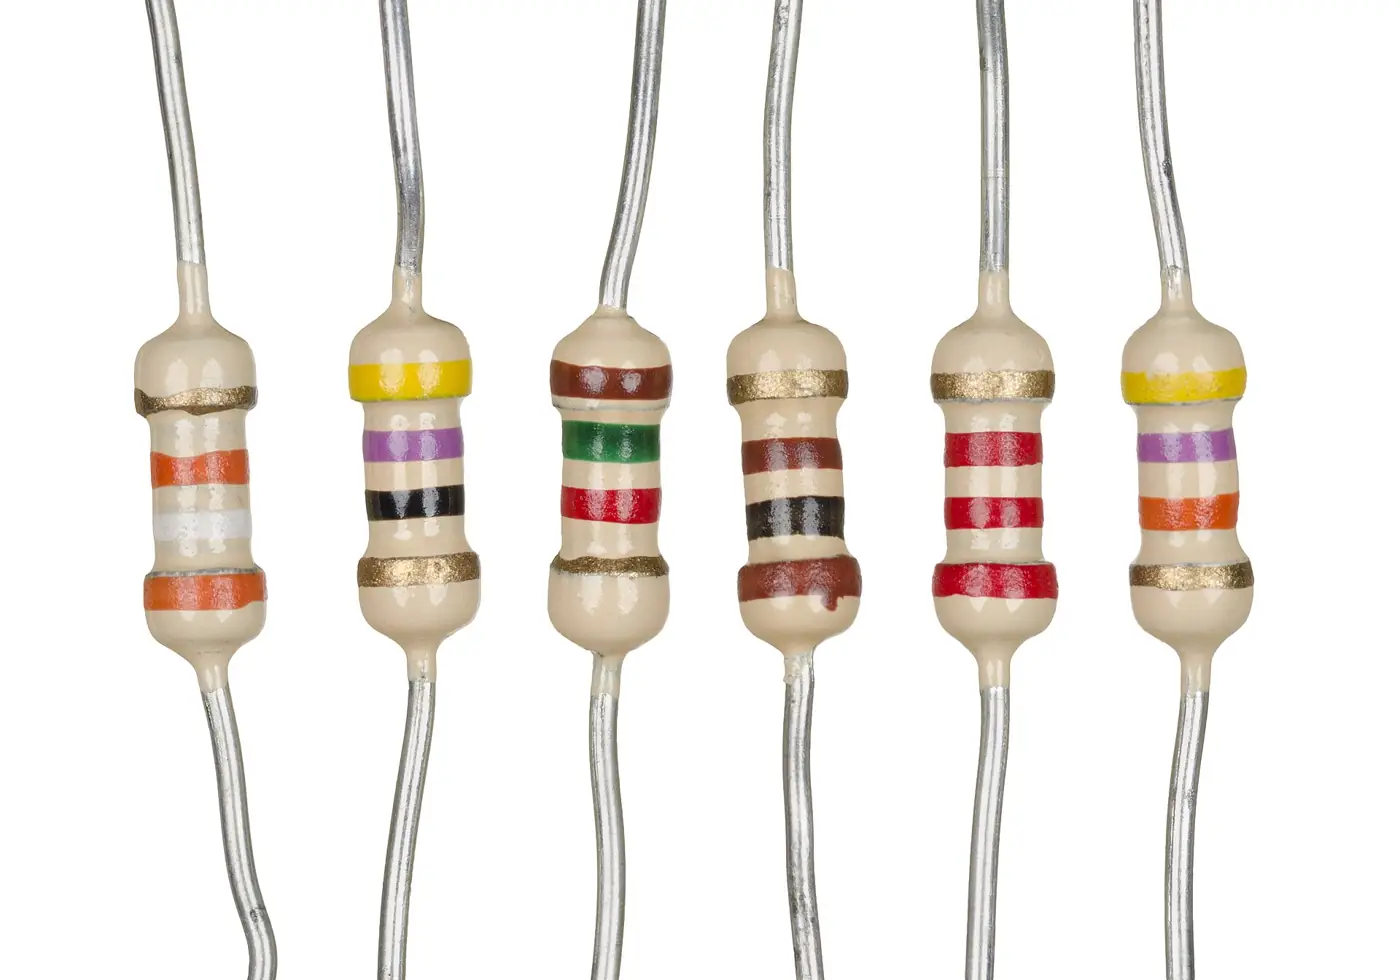
You need: Resistors: 220 Ω, 1 kΩ, 10 kΩ · A resistor colour code chart · An LED and battery pack · A multimeter (optional)
- Use the chart to read each resistor's bands. The first two bands are digits, the third is how many zeros.
- Write the value of each resistor. Check with a multimeter if you have one.
- Put each resistor in turn in series with the LED.
- Rate the brightness on a scale you agree as a group, such as 'off, dim, medium, bright'.
- Make a table: resistance, brightness.
- Write a sentence that explains the pattern using the words current and resistance.
How you'll know: You can read the value of an unknown resistor from its bands and predict whether an LED will be bright or dim with it.
Go further: Use V = I × R to calculate the current through each resistor with a 3 V supply (ignore the LED for a first estimate).
Fits week 2 →Night light with a light sensorHow can a microcontroller decide when it is dark enough to turn on a light?Open
You need: A micro:bit with battery pack · A device with MakeCode · A torch and a box or cloth to make it dark
- In MakeCode, make a forever loop that shows the light level as a number.
- Download it. Cover and uncover the micro:bit's LEDs (they also sense light). Write down the reading in bright light and in the dark.
- Choose a trigger level between the two readings.
- Add: if light level is less than your trigger, show all LEDs lit; else clear the screen.
- Test it ten times by covering and uncovering. Does it flicker near the trigger?
- Fix the flicker by using two levels: turn on below one number, turn off above a higher one.
How you'll know: Your light turns on in the dark and off in the light every time out of ten, without flickering.
Go further: Add a timer so the light stays on for 30 seconds after it gets dark, then turns off to save the battery.
Fits week 3 →Nail soil moisture sensorCan two nails and a micro:bit tell you when a plant is thirsty?Open
You need: Two galvanised nails · Two crocodile clip leads · A micro:bit and battery pack · Two pots of soil: one dry, one damp · A cup of water
- Clip one nail to the 3V pin and the other nail to pin 0.
- Push the nails into the dry soil about 3 cm apart.
- Code: forever, show the analog reading from pin 0 as a number.
- Record the reading in dry soil, then in damp soil, then after adding water.
- Choose a 'thirsty' level. Code a sad face and a beep when the reading drops below it.
- Test it over two days in a classroom plant pot and record readings every morning.
How you'll know: Your sensor gives clearly different readings for wet and dry soil, and the alert goes off only when the soil is dry.
Safety: Low voltage only. Wash hands after handling soil. Keep water away from the micro:bit and battery pack.
Go further: Log readings every hour and make a line graph. How fast does soil dry on a sunny day?
Fits week 3 →Clothes-peg trap switch and radio alertHow can a trap tell a volunteer it has been triggered?Open
You need: A wooden clothes peg · Aluminium foil and tape · A small piece of card · Two micro:bits · Crocodile clip leads · A model trap box (a shoebox with a lid)
- Wrap foil around the tips of both jaws of the peg. Clip a lead to each foil pad.
- Slide a piece of card between the jaws. With the card in, the switch is open.
- Tie the card to the lid of the model trap. When the lid snaps shut, the card pulls out and the foil pads touch.
- Connect the leads to pin 1 and GND. Code: when pin 1 is pressed, send a radio number (your trap number).
- On the second micro:bit, code: when a radio number is received, show it and play a sound.
- Test from across the classroom, then from the other side of the school hall.
How you'll know: The receiver shows the correct trap number every time the model lid closes, and never when it does not.
Go further: Give three model traps different numbers and make the receiver keep a count for each one.
Fits week 3 →Servo flag or gateHow do you turn a digital decision into movement?Open
You need: A 9 g micro servo · A micro:bit and battery pack (or a separate battery pack for the servo) · Crocodile clip leads · Card, a skewer and tape
- Connect the servo: brown or black to GND, red to 3V, orange or yellow to pin 0.
- Code: servo write pin 0 to 0 degrees, pause, then 90 degrees.
- Tape a card flag or a model gate arm to the servo horn.
- Link it to your sensor: when the soil is dry or the trap fires, raise the flag to 90 degrees.
- Test it 20 times. Does the servo always reach the same angle?
- Add the servo to your system diagram as part of the output subsystem.
How you'll know: The flag or gate moves to the same position every time your sensor triggers it.
Safety: Keep fingers clear of moving parts. If the micro:bit resets when the servo moves, power the servo from a separate battery pack with a shared GND.
Go further: Replace the servo with a small geared motor and make the EPro8-style flying fox seat move when a call button is pressed, stopping at a limit switch.
Fits week 4 →Reliability trialsWould your user trust your system?Open
You need: Your prototype · A test log sheet with 20 rows · A partner to trigger the system
- Decide what a true alert, a missed alert and a false alarm look like for your system.
- Your partner runs 20 trials: some should trigger it, some should not. They keep the plan secret.
- Record each result in the log.
- Count the three types. Work out the percentage of correct responses.
- Change one thing (the trigger level, the switch, a loose wire) and run 20 more trials.
- Write a sentence comparing the two logs.
How you'll know: Your log shows whether your change made the system more reliable, with numbers to back it up.
Go further: Test in harder conditions: bright sunlight, damp air or a moving table. What breaks first?
Fits week 4 →Look closer
From the real world
Background reading
Read to understand
Short readings written for Kōkiri Learn students, with their sources.
- Input, process, output: seeing the systemHow to break any smart device into what it senses, what it decides and what it does, and why engineers draw system diagrams.
- Inside a circuit: voltage, current and resistanceThe three ideas that explain every circuit, the symbols engineers use to draw them, and how to keep circuits safe.
- Sensors, decisions and smart trapsHow sensors turn the world into numbers, how code decides what to do, and how New Zealand conservation groups use smart traps.
Trusted NZ sites
Explore more
Placed at the stage of the journey where each one helps.
Discover
Remote monitoring of traps ↗Predator Free NZ Trust
How real trap sensors tell volunteers when a trap has fired.
Discover
Alfred William (Bill) Gallagher ↗Te Ara – Dictionary of New Zealand Biography
The Waikato inventor whose electric fence changed farming.
Explore
Electricity: electrons, insulators and conductors ↗Science Learning Hub
Why some materials let current flow and others stop it.
Explore
Resistors ↗Science Learning Hub
How resistors control current, with colour codes explained.
Sketch
micro:bit features ↗Micro:bit Educational Foundation
Every input and output on the board, in one place.
Sketch
Electricity and sensors ↗Science Learning Hub
How sensors turn changes in the world into electrical signals.
Improve
Microsoft MakeCode for micro:bit ↗Microsoft
Block coding with a simulator, so you can test before you download.
Improve
Soil moisture project ↗Microsoft MakeCode
Step-by-step guide to a nail soil sensor.
Give Value
Robotics & Systems world ↗Kōkiri Lab
Take your sensors and motors further into robotics.
Navigate Constraints
Tinkercad Circuits ↗Autodesk
Test a circuit safely on screen before you build it.
Navigate Constraints
Predator Free 2050 ↗Department of Conservation
The national goal your trap alert could support.
Real audiences
- A local trapping group, Predator Free community group or DOC ranger who reviews your trap alert
- The school caretaker and garden team who trial the thirsty-plant alarm
- Kaumātua and whānau who test the night light at a whānau evening
- An electrician, engineer or tech company volunteer who gives feedback on your system diagram
Work with other schools
- Use micro:bit radio across two classrooms, then share code with a partner school so their receiver can read your sensor readings in a joint experiment.
- Swap system diagrams with another school: each class builds a prototype from the other's diagram and reports what was unclear.
- Pool soil moisture readings from school gardens in different regions in a shared spreadsheet and compare how fast soil dries.
Stretch challenges
- Design a full trap network: five model traps sending radio messages to one base station that shows which traps need checking.
- Build a solar-powered version of your system and measure how long it runs on a sunny and a cloudy day.
- Research how Bill Gallagher's electric fence works as a system: what is the input, process and output? Make a diagram.
- Motorise the flying fox from Build It Strong with a call button and a limit switch.
New Zealand Curriculum
What this world covers
Mapped to the refreshed Phase 3 statements. The whole class covers both the Year 7 and Year 8 sequences over two years.
Technology · Systems and control
Annotated system diagrams with subsystems, feedback and input–process–output; voltage, current and resistance; component values and colour codes; building a controlled circuit; integrating motor-driven mechanisms
Year 8 sequence
Technology · Digital technologies
Programs using loops and conditions to control a microcontroller; comparing solution approaches for reliability
Year 8 sequence
Technology · Design and innovation
Iterating through user and peer feedback; balancing purpose, function and sustainability including battery use and e-waste
Year 8 sequence
Science · Physical Science
Series and parallel circuits; conductors and insulators
Year 8 sequence
Mathematics and Statistics · Statistics
Collecting sensor readings and using a time-series graph to choose a trigger level
Year 8 sequence
For teachers: how to run it
Prep: one micro:bit (or similar microcontroller) per pair with a USB cable and a 2×AAA battery pack; crocodile clip leads; LEDs, 220–330 Ω resistors, push buttons and a breadboard per group; a few 9 g micro servos and small geared hobby motors; galvanised nails for soil probes; aluminium foil, card, clothes pegs and paper clips for home-made switches. Test MakeCode (makecode.microbit.org) on school devices in advance; it runs in the browser, and a simulator works if hardware is short. Safety: low-voltage battery circuits only. Never connect anything to mains sockets, and do not open mains devices; for the 'take apart' activity use battery toys and torches with batteries removed. Button (coin) batteries are a serious swallowing hazard for small children: keep them in a locked tub, count them in and out, and never send them home with a prototype that may reach a young sibling. Short circuits make batteries and wires hot; teach students to disconnect first when something smells or feels warm. Galvanised nails and the soil sensor: wash hands after garden work. Soldering (optional stretch) only with a teacher, goggles, a stand and extraction. Protocols: for the trap context, contact a local trapping group, Predator Free group or DOC ranger rather than placing any device on real traps; students build models and share designs. Talk about kill traps honestly and calmly; some students may find them upsetting, so offer the garden or home context. Differentiation: pre-built starter programs (button shows an icon; light level shows a number) for students new to code; extend with radio between micro:bits, servos, data logging to a spreadsheet, or calculating current with V = I × R. Pūkeko asks one question about a system diagram; it does not write code or fix circuits. Links: builds directly on Build It Strong (the flying fox can be motorised with a call button and limit switch, as in the EPro8 Full Electronics version) and on Kōkiri Lab's Robotics & Systems world (sensors, motors and input–process–output).
Plan this world into any term with the two-year planner. Students can record their thinking in their Kōkiri Learn portfolio.
More Technology worlds
 4 weeksTe Hoahoa Otinga: Designing Solutions
 5 weeksDesigning for Our Community
 5 weeksKai Lab: Food Technology
 5 weeksBuild It Strong: Structures and Mechanisms
 5 weeksCode a Game: Algorithms and Debugging
 5 weeksData Detectives: Data, Spreadsheets and AI
 5 weeksGrow It: Aquaponics and Sustainable Systems
Ready to run it with your class?
Free trial for NZ schools. One combined Years 7–8 class, any term.