English · World 7 of 8 · Years 7–8
Explain It: Non-fiction and Feature Writing
Become the class expert on something real nearby, then explain it so clearly that anyone could get it, graphs and all.
Big question: How do writers turn research into non-fiction that makes a tricky topic clear, accurate and interesting to read?
- You'll make
- A feature article or explanation (about 400–700 words) with headings, at least one graph, diagram or map you made yourself, and a reference list, published in a class magazine or website.
- For
- Readers of the class 'Did you know?' magazine: families, the local library or museum, and other students who want to learn about your area.
- Time
- 5 weeks · 2 sessions a week
Your mission
Why it matters
Your local library wants a 'Did you know?' magazine written by young people about the science and history right on their doorstep: why kererū matter to the bush, the story behind a street name, why the river floods. Each article must be accurate, easy to follow, and use at least one graph, diagram or map.
Explaining is one of the most useful skills you'll ever learn. Scientists, journalists, nurses, builders and game designers all need to explain things clearly to people who don't know what they know. When you can research a topic, check your facts and explain it well, you can learn anything and help others learn it too.

Your first step
Write down five things about your area that you have always wondered about. Circle the one you would most like to become an expert on.
Make it yours
Choose a context
Same big question, three different places to explore it. Pick the one that fits your class and community.
Nature near us
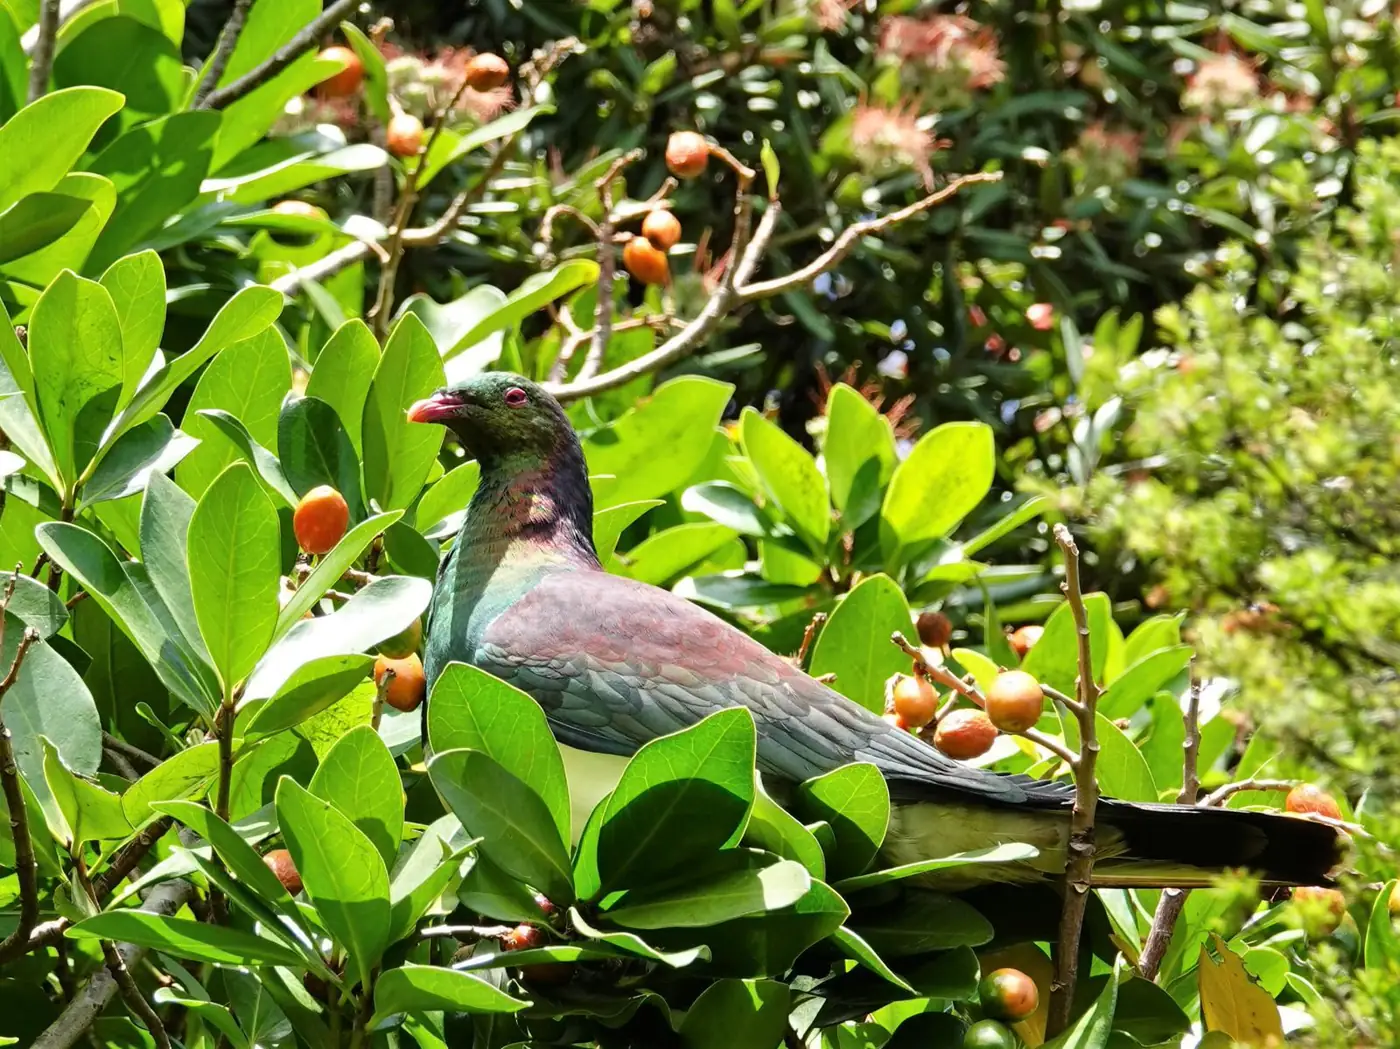
Explain a local science story: how kererū plant the forest, what lives in the school stream, why kōwhai flower in spring, or how the tide works at your beach. Science Learning Hub and DOC are great sources.
Stories in our streets
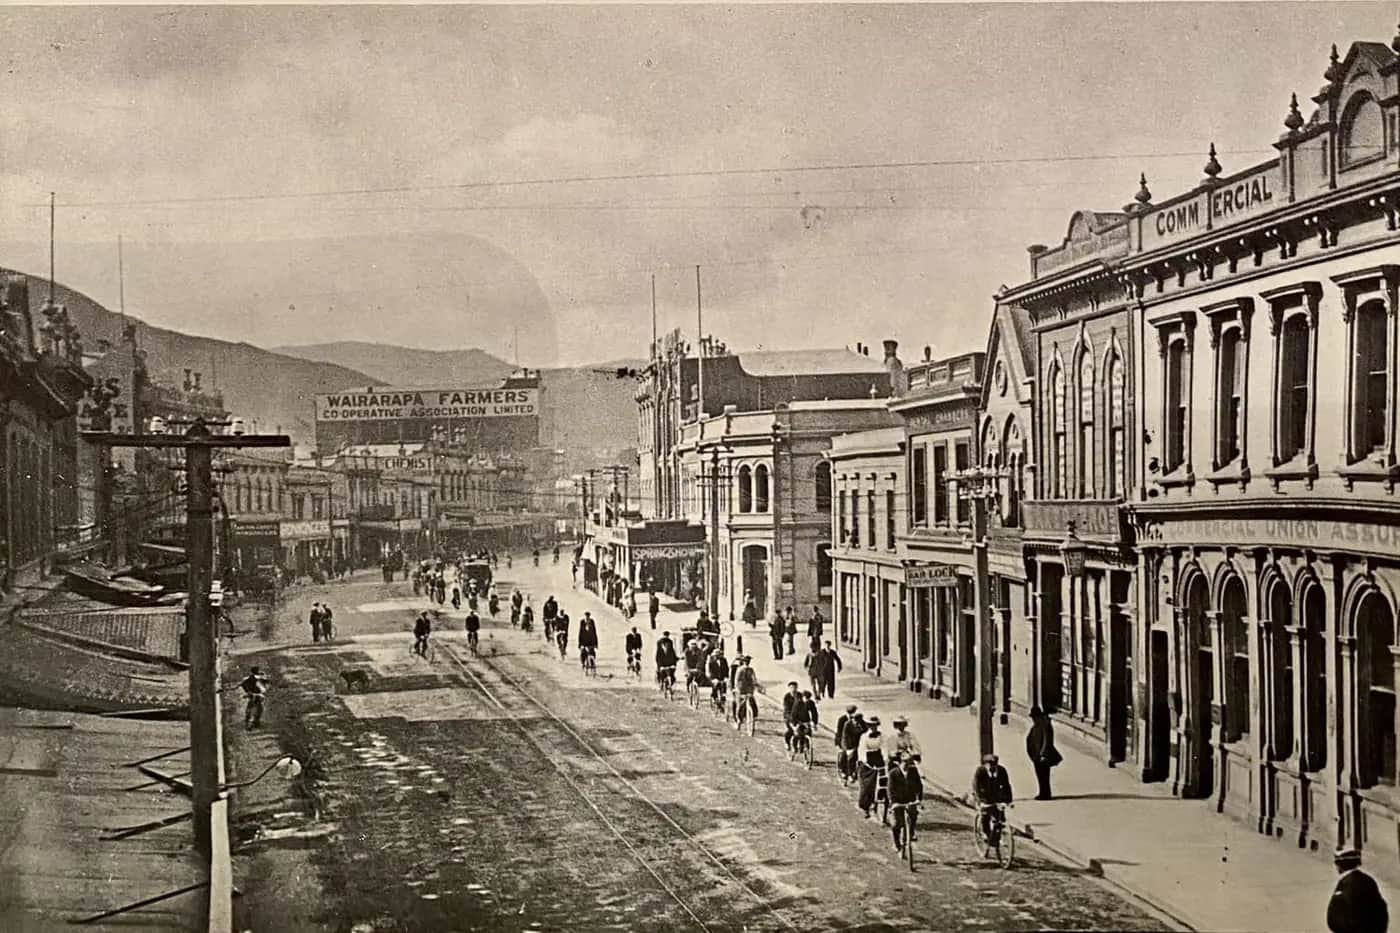
Explain the history behind a street name, a memorial, an old building or a place name in your town. Use NZ History, old photos, Papers Past and people who remember, working with mana whenua on Māori place names.
Numbers that matter
Explain a pattern in real data: how students get to school, how much rain fell this year, or how your town's population has changed. Collect or find the data, graph it, and explain what it shows.
AUTHOR
Week by week
Two sessions a week, each with Getting started and Stretch support so the whole class works together.
- W1Who reads non-fiction, and how is it built?Audience: The 'Did you know?' brief · Understand: Report, explanation or feature?
- W2Ask good questions and learn the writer's toolsUnderstand: From wondering to research questions · Techniques: Hooks, headings and transitions
- W3Show it with visuals, then go and find the evidenceTechniques: Graphs, diagrams and captions · Hear Voices: Research day
- W4Hear from people who know, then plan the articleHear Voices: Talk to an expert · Organise: Plan and draft
- W5Polish, publish and hear what readers learnedOrganise: Revise, edit and lay out · Respond: Magazine launch
Hands-on
Activities
Investigations and projects that fit the weeks above. Open one to see what you need and how you'll know it worked.
Text-type skeletonsHow are reports, explanations and feature articles built differently?Open
You need: three model texts (a report, an explanation, a feature) · highlighters in three colours · large paper
- Read each text once for the gist.
- Highlight the title and lead in one colour, headings and topic sentences in another, and visuals in a third.
- Draw each text's 'skeleton' as boxes: what comes first, next and last.
- Compare the three skeletons. What is the same? What is different?
- Write one rule for each type, such as 'Explanations follow the steps in order'.
How you'll know: You can look at a new non-fiction text and say what type it is, pointing to at least two features.
Go further: Rewrite the first paragraph of the report as a feature lead.
Fits week 1 →Lead labWhich kind of opening makes a reader want to keep going?Open
You need: your topic notes · four coloured cards
- On card 1, write a lead that starts with a question.
- On card 2, start with a surprising fact or number.
- On card 3, drop the reader into a scene: 'It's 5 a.m. and the kererū are already feasting…'.
- On card 4, start with a short quote from a real person.
- Read all four to three classmates. Tally which one they'd keep reading, and ask why.
How you'll know: You chose a lead based on what real readers told you, and you can explain what makes it work.
Go further: Write a matching ending that circles back to your lead.
Fits week 2 →Graph it rightWhich graph explains our data most clearly?Open
You need: class data (such as how everyone gets to school) · grid paper · coloured pencils · a spreadsheet (optional)
- Collect a quick class survey with one clear question.
- Tally the results and check the total matches the number of people.
- Draw a bar graph with a title, labelled axes and a key if needed.
- Draw the same data as a pie chart or pictograph.
- Decide which graph explains the data better, and write a caption that tells readers what to notice.
How you'll know: Someone who hasn't seen the data can read your graph and tell you the main finding.
Go further: Find published data on the same question (for example from CensusAtSchool) and compare your class with the country.
Fits week 3 →Process diagramHow can a diagram explain a process in fewer words?Open
You need: your topic notes · A3 paper · pencils and fine markers
- Choose a process from your topic (how a kererū spreads seeds, how a river floods, how a building was made).
- List the steps in order. Cut any that aren't needed.
- Draw each step as a simple picture with an arrow to the next.
- Add short labels using the correct topic words.
- Test it: can a partner explain the process using only your diagram?
How you'll know: Your partner explains the process in the right order using your diagram alone.
Go further: Add a 'what if' branch showing what happens when one step fails (for example, no kererū left).
Fits week 3 →Source detectiveHow do we know which sources to trust, and how do we give credit?Open
You need: four printed or on-screen sources about one topic (one weak) · source check card · reference list template
- For each source, answer: Who made it? When? Why? What evidence does it give?
- Rank the sources from most to least trustworthy, with a reason for each.
- Find one fact that appears in two trusted sources. That fact is well supported.
- Write a reference for each trusted source: author or organisation, title, date, website or publisher.
- Check any image you want to use: is it Creative Commons or your own? Record the credit.
How you'll know: Your ranking has reasons, and every fact you plan to use has a reference you could find again.
Go further: Use a primary source (an old photo, letter or newspaper on Papers Past) and explain what it adds that a website can't.
Fits week 3 →Interview an expertWhat can a real person tell us that a book or website can't?Open
You need: interview plan with 5–6 open questions · notebook or voice recorder (with permission) · a thank-you card
- Write open questions: 'What was it like…?', 'How did…?', 'What do most people get wrong about…?'.
- Introduce yourselves and explain what the article is for. Ask permission to record and to quote.
- Ask your questions and listen. Ask one follow-up question you didn't plan.
- Write down your best quote word for word, with the person's name and role.
- Send a thank-you and offer to share the finished article.
How you'll know: You have at least one accurate, interesting quote that adds something your other sources didn't.
Safety: Interview in pairs, at school or with a whānau member present. Never meet someone you only know online. For iwi or whānau knowledge, ask how it may be shared.
Go further: Interview two people with different views and include both in your article.
Fits week 4 →Fact to featureHow do we turn a list of facts into writing people enjoy?Open
You need: a list of 6–8 dry facts (teacher-supplied or your own) · transition word bank
- Read the dry fact list. Which fact is most surprising? Start there.
- Group the facts into two paragraphs with a clear topic sentence each.
- Link the facts with transitions: because, as a result, however, for example.
- Add one comparison readers can picture ('as heavy as a can of spaghetti').
- Read it aloud. Does it flow? Does it still say only true things?
How you'll know: Your paragraph is more interesting than the list but every fact is still accurate.
Go further: Rewrite the paragraph for a much younger reader and compare the choices you made.
Fits week 4 →Look closer
From the real world
Background reading
Read to understand
Short readings written for Kōkiri Learn students, with their sources.
- Report, explanation or feature?Non-fiction comes in different shapes. Learn how reports, explanations and feature articles are built, and when to use each.
- Hooks, headings and transitionsThe writer's tools that make non-fiction easy and enjoyable to read: strong leads, clear headings, linking words and precise vocabulary.
- Show it: graphs, diagrams and visualsThe right visual can explain in seconds what words take paragraphs to say. Learn which visual does which job, and how to caption it.
- Research and citing: find it, check it, credit itHow to find good information, check it's true, take notes in your own words and give credit to your sources.
Trusted NZ sites
Explore more
Placed at the stage of the journey where each one helps.
Audience
Kiwi Kids News ↗Kiwi Kids News
News articles written for young New Zealand readers, to study as models.
Understand
Kererū – our native pigeon ↗Science Learning Hub
A clear science article to use as a model and a source.
Techniques
Understanding infographics ↗Science Learning Hub
How infographics turn data into something readers can grasp quickly.
Techniques
CensusAtSchool ↗CensusAtSchool NZ
Real survey data from New Zealand students to graph and explain.
Hear Voices
NZ History ↗Manatū Taonga Ministry for Culture and Heritage
Trusted New Zealand history articles, images and timelines.
Hear Voices
Te Ara Encyclopedia of New Zealand ↗Manatū Taonga Ministry for Culture and Heritage
In-depth, reliable entries on New Zealand places, people, nature and history.
Hear Voices
DigitalNZ ↗DigitalNZ
Search millions of New Zealand photos, newspapers and records at once.
Organise
Digital content: finding, evaluating, using and creating it ↗National Library of New Zealand
Guidance on finding and checking information and using it responsibly.
Respond
About CC licences ↗Creative Commons
What each Creative Commons licence lets you do when you publish.
Real audiences
- Families and visitors at a 'Did you know?' magazine launch
- The local library, museum or information centre
- Another class, who read the articles and leave 'I learned…' cards
- An iwi, community or school newsletter
Work with other schools
- Pair with a class in another region and write an article explaining your place for them, and read theirs about their place.
- Build a shared online 'Did you know?' magazine where each school adds a section about its area.
- Collect the same class survey data in both schools, graph it together, and co-write an explanation of the differences.
Stretch challenges
- Turn your article into a one-page infographic for the school library wall.
- Record your article as a two-minute podcast explainer, adding sound effects or a second voice.
- Offer your article to the local library, museum, council, iwi or community newsletter.
- Write a follow-up article answering the best 'I still wonder' question from your readers.
New Zealand Curriculum
What this world covers
Mapped to the refreshed Phase 3 statements. The whole class covers both the Year 7 and Year 8 sequences over two years.
English · Writing
Writing to inform with a clear introduction, headings, visual features, varied transitions, domain-specific vocabulary and references
Year 8 sequence
English · Writing
Planning, drafting, revising and editing informative texts such as reports, explanations and articles
Year 7 sequence
English · Reading
Reading non-fiction and using visual features (diagrams, maps, charts, graphs) that carry main ideas
Year 7 sequence
Mathematics and Statistics · Statistics
Choosing suitable graphs to show data clearly
Year 7 sequence
Science · Science practices
Evidence-based explanations of local science
Year 7 sequence
Social Sciences · History (Aotearoa)
Using primary sources to explain local history
Year 7 sequence
For teachers: how to run it
Prep: collect four or five model non-fiction texts at different levels (a School Journal-style article, a Kiwi Kids News story, a Science Learning Hub article, an NZ History page, an infographic). Book the library and brief the librarian: Services to Schools can lend topic sets, and the National Library's guidance on inquiry and evaluating digital content supports the research weeks. Topics: steer students toward local topics with accessible sources and at least one person they could interview. For Māori place names, pā sites, wāhi tapu or iwi histories, work through your school's relationship with mana whenua; students should ask permission, record who shared the knowledge, and let the knowledge holder check how it is used. Some stories (land confiscation, war memorials) involve loss and conflict; keep them honest and age-appropriate. Safety: interviews happen in pairs, at school or with a whānau member present; outdoor research (streams, memorials, streets) needs the usual trip permissions and adult supervision. Differentiation: offer a report or explanation frame with headings supplied; confident writers try a feature with a narrative lead, quotes and a sidebar. Students who find writing hard can build an annotated diagram or infographic first and write from it. Kuaka asks one question at the planning stage about how the student knows a fact is true; it does not supply facts. Cross-curricular: this world pairs well with any Kōkiri Lab or Science world (writing up field data) and Social Sciences local history.
Plan this world into any term with the two-year planner. Students can record their thinking in their Kōkiri Learn portfolio.




Ready to run it with your class?
Free trial for NZ schools. One combined Years 7–8 class, any term.