Mathematics and Statistics · World 8 of 8 · Years 7–8
Shape Shifters: Transformations and Tessellation
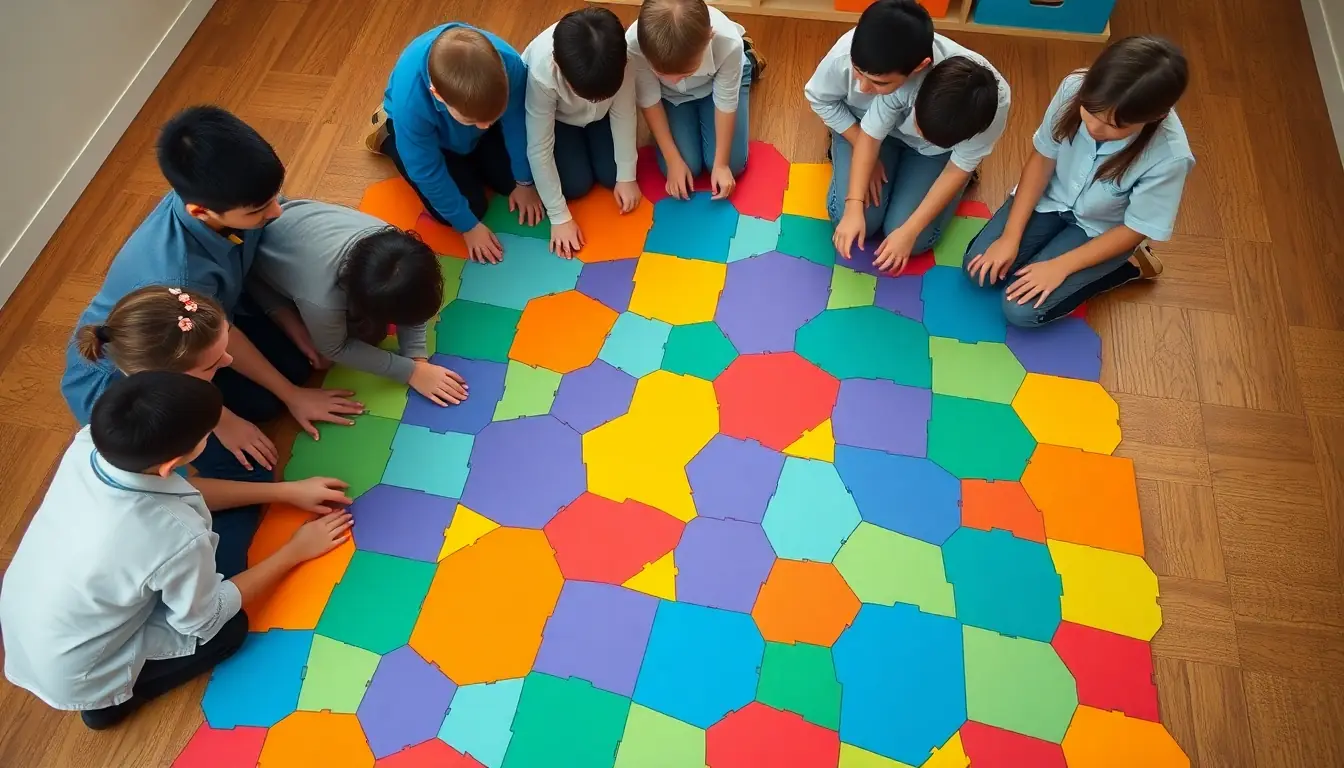
Slide, flip, turn and grow shapes into a pattern with no gaps, then prove it works and give it a real wall or path.
Big question: How do angles and transformations let shapes fit together perfectly, and how can we use them to design a pattern of our own?
- You'll make
- An original tessellating pattern for a real surface at school, presented on a design board with: the base tile, a coordinate-grid diagram of the transformations used, an angle proof that the tiles meet with no gaps, the symmetry of the pattern, a scale drawing of the real space, and a 3D model or display stand built from your own net.
- For
- The principal and property manager or board, whānau at an exhibition evening, and a local tiler, builder, architect or artist who can give real feedback.
- Time
- 5 weeks · 2 sessions a week
Your mission
Why it matters
Your school is upgrading a tired courtyard, entrance path or library wall and has asked the class for pattern designs. The catch: a tiler or painter can only use a design that fits together with no gaps and no overlaps, repeats properly, and can be scaled up from paper to the real space. Your class will design original tessellating patterns, prove the maths behind them, and pitch the best ones to the people who decide.
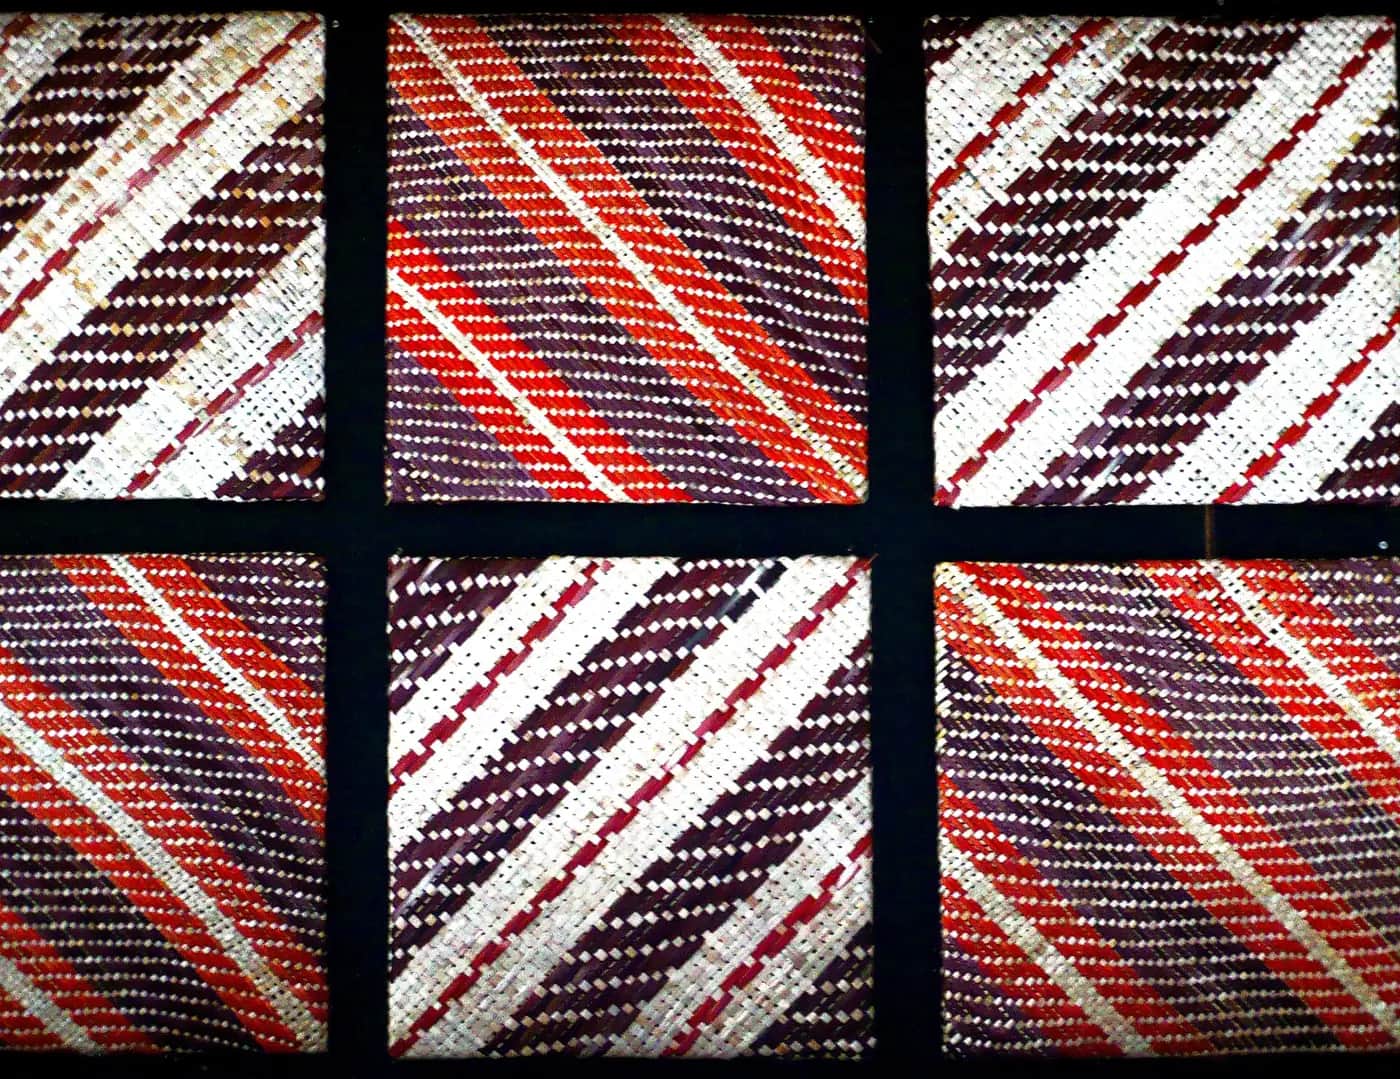
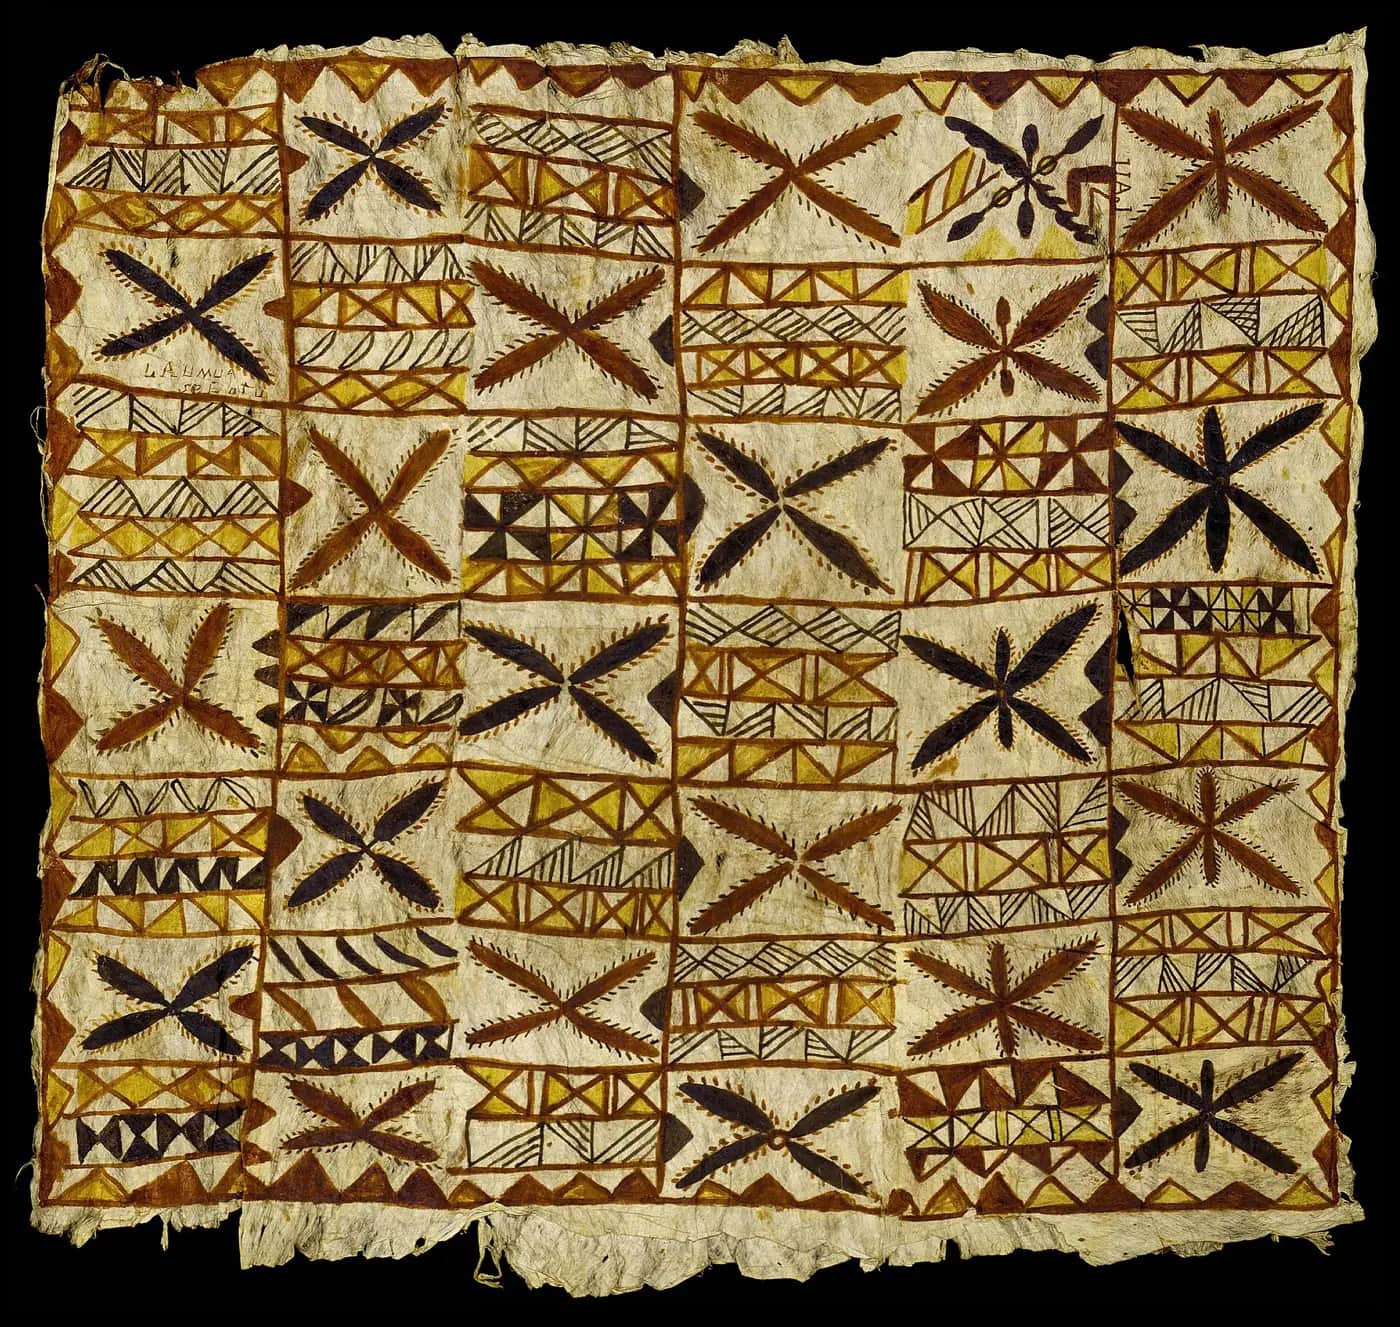
Every tiled floor, brick wall, quilt, honeycomb and woven panel depends on the same maths: angles that add to 360° around a point and shapes that slide, flip and turn into place. Builders, designers, engineers and artists use these ideas every day. Learning to see them also helps you appreciate the skill in patterns from Aotearoa and the Pacific, where weavers and artists have used geometry for centuries.
Your first step
Look down at the floor, the ceiling or the nearest wall. Find a pattern made of repeating shapes. Where do the corners meet? Count the shapes meeting at one point and guess the angle of each.
Make it yours
Choose a context
Same big question, three different places to explore it. Pick the one that fits your class and community.
Our school courtyard, path or wall
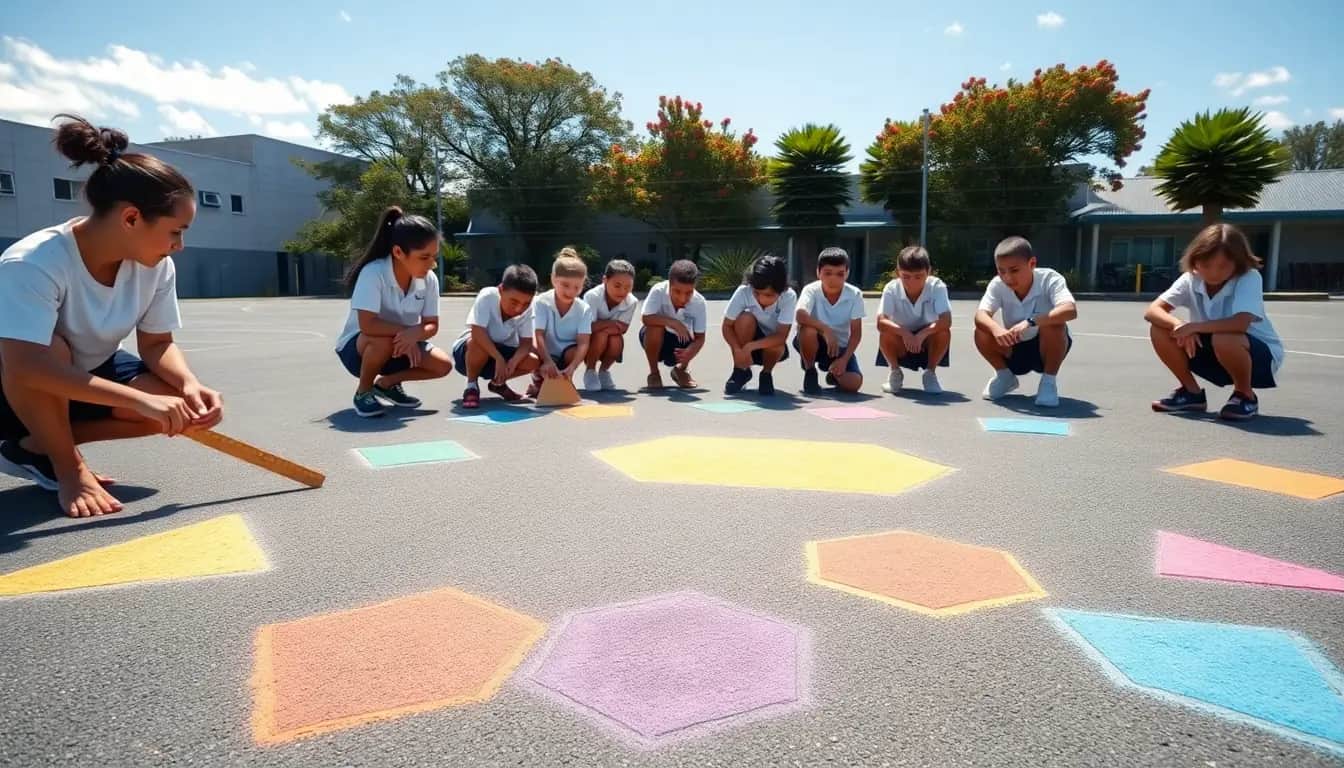
Measure a real surface at school, like an entrance path, a library wall or a courtyard, and design a tiled, painted or paver pattern for it. Work out how many tiles are needed and pitch the designs to the people who can make them happen.
Nature's shape shifters
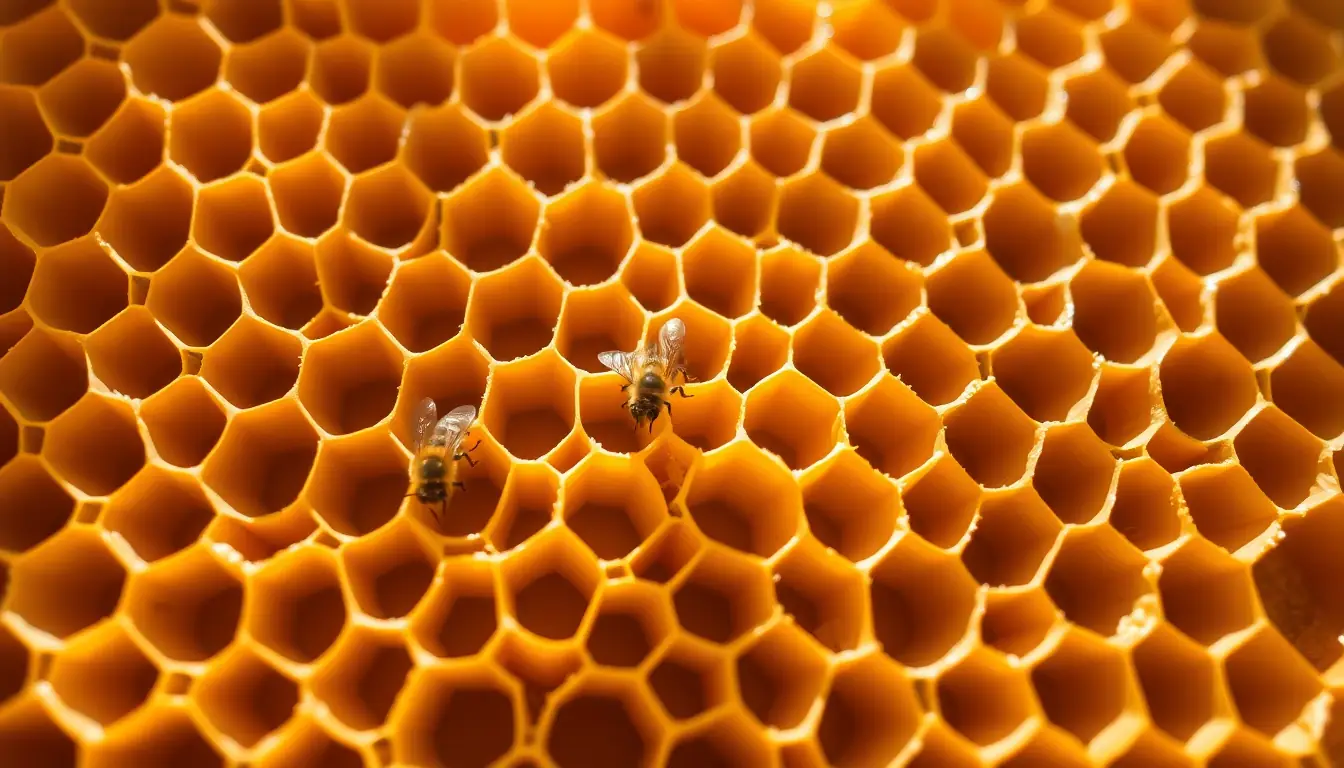
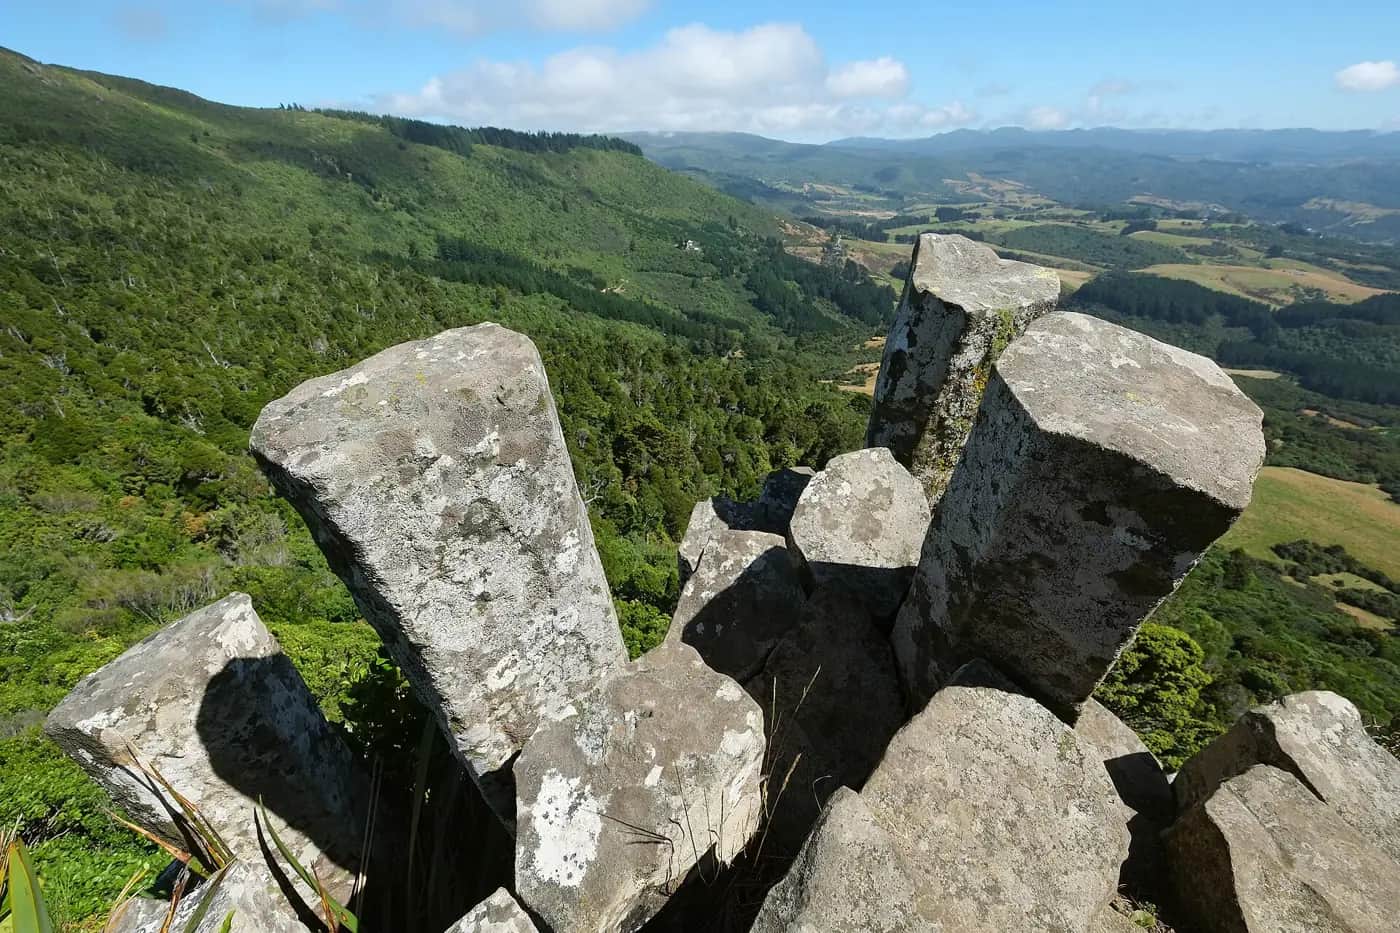
Go looking for geometry in the natural world: hexagons in honeycomb, five- and six-sided basalt columns at the Organ Pipes near Dunedin, the spiral of a fern frond, scales on a fish or a pine cone. Photograph, measure and explain why nature uses the shapes it does, then design a pattern inspired by what you find.
Patterns of Aotearoa, the Pacific and the world
Learn from the geometry in tukutuku and tāniko, Pacific tapa such as ngatu and siapo, Islamic tilework and the tessellations of M. C. Escher. Study how artists use reflection, rotation and translation, and the meanings their patterns carry, with care and respect. Then design motifs that are your own.
SOLVE
Week by week
Two sessions a week, each with Getting started and Stretch support so the whole class works together.
- W1Shape safari: patterns everywhereSee the Pattern: Pattern hunt · See the Pattern: Why 180°?
- W2Polygon rules: what fits around a point?Organise Information: Angle sums from triangles · Organise Information: Will it tessellate?
- W3Slide, flip, turn, grow: transformations and symmetryLink Ideas: Moving shapes on a grid · Link Ideas: Reading patterns with respect
- W4Design your own tessellationLink Ideas: Nibble tiles · Verify: Check the design
- W5Scale it up, build it and pitch itVerify: From paper to the real space · Explain: Shape Shifters exhibition
Hands-on
Activities
Investigations and projects that fit the weeks above. Open one to see what you need and how you'll know it worked.
Tear the cornersDo the angles of every triangle really add up to 180°?Open
You need: Paper · Ruler · Coloured pencils · Scissors · Protractor
- Draw a large triangle with a ruler. Make it any shape you like.
- Colour each corner a different colour and cut the triangle out.
- Tear off the three corners.
- Place the three torn points together so they touch at one spot, edges side by side.
- Check: do they make a straight line (180°)? Compare with triangles made by others.
- Measure each angle of a new triangle with a protractor and add them. Explain any small differences.
How you'll know: You can show with torn corners, and explain in words, why every triangle's angles make a straight line.
Safety: Carry and use scissors carefully.
Go further: Use the same trick on a quadrilateral. What do its four corners make? Why?
Fits week 1 →Shape safariWhere are tessellations hiding in our school and in nature?Open
You need: Tablet or camera · Clipboard and recording sheet · Tape measure · Protractor
- Walk the school grounds in pairs within the agreed area.
- Photograph or sketch at least five repeating patterns: pavers, bricks, fences, grates, leaves, bark.
- For each, record the shape, how many meet at one corner, and a measurement of one tile.
- Look for one natural pattern too (a leaf, a flax weave, a spider web, a shell).
- Back in class, sort your patterns: regular (one shape), mixed (more than one shape), or not a tessellation.
How you'll know: Your sheet shows at least five patterns with shapes named and the corner count recorded.
Safety: Stay in the agreed area, away from car parks and roads. Wear a hat and sunscreen. Do not touch insects or spider webs.
Go further: Measure the angles at one corner of a paver pattern. Do they add to 360°?
Fits week 1 →Angle sums from trianglesCan we find the angle sum of any polygon without measuring?Open
You need: Grid paper · Ruler · Coloured pencils · Table template
- Draw a quadrilateral, a pentagon, a hexagon and an octagon.
- In each, pick one corner and draw straight lines to every other corner you can reach without crossing a side.
- Count the triangles. Each has 180°.
- Fill in the table: sides (n), triangles, angle sum.
- Find the pattern and write the rule: angle sum = 180(n − 2)°.
- Test the rule on a 12-sided shape. Then find each angle of a regular 12-gon.
How you'll know: Your table and rule predict the angle sum of a shape you have not drawn yet.
Go further: Walk around a chalk polygon on the court, turning at each corner. Why do the exterior angles of every polygon add to 360°?
Fits week 2 →Will it tessellate?Which regular polygons can cover a floor with no gaps on their own?Open
You need: Card templates of regular triangles, squares, pentagons, hexagons and octagons (same side length) · Scissors · Glue · Large sheet of paper
- Cut out at least six of each shape.
- Try to fit each shape around one point with no gaps or overlaps.
- Record how many fit and the size of each angle.
- Check: does the total at the corner equal 360°?
- Try mixing shapes (for example octagons and squares, or hexagons and triangles).
- Glue down your best mixed tessellation and label the angles at one corner.
How you'll know: You can explain with numbers why triangles, squares and hexagons tessellate but pentagons and octagons do not on their own.
Safety: Carry and use scissors carefully.
Go further: Find a pentagon that does tessellate. (Hint: it does not have to be regular.) Check your corners add to 360°.
Fits week 2 →Transformation trailWhat happens to coordinates when we reflect, rotate, translate or enlarge a shape?Open
You need: Four-quadrant grid paper · Tracing paper · Small mirror · Ruler · Coloured pens
- Draw a triangle with corners at A(1, 1), B(4, 1) and C(1, 3).
- Translate it 3 left and 4 down. Record the new corners.
- Reflect the original in the y-axis. Check with a mirror. What happens to each x-coordinate?
- Rotate the original 90° clockwise about (0, 0) using tracing paper. Record the new corners.
- Enlarge the original by scale factor 2 from (0, 0). Measure the new sides and compare the areas.
How you'll know: Your coordinate table shows a clear rule for each transformation, and your enlarged triangle has sides twice as long and an area four times as big.
Go further: Find a combination of two reflections that gives the same result as a 180° rotation about (0, 0).
Fits week 3 →Pattern readersHow do artists of Aotearoa, the Pacific and the world use transformations?Open
You need: Printed images from Te Ara, museum collections and the gallery on this page · Tracing paper · Recording sheet
- Choose one pattern: tukutuku, tāniko, siapo or ngatu, Islamic tilework, an Escher print, or honeycomb.
- Read what the source says about who made it, its name and its meaning.
- Lay tracing paper over the pattern. Find and mark a translation, a reflection line and a centre of rotation.
- Record the symmetry: lines of symmetry and order of rotational symmetry.
- Write two sentences about the geometry and one about what the pattern means to the people who made it.
How you'll know: You can point to each transformation in the pattern and explain it, and you can say who made it and what it means.
Go further: Tāniko weavers could not weave curves, so their designs use triangles, diamonds and steps. How does the way something is made change the geometry you can use?
Fits week 3 →Nibble tileHow can we turn a plain square into a unique tile that still tessellates?Open
You need: Card squares (about 6 cm) · Scissors · Sticky tape · A3 paper · Coloured pencils or felt pens
- On the top side of the square, draw a curvy or zig-zag line and cut it out.
- Slide (translate) the piece straight down to the bottom side and tape it on. Do not flip it.
- Repeat with the left side, sliding the piece to the right side.
- Trace the tile, slide it along, trace again. Fill the A3 sheet with no gaps.
- Decorate so that every tile looks like your own original motif.
How you'll know: Your traced tiles fit with no gaps or overlaps across the whole sheet, and you can name the transformation you used.
Safety: Carry and use scissors carefully.
Go further: Make a second tile where the nibble is rotated 90° about a corner instead of translated. How does the pattern change?
Fits week 4 →Nets for a display standWhich flat shapes fold into a strong 3D stand for our designs?Open
You need: Card · Ruler · Protractor · Scissors · Glue or tape
- Choose a prism or pyramid shape for your stand (a triangular prism makes a good sloping stand).
- Sketch the net: all the faces laid flat and joined along edges.
- Measure and draw the net accurately on card, with tabs for gluing.
- Cut, score the fold lines lightly and fold.
- Test: does it close with no gaps? Does it hold your design board?
How you'll know: Your net folds into a closed 3D shape that stands up and holds your board.
Safety: Carry and use scissors carefully. Teachers use craft knives for scoring if needed.
Go further: There are 11 different nets for a cube. How many can your group find? How do you know two are really different?
Fits week 5 →Look closer
From the real world
Background reading
Read to understand
Short readings written for Kōkiri Learn students, with their sources.
- Angles, triangles and the 180° ruleTypes of triangles, why their angles always add to 180°, and how that rule unlocks the angle sum of any polygon.
- Moving shapes: transformations and symmetryThe four ways to move or change a shape on a grid, what they do to coordinates, and how to describe the symmetry of a pattern.
- Tessellations in nature and cultureWhy only some shapes tessellate, where nature uses them, and how weavers and artists in Aotearoa, the Pacific and beyond use geometry with meaning.
Trusted NZ sites
Explore more
Placed at the stage of the journey where each one helps.
See the Pattern
Tessellation ↗Maths Is Fun
Regular and semi-regular tessellations with clear pictures and an interactive tool.
See the Pattern
Triangles ↗Maths Is Fun
Types of triangles by sides and angles, and the 180° rule.
Organise Information
Interior angles of polygons ↗Maths Is Fun
The triangle method for any polygon's angle sum, with a table to check your own.
Organise Information
Transformations ↗Maths Is Fun
Translation, reflection, rotation and resizing explained with diagrams.
Link Ideas
Symmetry ↗Maths Is Fun
Reflection and rotational symmetry, for describing your pattern.
Link Ideas
Tāniko and tukutuku ↗Te Ara Encyclopedia of New Zealand
How tukutuku and tāniko are made, and the names and meanings of key designs.
Link Ideas
Pacific grassroots arts ↗Te Ara Encyclopedia of New Zealand
How Pacific artists in Aotearoa make and share tapa, tīvaevae and weaving.
Link Ideas
Symmetry gallery ↗The M.C. Escher Company
Escher's famous tessellations of birds, fish and lizards, to study his transformations.
Verify
Polypad ↗Amplify
Free digital polygons and tiles to test whether your design leaves gaps.
Verify
Resizing (enlargement) ↗Maths Is Fun
Scale factors and what they do to lengths and areas when you scale up.
Explain
Polyhedron models and nets ↗Maths Is Fun
Printable nets for building 3D shapes for your display.
Real audiences
- The principal, property manager or board deciding on the courtyard, path or wall
- Whānau at a Shape Shifters exhibition evening
- A local tiler, builder, architect or artist who can say whether the design could really be made
Work with other schools
- Pattern swap: send a partner class a tile template and instructions only, and see if they can rebuild your tessellation. Compare the results by video call or shared photos.
- Build a joint 'shape safari' map with a school in another region: each class adds photos of tessellations and natural patterns from its area, with the shapes and corner angles labelled.
- Make a shared quilt of paper tiles: each school designs tiles that must fit the same edge rules, then the pieces are posted and joined into one large tessellation.
Stretch challenges
- Research the eight semi-regular tessellations and build one from card polygons. Label the corner type (for example 3.3.3.4.6).
- Design a pattern using enlargement: a tile that is made of smaller copies of itself. Find out what a fractal is.
- Find out why bees build hexagons rather than squares or triangles. Compare the perimeter of a square, triangle and hexagon that all have the same area.
- Use Polypad or GeoGebra to make your tessellation digitally and test combined transformations.
New Zealand Curriculum
What this world covers
Mapped to the refreshed Phase 3 statements. The whole class covers both the Year 7 and Year 8 sequences over two years.
Mathematics and Statistics · Geometry
Classifying triangles by angles and sides; the interior angle sum of a triangle; transforming 2D shapes on the coordinate plane by a single translation, reflection or rotation about a point by a multiple of 90°; drawing nets for prisms and pyramids
Year 7 sequence
Mathematics and Statistics · Geometry
Proving the angle sum of a triangle is 180° and generalising 180(n − 2)° for any polygon; exterior angles summing to 360°; transforming shapes, including composite shapes, by combinations of translations, reflections, rotations and scaling by any factor
Year 8 sequence
Mathematics and Statistics · Algebra
Writing a rule with letters from a table of results (number of sides and angle sum) and using it to predict
Year 8 sequence
Mathematics and Statistics · Measurement
Using area formulae and metric conversions to work out how many tiles cover a real surface
Year 7 sequence
The Arts · Visual arts
Identity and respect for cultural symbols: learning about tukutuku, tāniko and tapa, then creating original motifs
Year 7 sequence
For teachers: how to run it
Prep: card or cereal-box card, scissors, rulers, protractors, tracing paper, grid paper with four quadrants, mirrors, split pins, sticky tape, coloured paper polygons (equilateral triangles, squares, regular pentagons, hexagons and octagons, all with the same side length), chalk and a tape measure for full-scale work. Polypad and GeoGebra are free online options for digital transformations. Maths focus: this world covers the Phase 3 geometry taught across Years 7 and 8: classifying triangles by angles and sides; the interior angle sum of a triangle (180°), quadrilateral (360°) and any polygon (180(n − 2)°); exterior angles summing to 360°; transformations on the coordinate plane (single translations, reflections and 90° rotations, extending to combinations and enlargement by any scale factor); and nets of prisms and pyramids. Push for proof, not just measurement: measured angles vary by a few degrees, so ask students why the answer must be exactly 180°. Safety: take care with scissors and craft knives (teacher-only for knives); outdoor chalk work and nature walks need clear boundaries, sun protection and a check for hazards; any trip (to a museum, marae, bush track or the Organ Pipes) needs the usual EOTC risk assessment. Cultural care: tukutuku, tāniko and kōwhaiwhai are taonga with names, meanings and whakapapa, and some patterns belong to particular iwi, hapū or wharenui. Pacific tapa (ngatu, siapo, masi, hiapo) carries family and community meaning too. Students study these patterns to understand the geometry and the knowledge behind them, using sources such as Te Ara and museum collections, and do not copy them into their own designs. Where possible invite a weaver, artist or kaumātua through the school's iwi or Pacific community relationships, and ask permission before photographing patterns in a wharenui or church. If a design will go on a public school wall, consult mana whenua and the school's cultural advisers. Differentiation: start with squares and equilateral triangles and single transformations using tracing paper; extend to polygon angle-sum rules written with algebra, semi-regular tessellations, combined transformations with coordinates, enlargement with area scale factors, and Escher-style tiles made by rotation about a midpoint. Tohu asks one question when a group presents its design board: how do you know the pattern will never leave a gap? It never gives answers. Links: pairs with Kōkiri Lab technology and design worlds, and with the Arts learning area for visual design.
Plan this world into any term with the two-year planner. Students can record their thinking in their Kōkiri Learn portfolio.
More Mathematics and Statistics worlds




Ready to run it with your class?
Free trial for NZ schools. One combined Years 7–8 class, any term.