
The Arts · World 2 of 8 · Years 7–8
Transforming Ideas into Form
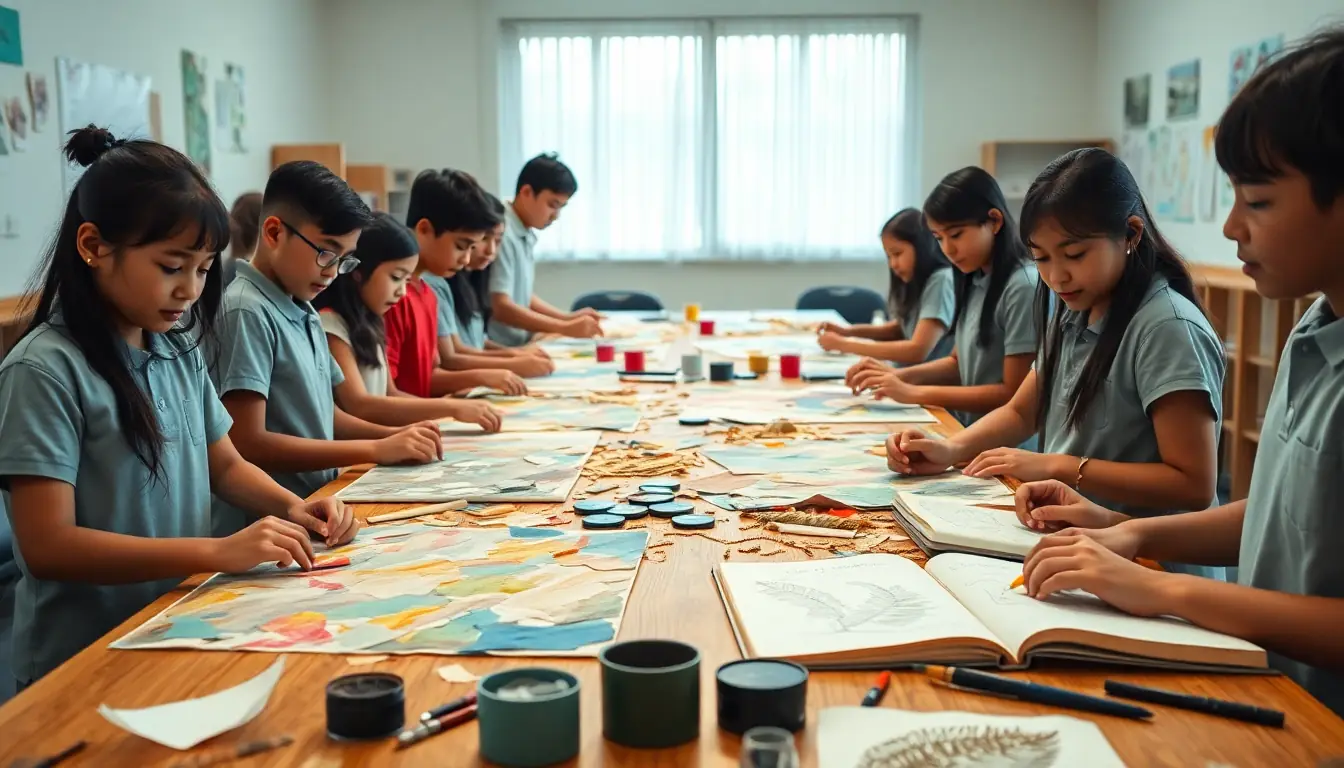
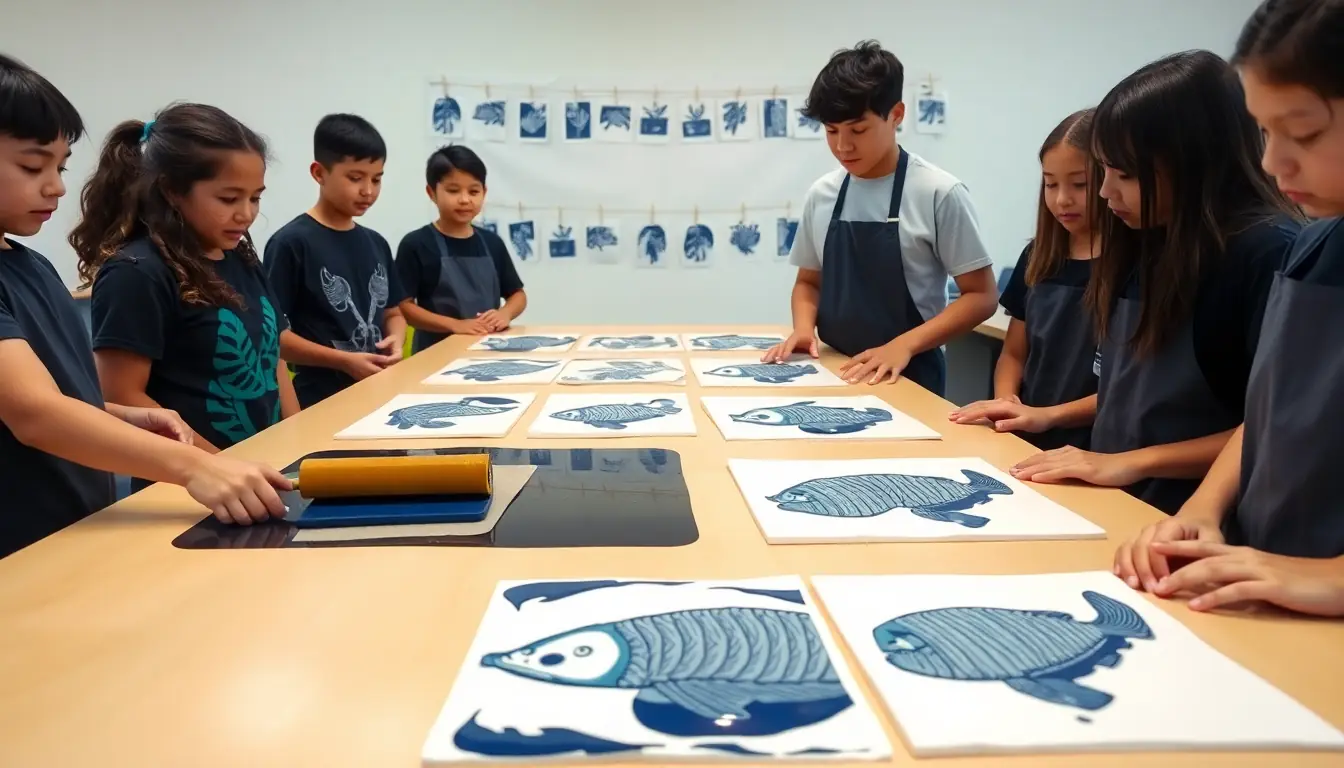
Make art for a real event, not just a wall. Plan it, test it, take critique, change it, then show the public your work and your process.
Big question: What turns a good idea into an artwork that really works for its audience and its place?
- You'll make
- A refined original artwork (2D, 3D, installation, or combined with sound or movement) made for a specific audience and place, a visual diary that documents your process, and an artist statement that explains your intent, influences and choices.
- For
- The public at a community exhibition, festival or event, plus the organisers who invited the work
- Time
- 5 weeks · 2 sessions a week
Your mission
Why it matters
A community event is coming: a Matariki celebration, a library exhibition, a council foyer that needs something to look at, or a beach clean-up that wants a message people won't forget. They don't want decoration. They want work that means something. Over five weeks you will develop, test and refine one artwork for that real audience, and exhibit it with the visual diary that shows every decision you made.
Professional artists rarely get it right first time. Len Lye's Wind Wand, the 45-metre red pole that sways over the New Plymouth foreshore, was built from his plans years after he died, and still needed engineering tests. Learning to plan, test, take critique and change your mind is how ideas become real, in art, design, science and life. And art in public places shapes how a community sees itself.

Your first step
Draft a concept board: your idea in one sentence, who the audience is and where the work will be shown, three techniques you want to explore, one artist who inspires you, and three success criteria that describe what the finished work must do.
Make it yours
Choose a context
Same big question, three different places to explore it. Pick the one that fits your class and community.
A Matariki or community festival
Make work for a Matariki gathering, a Pasifika or Diwali night, a school gala or a local market. Think about light, night-time viewing, crowds and celebration. Work with the organisers, and if the event is a Matariki celebration, learn from mana whenua and local kaumātua about what the stars mean here.
A public building
A library foyer, council service centre, medical centre waiting room, sports club or marae dining hall (with permission). Who waits there, and how do they feel? Design work that belongs to that space: its size, light, walls, and the people who pass through every day.
Land and sea
Temporary environmental art at a beach, reserve, stream bank or the school grounds, made from natural or found materials and photographed. Link it to a restoration or clean-up project so the work carries a message about the whenua or moana. Take nothing living, leave no trace.
CREATE
Week by week
Two sessions a week, each with Getting started and Stretch support so the whole class works together.
- W1Meet the brief and build a conceptConnect: Art for a reason · Respond: Influences and protocols
- W2Run purposeful experimentsExperiment: Question-led trials · Experiment: Motifs and maquettes
- W3Arrange with intent and face critiqueArrange: Structure and flow · Arrange: Formal critique
- W4Transform the work toward resolutionTransform: Iterate · Transform: Resolve and present
- W5Exhibit for the communityExhibit: Install and rehearse · Exhibit: Showcase and reflect

Hands-on
Activities
Investigations and projects that fit the weeks above. Open one to see what you need and how you'll know it worked.
Concept boardWhat exactly am I making, for whom, and how will I know it works?Open
You need: A3 paper or a digital board (Google Slides or Canva) · printed images · the organiser's brief
- Write your idea in one sentence in the centre.
- Around it add: audience, place, three techniques, one or two influences with images, and any constraints from the brief.
- Write three success criteria that start 'The work must…' (e.g. 'be readable from 5 metres', 'make visitors think about the stream').
- Show it to someone from the audience group and change one thing after their comment.
How you'll know: Anyone reading your board can explain your idea and how you'll judge the finished work.
Go further: Add a 'risks' corner: what could go wrong, and your plan B.
Fits week 1 →Visual diary habitHow do artists grow an idea over time?Open
You need: visual diary or digital folder · glue stick · camera or tablet
- Every session, add one sketch, one photo and one sentence about a decision.
- Label trials: what you tried, what happened, what's next.
- Stick in scraps, colour tests and feedback notes, not just 'nice' pages.
- At the end, mark the page that changed your work most and explain why.
How you'll know: Someone reading your diary can follow how the idea developed without you there.
Go further: Annotate one page from the point of view of an artist you studied: what would they say about your choice?
Fits week 2 →Motif to patternHow can one small shape become a whole design?Open
You need: paper · tracing paper · stamp materials (foam, card) or a digital drawing tool
- Draw a simple motif from your idea, five times, simpler each time.
- Repeat it by translating (sliding), reflecting (flipping) and rotating (turning).
- Try it in two colour schemes and two sizes.
- Choose the version that strengthens your meaning, and write why.
How you'll know: The pattern still carries your original idea, and you can name the transformations you used.
Go further: Use the maths transformations to make a tessellation that fills the space with no gaps.
Fits week 2 →Maquette in the real spaceWill it work at full size, in that place?Open
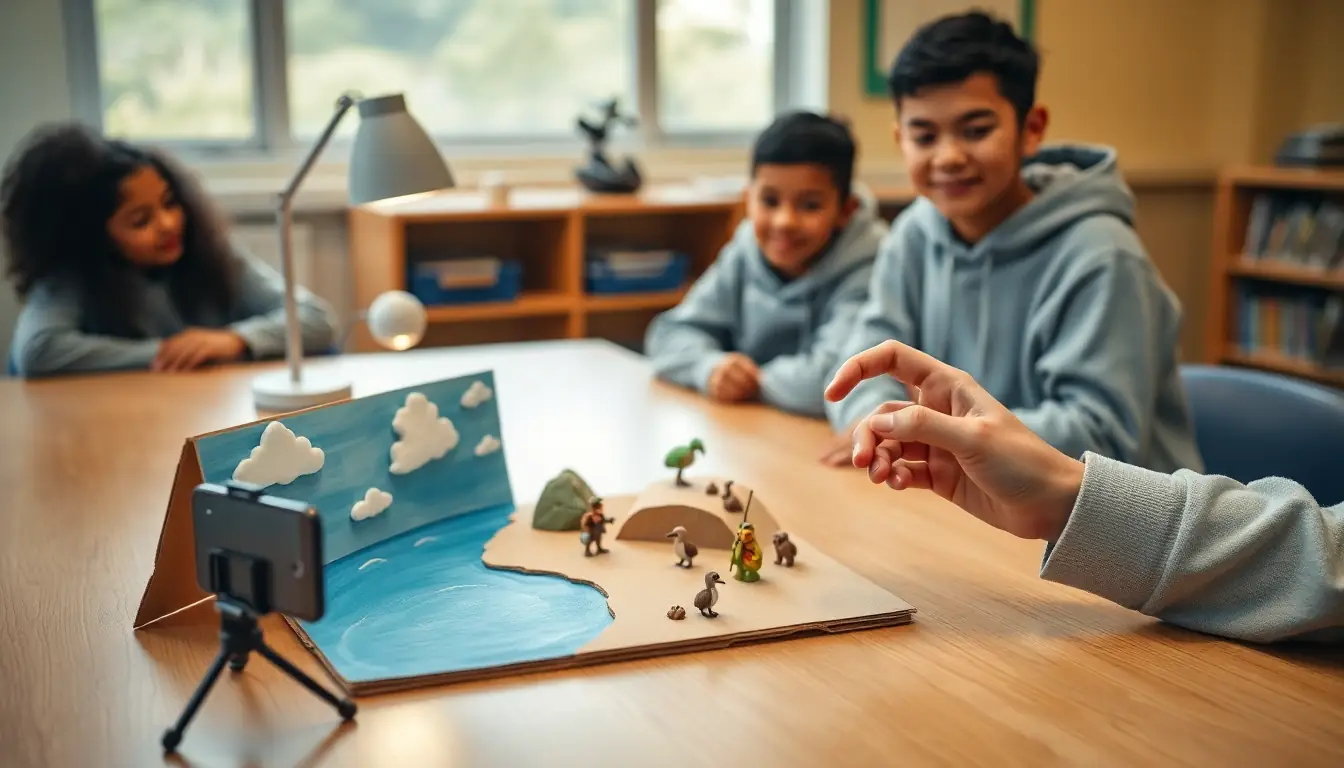
You need: card, wire, clay or recycled materials · masking tape · a photo of the real space · ruler
- Measure the real space (or estimate from a photo with a known object, such as a door).
- Build a small model at a simple scale, such as 1 cm to 10 cm.
- Photograph the maquette in front of a printed photo of the space, or place it in a shoebox model of the room.
- Check: can people walk around it? Will it be seen from the doorway? Is it safe?
How you'll know: You can explain how big the real work will be and where the viewer will stand.
Safety: Wire ends bent back or taped; craft knives only at the supervised station with a cutting mat.
Go further: Make two maquettes at different scales and ask the organiser which works better.
Fits week 2 →Soundtrack mixHow does harmony change the mood of a space?Open
You need: BandLab for Education or Chrome Music Lab · headphones
- Write a short melody (8 bars) that matches your artwork's feeling.
- Add two different harmonies or chord patterns under it: one major, one minor.
- Mix in a field recording from your place (birds, waves, traffic) at low volume.
- Play both versions beside your maquette and ask listeners which fits the artwork, and why.
How you'll know: Listeners notice the mood change between versions and can link it to the artwork.
Go further: Add a bass line using the root note of each chord.
Fits week 3 →Formal critiqueIs my work doing what I said it must?Open
You need: your work in progress · your success criteria · sticky notes · a timer
- In one minute, explain your intent and read out your success criteria. No apologies.
- Listen while the group gives 'I notice… I wonder… What if…' linked to your criteria.
- Ask one question back to the group.
- Rank the suggestions by impact and choose the top two to try.
How you'll know: You leave with a written change plan where every change links to a success criterion.
Go further: Critique your own work first, then compare with what the group said.
Fits week 3 →Temporary land artHow can a place itself become the artwork?Open
You need: a beach, reserve or school-ground site checked by an adult · found natural materials (stones, driftwood, fallen leaves) · camera
- Walk the site and collect only fallen or loose natural materials. Take nothing living.
- Arrange them into a form that carries your idea: a spiral, a line leading somewhere, a colour gradient.
- Photograph it from three viewpoints and at two times of day if you can.
- Return materials to where they came from.
How you'll know: Your photographs show the work clearly and the site looks as it did when you arrived.
Safety: Adult supervision near water; check tide times; stay off dunes and away from nesting birds; wear sunscreen and hats.
Go further: Make a time-lapse of the tide or wind changing the work, and write about how change is part of its meaning.
Fits week 4 →Install like a curatorHow does the way a work is shown change what people see?Open
You need: your finished work · labels · tape measure · lighting (lamps or LED lights)
- Hang or place the work with its centre at about 145 cm from the floor (a common gallery height), or on a plinth.
- Test three positions in the space and choose the one with the best sight line from the entrance.
- Place the label and your visual diary so visitors find them after they look at the work.
- Walk in as a visitor and check what you notice first.
How you'll know: Visitors see the work first, then the label and diary, in that order.
Safety: An adult checks fixings, weight and ladders; cables are taped down.
Go further: Design a lighting plan for a night-time version of the exhibition.
Fits week 5 →Look closer
From the real world

Background reading
Read to understand
Short readings written for Kōkiri Learn students, with their sources.
- Visual diaries: how artists think on paperWhy artists keep a visual diary, what goes in it, and how trials, maquettes and critique turn a first idea into a resolved work.
- Art in public: making work for a place and its peopleHow public art differs from art on a gallery wall, with examples from Aotearoa, and the questions to ask before you make work for a community.
- Motifs, meaning and respectHow repeated shapes carry meaning, why some forms come with responsibilities, and how to create motifs that are truly your own.
Trusted NZ sites
Explore more
Placed at the stage of the journey where each one helps.
Connect
Public and street art ↗Te Ara
Public art across Aotearoa: how art responds to a place and a community.
Respond
Te Papa Collections Online ↗Te Papa
Find influences from Aotearoa and the Pacific for your concept board.
Respond
Len Lye Foundation ↗Len Lye Foundation
The story, drawings and moving sculptures of one of New Zealand's most inventive artists.
Experiment
Sculpture and installation art ↗Te Ara
Ideas for working in 3D and at installation scale.
Transform
Chrome Music Lab ↗Google
Compose and test a soundtrack for your installation in the browser.
Exhibit
Govett-Brewster Art Gallery / Len Lye Centre ↗Govett-Brewster
How a public gallery presents and talks about contemporary art.
Exhibit
Creative New Zealand ↗Creative NZ
How New Zealand artists share work with communities.
Real audiences
- The public at a community exhibition, festival or Matariki event
- The organisers and staff of the building where the work is shown
- Whānau at the school's end-of-term showcase
Work with other schools
- Hold a combined exhibition with partner schools on one theme (such as 'Our awa' or 'Matariki'), with each school installing its works and sharing a joint online catalogue.
- Swap visual diaries (scanned) with a class in another region for written peer critique against the artists' success criteria.
- Invite a gallery educator or local artist to run one live video critique for several schools at once.
Stretch challenges
- Exhibit in a public space beyond the school, such as the library, a council foyer or a local café.
- Collaborate with a musician or dancer to make a combined piece where sound or movement responds to your artwork.
- Make a short film documenting your process from concept board to installation.
- Write a proposal to your local council or community board for a permanent artwork, with a maquette and budget.
New Zealand Curriculum
What this world covers
Mapped to the refreshed Phase 3 statements. The whole class covers both the Year 7 and Year 8 sequences over two years.
The Arts · Visual arts
Using elements, principles and conventions with clear intention to express personal and cultural meaning; placement, scale, contrast, balance and emphasis
Year 8 sequence
The Arts · Visual arts
Developing and refining ideas with visual diaries, maquettes and digital concept boards; symbolic forms and motifs; protocols for forms, motifs and materials
Year 8 sequence
The Arts · Performing arts (dance and drama)
Flow and transitions; whanaungatanga and manaakitanga in collaborative making (performance option)
Year 8 sequence
The Arts · Music
Harmony and mood; digital composition and mixing for an installation soundtrack (sound option)
Year 8 sequence
Technology · Design and innovation
Working to a brief with a stakeholder; iterating through feedback toward a resolved outcome
Year 8 sequence
Social Sciences · Civics and society
How art in public spaces reflects and shapes community identity
Year 8 sequence
For teachers: how to run it
Prep: secure a real audience and venue before week 1 (library, council foyer, community centre, festival organiser or an end-of-term showcase) and invite the organiser to set the brief and return for the exhibition. Collect media for trials: acrylic and poster paint, oil pastels, inks, card, wire, air-drying clay, recycled materials, fabric and LED tea lights for night events. Every student keeps a visual diary (paper or digital) from day one; model a page yourself. Safety: wire cutters and craft knives only at a supervised station with cutting mats; hot glue guns on low temperature; any work hung in public must be checked for weight, sharp edges and fixings by an adult; land art sites need a site check, a tide time and adult supervision near water. Protocols: the Years 7–8 teaching sequence asks students to think about the whakapapa of forms, motifs and materials. Teach that customary Māori and Pacific forms (kōwhaiwhai, tukutuku, tā moko, tapa and ngatu designs) carry meaning and responsibilities; students may study them but design their own motifs. For Matariki events, marae venues or pūrākau, work through mana whenua and the school's iwi relationships, and invite kaumātua guidance early. Critique: schedule a formal interim critique in week 3 against students' own success criteria, using 'I notice… I wonder… What if…'; no rankings. Differentiation: supported learners choose from three concept templates and one medium; confident learners work at installation scale, collaborate with a musician or dancer, or make a second version for a different audience. Photograph hands and work, not faces, for online sharing. Pīwakawaka, the AI companion, asks one question about intent; it never makes or judges the work. Kōkiri Lab links: technology design worlds use the same brief–iterate–evaluate loop.
This world is live in Kōkiri Learn: students record each stage, and your dashboard shows who has started and where they are, never rankings or scores.
More Arts worlds

Ready to run it with your class?
Free trial for NZ schools. One combined Years 7–8 class, any term.