The Arts · World 8 of 8 · Years 7–8
Stop Motion Studio: Animation
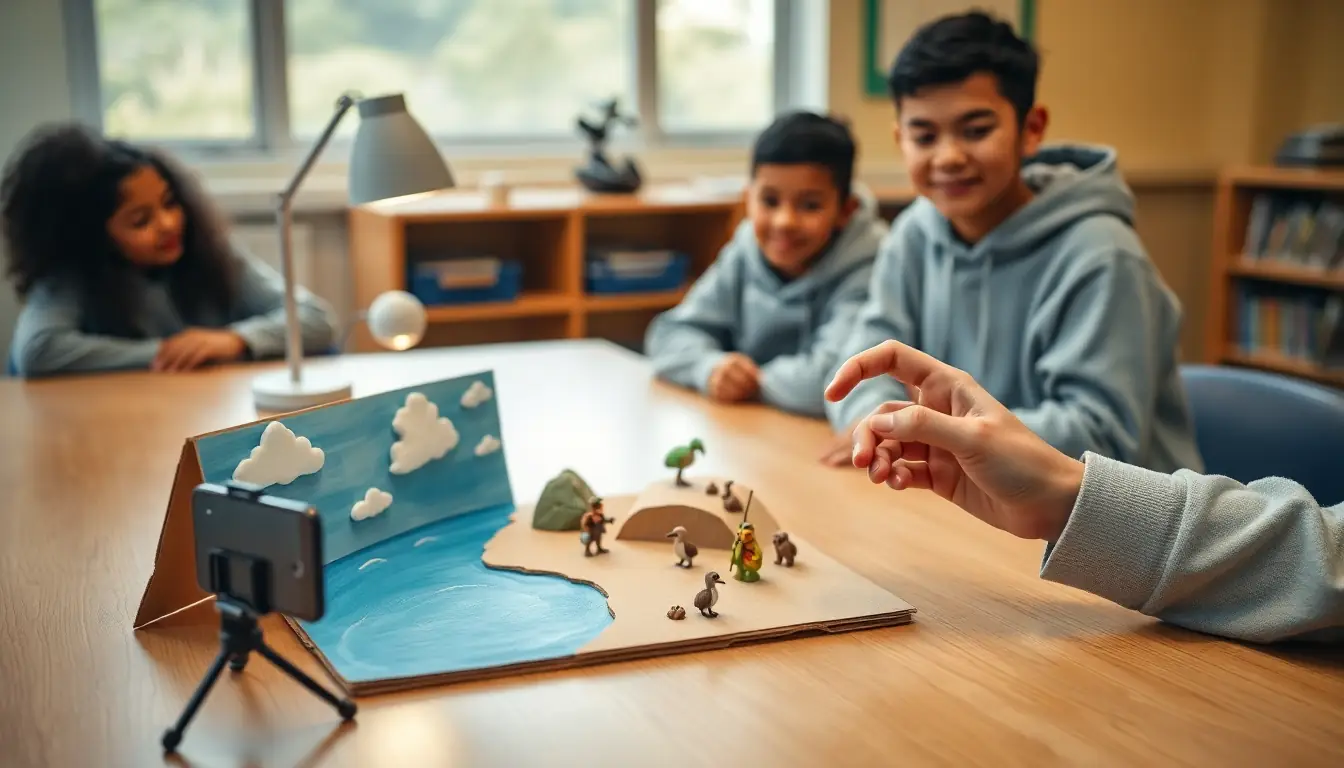
Move it a little. Snap. Move it again. Snap. Bring clay, paper and toys to life, frame by frame, in a film you premiere for a real audience.
Big question: How can hundreds of still photos add up to a story that makes an audience laugh, gasp or care?
- You'll make
- A 30–60 second stop-motion film with an original character, a storyboard, a soundtrack you created or sourced legally, and opening titles and credits, shown at a class premiere.
- For
- A junior class, kindergarten or community group the film is made for, plus whānau at a class premiere (and a school or local film festival if you choose)
- Time
- 5 weeks · 2 sessions a week
Your mission
Why it matters
Every stop-motion film you have seen, from Wallace and Gromit to the sheep in New Zealand's The Pen, was made by someone moving a model a tiny bit and taking a photo, hundreds of times. With a phone or tablet, a free app and some plasticine or paper, you can do the same. Your class is making short animated films for a real audience, such as a junior class, a community group or a school film festival, and holding a premiere.
Animation is everywhere: films, adverts, games, science explainers and music videos. Making it teaches you to plan carefully, work as a crew, notice tiny details and be patient. It mixes art, story, maths (frames per second), science (how your eyes and brain see movement) and technology. New Zealanders like Len Lye and Fred O'Neill were animation pioneers, and today Aotearoa's screen industry employs animators, model makers and sound designers.
Your first step
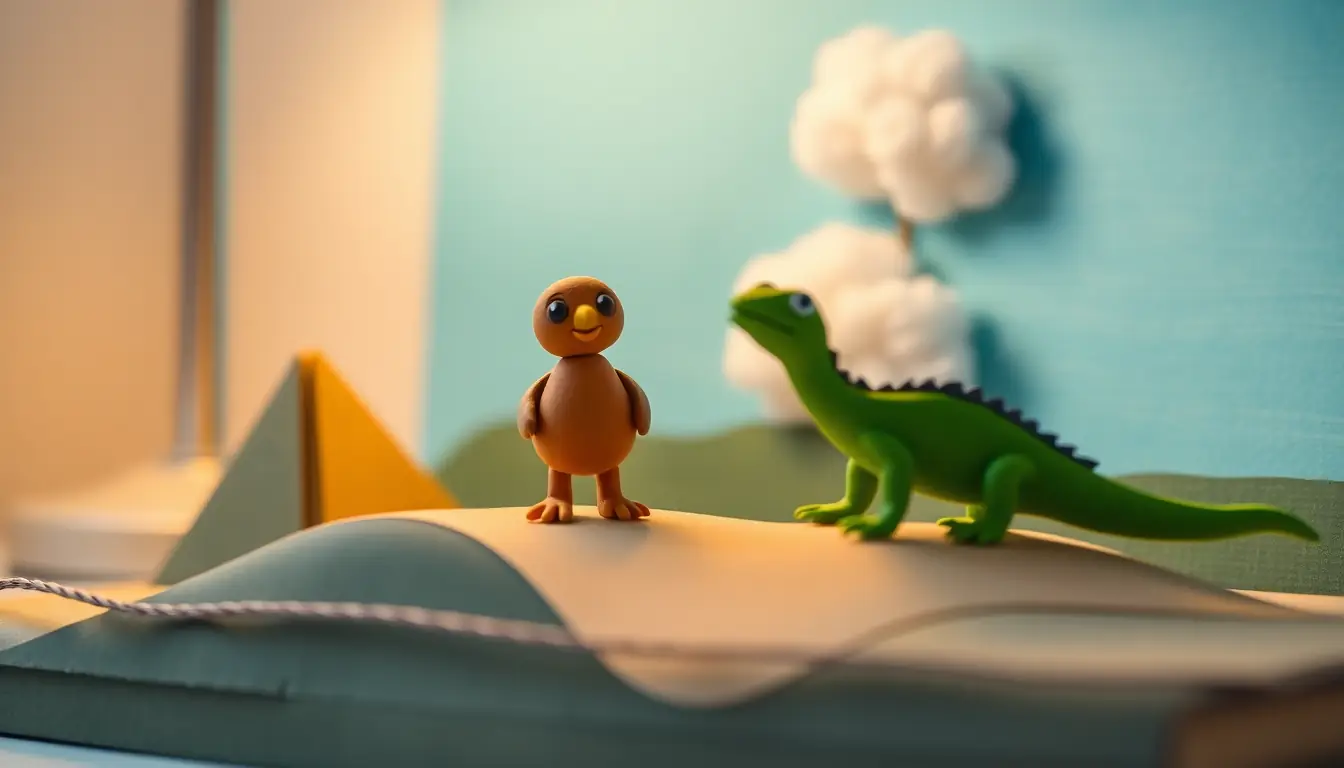
Make a 12-page flipbook in the corner of an old notebook: a ball that bounces, a seed that grows, or a pīwakawaka that flies across the page. Flick it and notice what makes the movement look smooth or jerky.
Make it yours
Choose a context
Same big question, three different places to explore it. Pick the one that fits your class and community.
A story for younger tamariki
Make a short, funny or gentle story for a junior class or a local kindergarten: a lost kiwi finding its way home, a lunchbox that comes alive, an adventure in the school garden. Visit the class first to find out what they like, then come back to show them the finished film.
A message for our community
Animate a 30–60 second message for a real local group: a predator-free trust explaining how traps work, a council reminding people what goes in the recycling, a surf club explaining rip currents, a library promoting a holiday programme. Meet the group, agree the message and show them a draft.
Life cycles and journeys in nature
Animate a real natural process: the long journey of tuna (eels) out to sea to breed, a kōura hiding under a rock, a monarch butterfly's life cycle, a volcano forming an island, or a Pacific voyaging canoe navigating by the stars. Check your facts with a source such as DOC or the Science Learning Hub so your film teaches something true.
CREATE
Week by week
Two sessions a week, each with Getting started and Stretch support so the whole class works together.
- W1How still pictures come aliveConnect: Flipbooks and spinning toys · Respond: Animators from Aotearoa and the world
- W2First frames: timing, movement and charactersExperiment: Your first stop-motion test · Experiment: Build a character
- W3Story, storyboard and shotsArrange: Story and storyboard · Arrange: Shots, composition and the set
- W4Shoot, sound and refineTransform: Shooting day · Transform: Sound, edit and feedback
- W5Premiere nightExhibit: Titles, credits and the premiere plan · Exhibit: The premiere
Hands-on
Activities
Investigations and projects that fit the weeks above. Open one to see what you need and how you'll know it worked.
Flipbook and thaumatropeHow do still pictures turn into movement?Open
You need: a small notebook or sticky-note pad · pencil · a circle of card · string or a pencil for spinning · felt pens
- In the bottom corner of each page, draw a ball at the top of a bounce. On each next page, move it down a little until it hits the ground, then back up.
- Flick the pages from the back to the front and watch the ball bounce.
- For the thaumatrope, draw a bird on one side of the card and a cage on the other (upside down).
- Attach string to each side, twist it and pull, or tape it to a pencil and spin it between your hands.
- Explain what you see and why.
How you'll know: The movement looks smooth, and you can explain that your brain joins quick-changing pictures into one moving image.
Go further: Draw the ball squashing when it hits the ground and stretching as it falls. Does it look more alive?
Fits week 1 →Frame rate testHow many pictures per second make movement look smooth?Open
You need: a device with a free stop-motion app · a tripod or a book stack and Blu Tack · a plasticine ball or a coin
- Fix the device so it can't move. Tape a start and finish line on the table.
- Move the ball across in 24 frames, moving it the same small amount each time.
- Play it back at 6, 12 and 24 frames per second. Time each version.
- Work out: if your film is 30 seconds at 12 frames per second, how many photos do you need?
How you'll know: You can explain how frame rate changes speed and smoothness, and you have calculated the photos your film needs.
Go further: Try animating 'on twos': take two photos of each position. How does it look at 24 frames per second?
Fits week 2 →Clay or cut-out characterWhat makes a character easy to animate and fun to watch?Open
You need: oil-based plasticine · pipe cleaners or aluminium foil for a skeleton (armature) · card, split pins and scissors for cut-outs · toothpicks for detail
- Choose clay or cut-out. For clay, twist a pipe-cleaner or foil skeleton with legs, arms and a head loop.
- Cover it with plasticine, keeping the feet wide and flat so it can stand.
- For cut-out, draw body parts separately on card and join them with split pins at the shoulders, elbows, hips and knees.
- Give the character big, clear eyes. Make two extra mouths or eyebrows you can swap for different expressions.
- Test: can it stand, bend and hold a pose for a photo?
How you'll know: Your character can hold at least three poses and show two feelings.
Safety: Take care with wire ends (fold them over); wash hands after using plasticine; check for allergies.
Go further: Design a character from your context (a tuna, a kōura, a kererū) with features that match how the real animal moves.
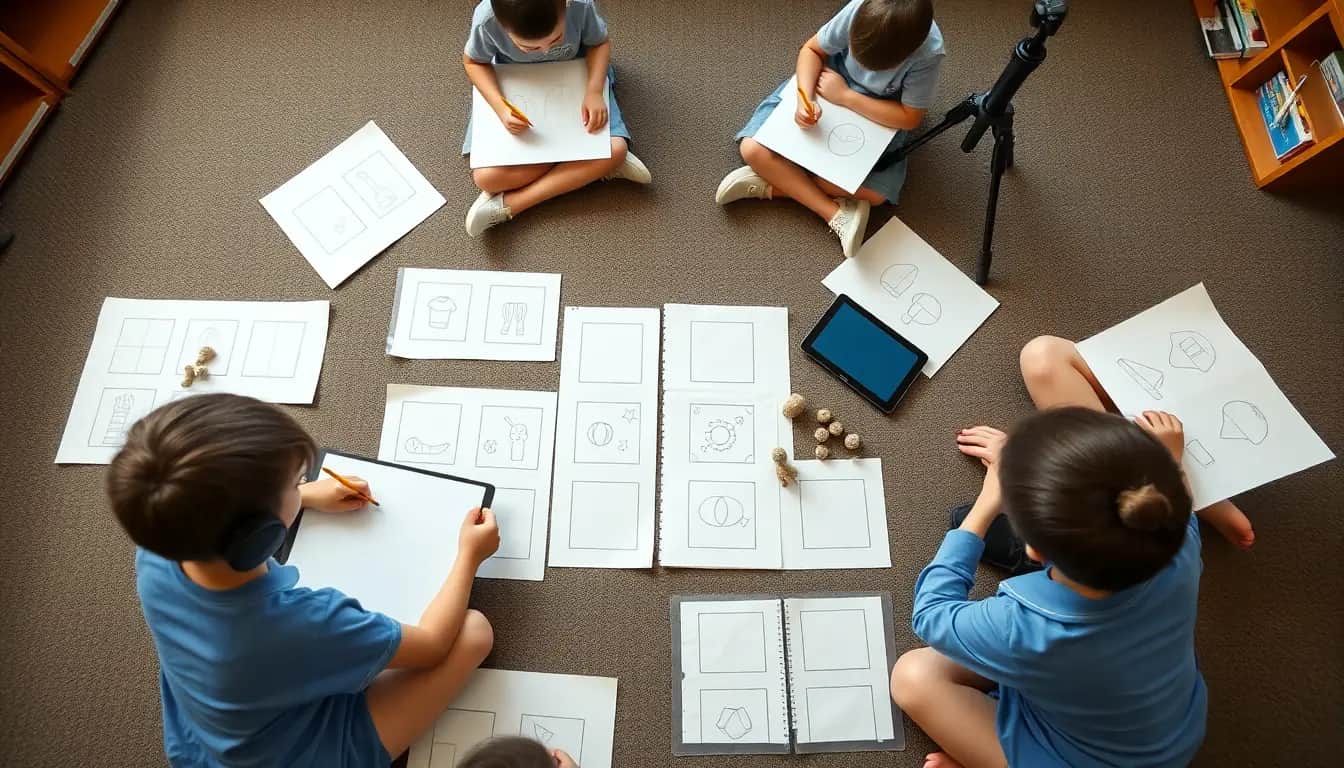
Fits week 2 →Storyboard a 30-second storyHow do filmmakers plan every shot before they shoot?Open
You need: storyboard template (6–10 boxes) · pencil · a stopwatch
- Write your story in three sentences: who wants what, what goes wrong, how it changes.
- Split it into moments, one per box.
- In each box, sketch the shot and write the shot type (wide, medium, close-up), the action, any sound, and how many seconds it lasts.
- Act the story out with a stopwatch to check the timings add up to 30–60 seconds.
How you'll know: Someone outside your group can read your storyboard and tell you the story.
Go further: Add arrows to show movement and camera moves, like professional storyboard artists do.
Fits week 3 →Set building and compositionHow do you build a tiny world that looks good on camera?Open
You need: a cardboard box · coloured paper, paint or printed photos for a backdrop · tape and Blu Tack · small props
- Cut away one side of the box so the camera can see in. Paint or glue a backdrop at the back.
- Add a ground (paper, felt, sand in a tray). Keep the background simple so the character stands out.
- Look through the camera. Use the grid (rule of thirds) to place the character where the lines cross.
- Tape down the set, props and camera stand so nothing moves between frames.
- Mark camera positions for each shot with tape.
How you'll know: In a test photo, the audience looks at the character first and nothing in the set moves during a playback.
Safety: Craft knives are for adults, or students with a cutting mat, steel ruler and close supervision. Use low-temperature glue guns only.
Go further: Build a set with a foreground layer (grass, rocks) to add depth.
Fits week 3 →Shooting with a crewHow does a crew keep hundreds of frames consistent?Open
You need: your set, character and storyboard · device on a fixed stand · a lamp (LED preferred) · a shot checklist
- Close the curtains and light the set with a lamp so the light doesn't flicker as clouds pass.
- Only the camera operator touches the device. Use the app's remote or timer if it has one.
- Move the character a small amount, step back, take the photo. Check the onion skin before each move.
- Play back after each shot. Reshoot anything that jumps or shows a hand.
- Tick each shot off the storyboard and back up the project.
How you'll know: Your shots play back smoothly, with no stray hands or jumping props.
Safety: Keep lamps away from paper and plasticine; tape down cables so no one trips.
Go further: Try a hold: keep the character still for 12 frames at an important moment so the audience can take it in.
Fits week 4 →Foley and soundtrackHow can everyday objects make the sounds of a film?Open
You need: objects to make sounds (foil, gloves, celery, rice in a container, a bowl of water) · a device to record · a quiet space
- Watch your rough cut with no sound and list every sound the audience should hear.
- Experiment with objects to make each sound: snap celery for a crunch, shake rice for rain, flap a glove for wings.
- Record each sound separately and give it a clear name.
- Add the sounds in your editing app and line them up with the action.
- Add music you composed, or free-licensed music, and write the credit.
How you'll know: Every important action has a sound that lands on time, and every sound you didn't make is credited.
Safety: Keep water away from devices; clean up food items and check for allergies before using them.
Go further: Compose a short theme on an instrument or a free music app that plays whenever your character appears.
Fits week 4 →Premiere nightWhat makes a screening feel like a real event?Open
You need: a projector or large screen and speakers · your exported films · a demonstration set · programmes or a welcome slide made by students
- Order the films and write a two-sentence introduction for each one.
- Set up a behind-the-scenes table with sets, characters and storyboards.
- Welcome the audience and invite them to try animating one frame on the demonstration set.
- Screen the films. After each one, the group answers two questions.
- Collect audience comments on cards to read afterwards.
How you'll know: Your audience understood your story, and you can name the moment they reacted to most.
Go further: Enter your film in a school or local film festival, or share it (with permission and no faces or full names) with the group it was made for.
Fits week 5 →Look closer
From the real world

Background reading
Read to understand
Short readings written for Kōkiri Learn students, with their sources.
- How animation works: frames, speed and your brainWhy a row of still pictures looks like movement, what frame rate means, and how to plan how many photos your film needs.
- Animators to know, from Aotearoa and the worldNew Zealand animation pioneers Len Lye and Fred O'Neill, the stop-motion sheep of The Pen, and animators overseas whose ideas you can borrow.
- Planning like a filmmaker: storyboards, shots, timing and soundHow to plan a short animated story, choose shots that guide the audience's eye, make movement feel alive, and add sound.
Trusted NZ sites
Explore more
Placed at the stage of the journey where each one helps.
Connect
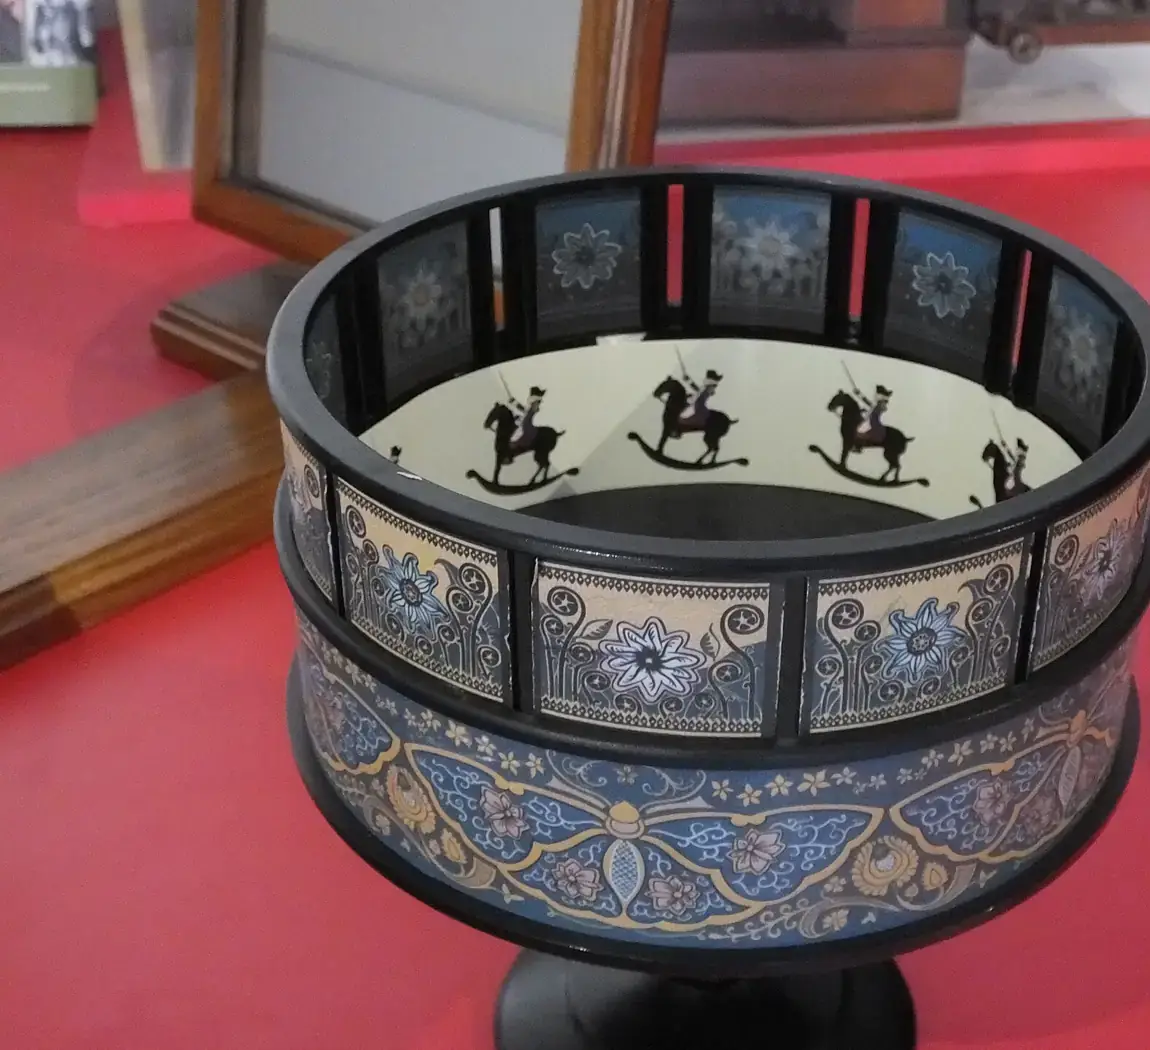
Zoetrope ↗Wikipedia
The spinning toy that shows how animation tricks your eyes.
Respond
The Animation Collection ↗NZ On Screen
New Zealand animation from Len Lye to Footrot Flats, including stop-motion films.
Respond
Fred O'Neill ↗NZ On Screen
The Dunedin animator who brought plasticine characters to life in the 1950s and 60s.
Respond
Experimental film, 1920s to 1960s ↗Te Ara
How Len Lye painted and scratched animation straight onto film.
Experiment
Stop Motion Studio ↗Cateater
A free stop-motion app with onion skinning that runs on many school devices.
Experiment
Pencil2D ↗Pencil2D
Free, open-source software for hand-drawn animation.
Arrange
Storyboard ↗Wikipedia
How filmmakers and animators plan every shot before shooting.
Transform
BBC Sound Effects ↗BBC
Free sound effects for personal and school projects, with credits.
Exhibit
Show Me Shorts: Education ↗Show Me Shorts
New Zealand's short film festival and its programmes for schools.
Real audiences
- A junior class or kindergarten watching the films made for them
- Whānau and the school community at a class premiere
- A local community group using a film at an event or on its website (with permission and no students' faces or full names)
Work with other schools
- Run an 'exquisite corpse' animation: one school animates the first 10 seconds of a story, sends the final frame to a partner school, and they animate the next 10 seconds.
- Swap storyboards with a partner school: each class animates the other class's storyboard, then compare what each imagined.
- Hold a joint online film festival where classes screen films for each other and answer questions over a video call.
Stretch challenges
- Try drawn animation in Pencil2D: animate a character over a painted background.
- Make a pixilation film, where people are animated frame by frame like puppets (with everyone's permission).
- Research Len Lye and make a short 'direct' animation by drawing or scratching patterns frame by frame, set to a drumbeat.
- Make a 15-second animated explainer for a science or social sciences concept for another class.
New Zealand Curriculum
What this world covers
Mapped to the refreshed Phase 3 statements. The whole class covers both the Year 7 and Year 8 sequences over two years.
The Arts · Visual arts
Planning ideas before and during art-making with storyboards and visual diaries; applying hierarchy and emphasis in composition to guide viewer attention; experimenting, taking risks and refining
Year 7 sequence
The Arts · Visual arts
Conventions of moving image; selecting processes and digital methods to communicate a personal or community story; interpreting animated works using art language
Year 8 sequence
The Arts · Music
Creating and mixing a digital soundtrack and sound effects that shape mood
Year 8 sequence
Technology · Digital technologies
Using digital tools to capture, sequence and edit frames into a digital outcome for a real audience
Year 7 sequence
English · Writing
Planning a short narrative with a clear beginning, problem and resolution for a chosen audience
Year 7 sequence
Mathematics and Statistics · Measurement
Working with rates and time: frames per second, film length and the number of photos needed
Year 8 sequence
For teachers: how to run it
Prep: one device per group of 3–4 (tablet, phone or Chromebook) with a free stop-motion app installed and tested; Stop Motion Studio's free version (Cateater) has onion skinning and frame-by-frame capture on most platforms, Pencil2D is free and open-source for drawn animation on Windows, Mac and Linux, and Scratch suits sprite-based animation in the browser. Check your school's device policies and app approvals before week 2. Gather: a phone clamp or mini tripod per group (or a stack of books and Blu Tack), oil-based plasticine (non-drying, in several colours), pipe cleaners and aluminium foil for armatures, card, paper, scissors, glue sticks, a desk lamp per group (LED preferred), and cardboard boxes for sets. Tape everything down: the set, the tripod and the lamp. Safety: craft knives are adult-only or used by students only with a cutting mat, a steel ruler and close supervision; use low-temperature glue guns only; keep lamps away from paper and plasticine (LED bulbs stay cooler); check for allergies to latex or plasticine ingredients and offer gloves. Digital citizenship: agree before filming that no student faces or full names appear in films that will be shared outside the school; discuss copyright and use only student-made music and sounds, or free-licensed sound (such as BBC Sound Effects for educational use), with credits. Store raw frames on the school drive, not personal accounts. Culture: if a group wants to animate a pūrākau or Pacific legend, discuss who the story belongs to, whether it is appropriate to animate, and consult whānau or the school's iwi relationships first; many groups will be better placed creating their own stories inspired by a place. Time: a realistic target is 30–60 seconds at 8–12 frames per second, which is 240–720 photos; make shooting time the priority in week 4. Differentiation: supported groups use cut-out paper animation (quicker than clay), a single set and a single shot; confident groups try lip-sync, multiple camera angles, a walk cycle, or drawn animation in Pencil2D. Roles rotate: animator, camera operator, set and props, director, sound designer. Pīwakawaka, the AI companion, asks one question about a storyboard; it never writes the story or edits the film. Kōkiri Lab links: science worlds provide accurate content for the nature context; technology worlds can extend into digital outcomes.
Plan this world into any term with the two-year planner. Students can record their thinking in their Kōkiri Learn portfolio.
More Arts worlds
Ready to run it with your class?
Free trial for NZ schools. One combined Years 7–8 class, any term.