Health and Physical Education · World 8 of 8 · Years 7–8
Into the Outdoors: Risk, Navigation and Leadership
Read the weather, pack the right gear, find your way with a map and compass, and bring everyone home. Plan a real trip.
Big question: How can our group plan, lead and enjoy a trip outdoors so that everyone comes home safe and wants to go again?
- You'll make
- A complete trip plan for a real class outing (route map with times, weather checks, gear list, roles, a trip-intentions form and an emergency plan), plus a class 'Ready for the Outdoors' guide with gear cards, a first aid card and a route you have tested yourselves.
- For
- The teacher or EOTC coordinator who approves the trip, whānau helpers, and a younger class you guide around an orienteering course
- Time
- 5 weeks · 2 sessions a week
Your mission
Why it matters
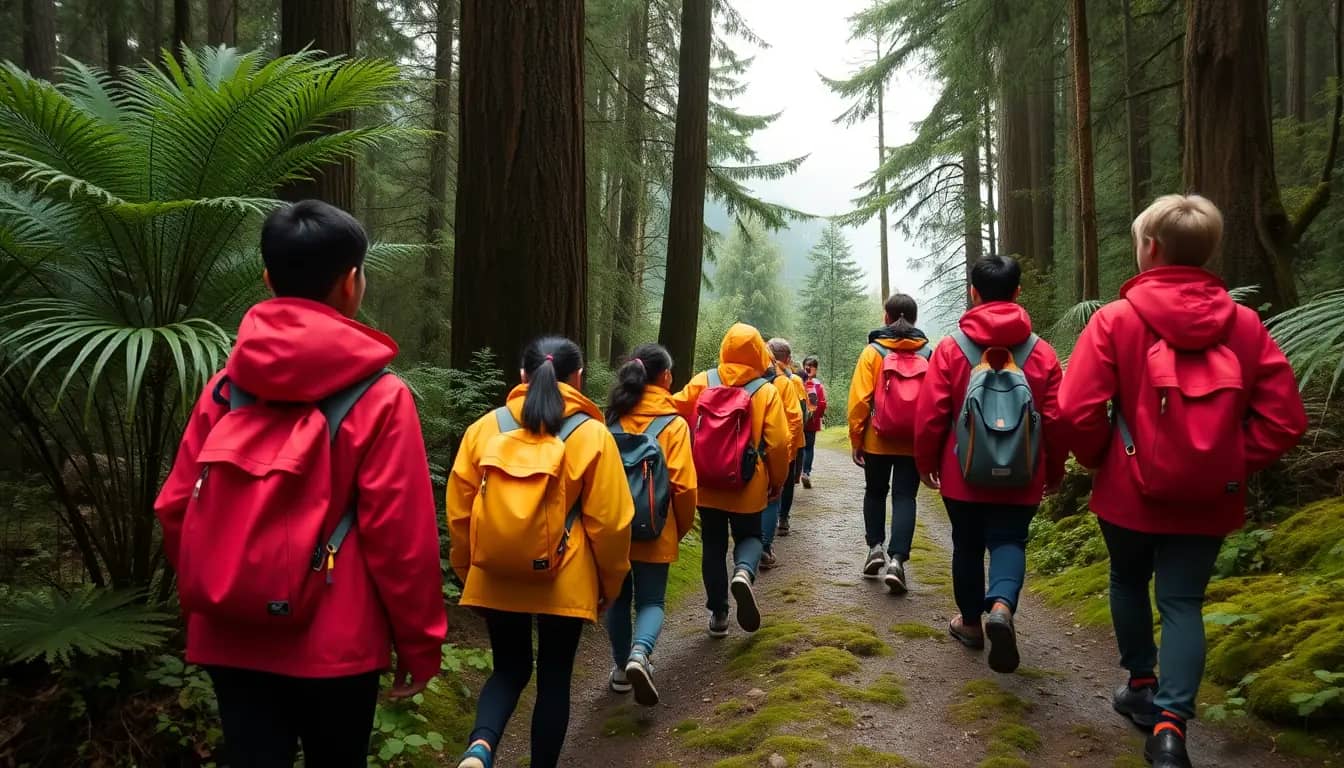
Your class is heading out on a real day trip: a bush walk, a coastal track or an orienteering course in a big park. The weather in Aotearoa can go from sunshine to cold rain in an hour, and every year search and rescue teams go looking for people who were not ready. Your job is to plan the trip yourselves: the route, the gear, the roles and the 'what ifs', so the adults can say yes.
New Zealand has some of the most beautiful and most changeable outdoor places in the world. Being outside is good for your body and your mood, and it builds friendships. The skills you learn here (checking the weather, dressing in layers, reading a map, looking after each other, knowing basic first aid) are the same ones trampers, rangers and search and rescue volunteers use, and they will keep you and your whānau safe for life.
Your first step
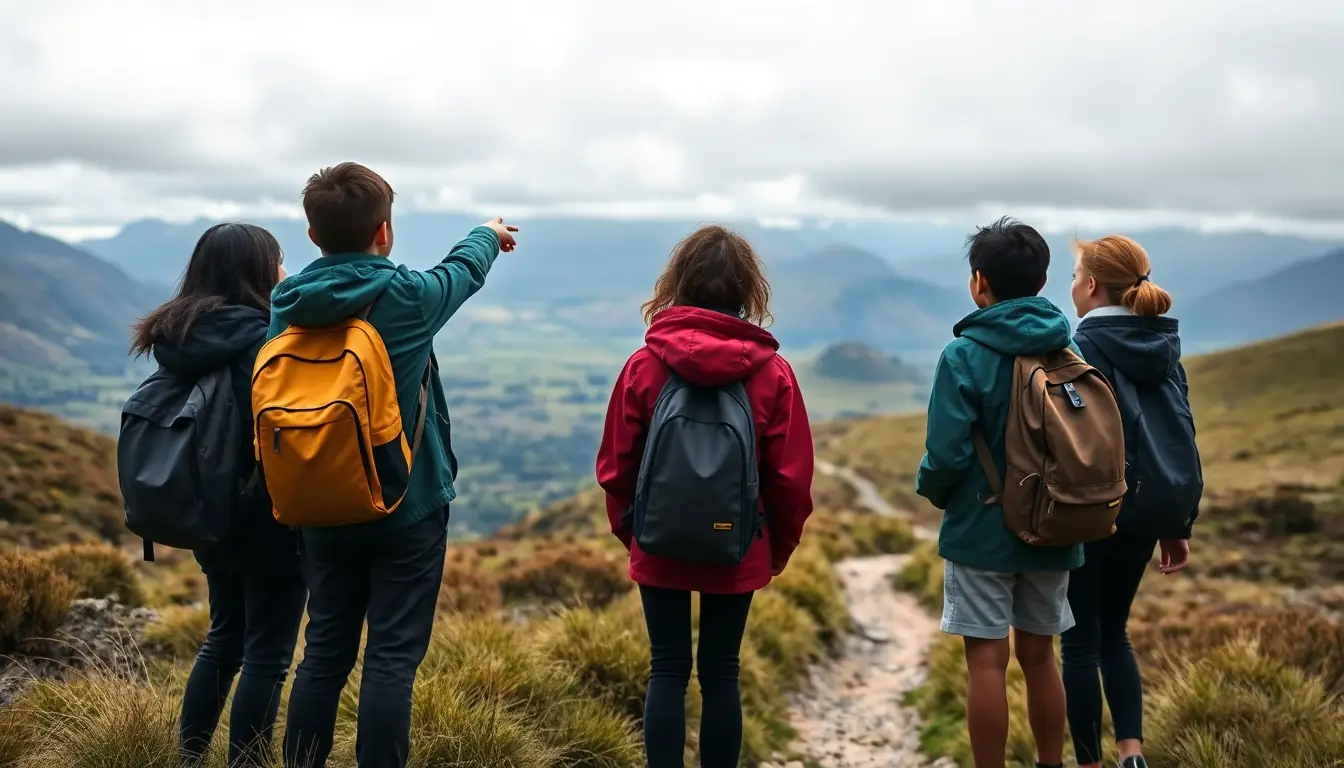
Look out the window and write down three things about the weather right now: cloud, wind, temperature. Now imagine you are halfway up a hill two hours from the road. What would you want to be wearing and carrying if it started to rain?
Make it yours
Choose a context
Same big question, three different places to explore it. Pick the one that fits your class and community.
The school grounds and a local park
Turn your school and a nearby park or reserve into an orienteering course. Map it, set control points, plan routes and lead a younger class around it. Short distances, real navigation and risk decisions, and no bus needed. Ideal for city schools and a first trip.
A bush track or regional park day walk
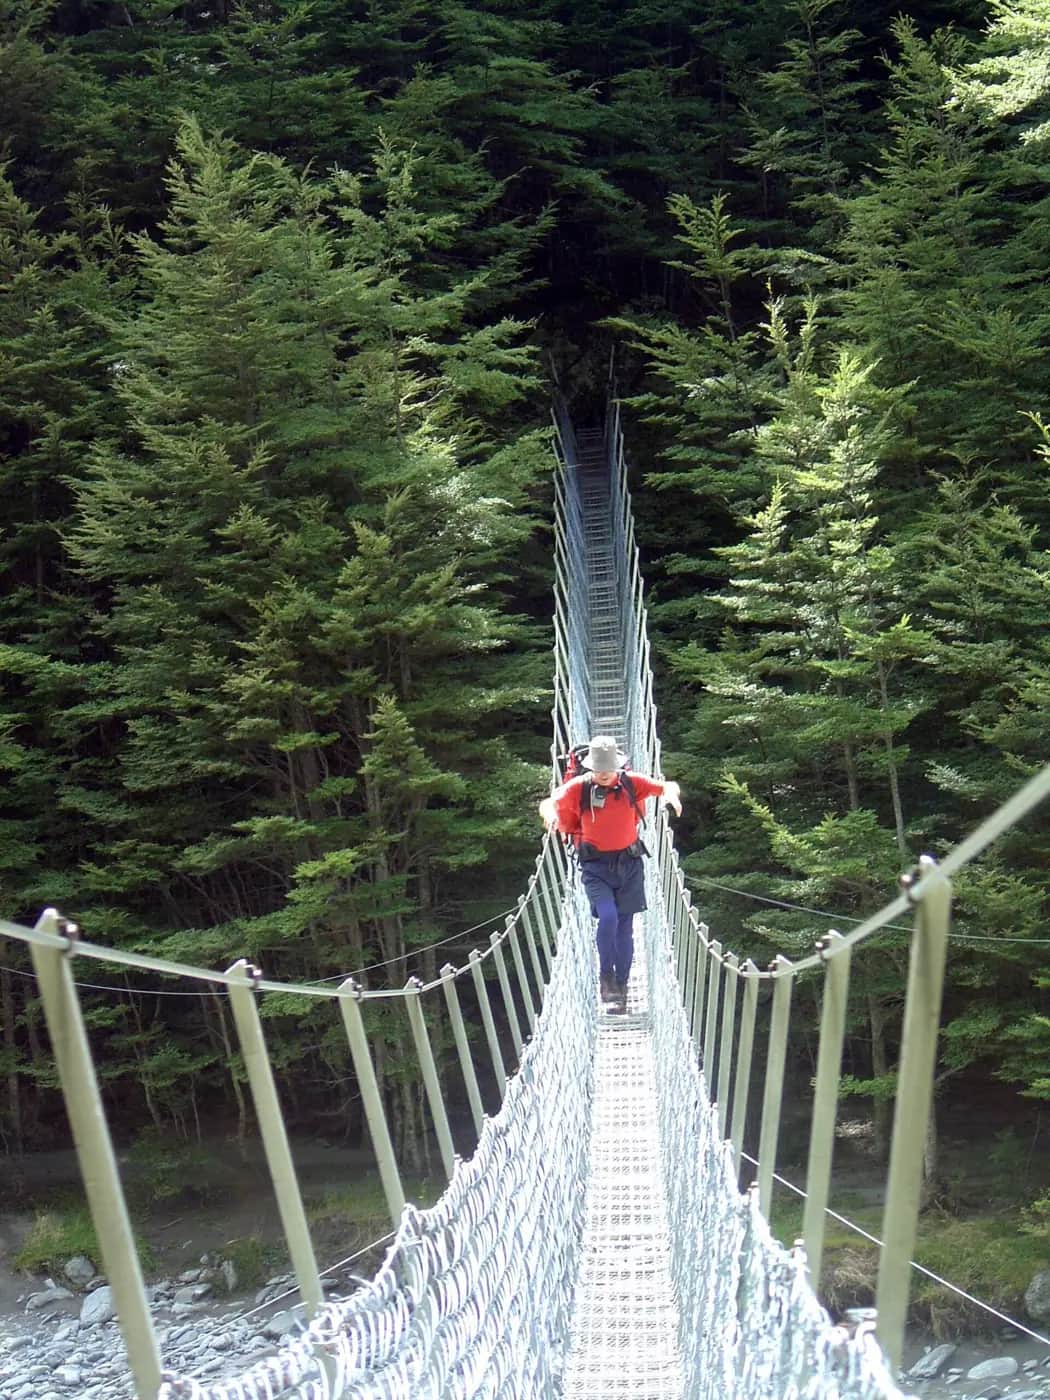
Plan a half-day or day walk on a DOC or regional park track near you: forest, a stream crossing on a bridge, a lookout. Check the forecast and track conditions, plan times and turnaround points, and practise shelter and first aid in the bush. This is where weather, hypothermia and group pace really matter.
Coast, lake or river: a day with water
Plan a coastal walk, a waka ama or kayak session with a provider, or a lake-edge trip. Water sections need extra planning: tide times, safe entry and exit points, wind on the water, lifejackets and what to do if someone gets cold and wet. Great for schools near the sea or a river.
THRIVE
Week by week
Two sessions a week, each with Getting started and Stretch support so the whole class works together.
- W1Tune in: why the outdoors, and how risks changeTune In: Risks that change · Tune In: Weather watchers
- W2Habits that keep you safe: clothing, gear and telling someoneHabits: Layers and the cold · Habits: Pack it and tell someone
- W3Leading together and finding your wayRelationships: Roles in a group · Improve: Map and compass
- W4Plan the route, practise the 'what ifs', and value the places we goImprove: Plan the route · Improve: Shelter and first aid · Value: Why we go outside
- W5The trip, the debrief and the guideEvaluate: Trip day (or orienteering day) · Evaluate: Debrief and share
Hands-on
Activities
Investigations and projects that fit the weeks above. Open one to see what you need and how you'll know it worked.
Risk ladderHow do risks outdoors change, and who do they affect most?Open
You need: risk cards (steep track, wet rocks, strong wind, rising river, low tide rocks, darkness, tired walker, no phone signal, sunburn) · a large three-step ladder drawn on paper: low, medium, high
- Choose your trip context and pick the eight cards that fit it.
- As a group, place each card on the ladder: how likely is it, and how bad could it be?
- Now draw a 'change card': heavy rain arrives, it gets late, someone twists an ankle, or the group is slower than planned. Move the cards that change.
- For the three highest risks, write one way to make each one smaller (for example, turn back at 1 pm, wear sunscreen, stay out of the river).
- Think about the group: which risks are bigger for someone younger, slower, anxious or with asthma?
How you'll know: You can show how one change can move several risks up the ladder, and suggest a way to reduce each high risk.
Go further: Add a 'who decides?' column: which risks can each person manage, and which need a group or adult decision?
Fits week 1 →Weather watchWhat can the sky and a forecast tell you about the next few hours?Open
You need: a thermometer · a cloud chart · a simple wind scale (smoke, leaves, branches, trees) · a weather diary · access to the MetService forecast
- Go outside at the same time each day. Record temperature, cloud type and amount, and wind using the clues on the wind scale.
- Write how it feels: warm, cool, raw, muggy.
- Check the forecast for today and tomorrow. Was yesterday's forecast right?
- Look for signs of change: clouds thickening and lowering, wind swinging round, a sudden drop in temperature.
- After two weeks, look back. What signs came before the rainy days?
How you'll know: You can read a forecast, spot at least two signs that the weather is changing, and explain what they would mean on a trip.
Safety: Never look directly at the sun. Wear a hat and sunscreen outside in spring and summer.
Go further: Compare the forecast for your town with a mountain or coastal forecast on the same day, and explain the difference.
Fits week 1 →Wet, dry and windyWhich clothing keeps heat in best when it is wet and windy?Open
You need: five identical glass jars with lids · warm tap water (not boiling) · thermometers · squares of woollen fabric, cotton T-shirt fabric, fleece and a raincoat · a spray bottle · a small fan · a timer
- Fill each jar with the same amount of warm tap water and record the starting temperature.
- Wrap the jars: dry wool, wet wool, wet cotton, wet cotton with a raincoat layer over the top, and one jar with nothing.
- Put all the jars in front of the fan to act as wind.
- Record each temperature every 5 minutes for 25 minutes.
- Graph the results. Which jar lost heat fastest? Which kept it best even when wet?
- Use the results to explain why wet cotton is a bad idea outdoors and why a windproof, waterproof layer matters.
How you'll know: You can use your data to explain how wind and water speed up heat loss and how layers slow it down.
Safety: Use warm tap water only, never boiling. Mop up spills straight away and keep the fan cord away from water.
Go further: Test merino against polyester fleece, or two thin layers against one thick layer. Keep everything else the same.
Fits week 2 →Pack the day packWhat do you really need to carry for a day outdoors?Open
You need: a daypack · a pile of real items: rain jacket, warm top, hat, gloves, water bottle, snacks, lunch, torch, small first aid kit, map, whistle, sunscreen, sunhat, spare socks, a phone in a bag, plus some things you don't need (a cotton hoodie, a big speaker, a pillow, a glass jar) · a checklist
- In pairs, pack the day pack for your trip context and a forecast your teacher gives you.
- For every item, say why it goes in or stays out.
- Pack it well: heavy things close to your back, rain jacket on top, everything that must stay dry in a plastic bag.
- Now change the forecast (cold southerly, hot and sunny, a water section). What changes in the pack?
- Lift and walk with the pack. Is it comfortable? Adjust the straps.
How you'll know: Your pack holds all the essentials for the conditions, nothing unnecessary, and you can explain each choice.
Go further: Write a gear list for a whānau member who has never been tramping, with low-cost or borrowed options.
Fits week 2 →Lead the wayWhat does good leadership look like when a group faces a challenge?Open
You need: cones · a blindfold or scarf · hoops or mats as 'stepping stones' · role cards (leader, navigator, timekeeper, weather watcher, first aider, tail-ender)
- Hand out role cards. Everyone has a job.
- Challenge 1: guide a blindfolded 'injured' teammate along a cone route using only voices.
- Challenge 2: get the whole group across a 'river' of stepping stones with fewer stones than people. No one gets left behind.
- Challenge 3: the navigator leads the group to a spot on the school map within a time limit.
- Swap roles between challenges.
- Debrief after each challenge: what did the leader do that helped? Who noticed if someone was struggling?
How you'll know: You can describe what each role does and give an example of when you supported someone else in your group.
Safety: Blindfolded walkers move slowly on flat grass, with a spotter beside them. Anyone can take the blindfold off at any time.
Go further: Lead the debrief yourself, using questions rather than telling people what they did.
Fits week 3 →Map and compass courseCan you follow a map and bearings to find your way?Open
You need: baseplate compasses (one per pair) · a simple map of the school grounds with a scale · control markers (coloured cards with a letter punch or crayon) · a clipboard and control card
- Orient (set) your map: turn it until the buildings on the map line up with the real ones.
- Learn your pace count: walk 100 m and count every second step.
- Take a bearing: point the direction-of-travel arrow at a target, turn the housing until the red needle sits inside the orienting arrow, and read the number.
- Follow the course card: each leg gives a bearing and a distance. Walk it, find the control and mark your card.
- Finish by designing one leg of your own for another pair to follow.
How you'll know: You find most controls using the map, the compass and your pace count, and you can explain how you corrected when you went wrong.
Safety: Stay inside the agreed boundary, walk in pairs, and come back to base when you hear the whistle.
Go further: Design a full orienteering course for a younger class, with a map and control descriptions.
Fits week 3 →Route plannerHow long will our trip take, and how do we get out if something goes wrong?Open
You need: a topographic map extract of your trip area (Topo50 from LINZ or topomap.co.nz) · string · a ruler · coloured pencils · a route-planning template
- Mark the start, the finish and any places you must reach.
- Lay string along the track, then measure it against the scale bar to find the distance.
- Look at the contour lines: mark steep uphill sections, flat sections and downhill sections.
- Estimate time: a school group on a good track walks about 2–3 km an hour on the flat. Add time for steep climbs, rest stops and lunch.
- Mark a turnaround time: the time you turn back even if you haven't reached the end.
- Mark entry and exit points and an escape route: road ends, beach access, a bridge, the nearest shelter. For water sections, mark where you can safely get in and out of the water.
How you'll know: Your route shows distance, time, stops, a turnaround time, and entry, exit and escape points that someone else could follow.
Go further: Check your time estimate on the day and work out your group's real walking speed.
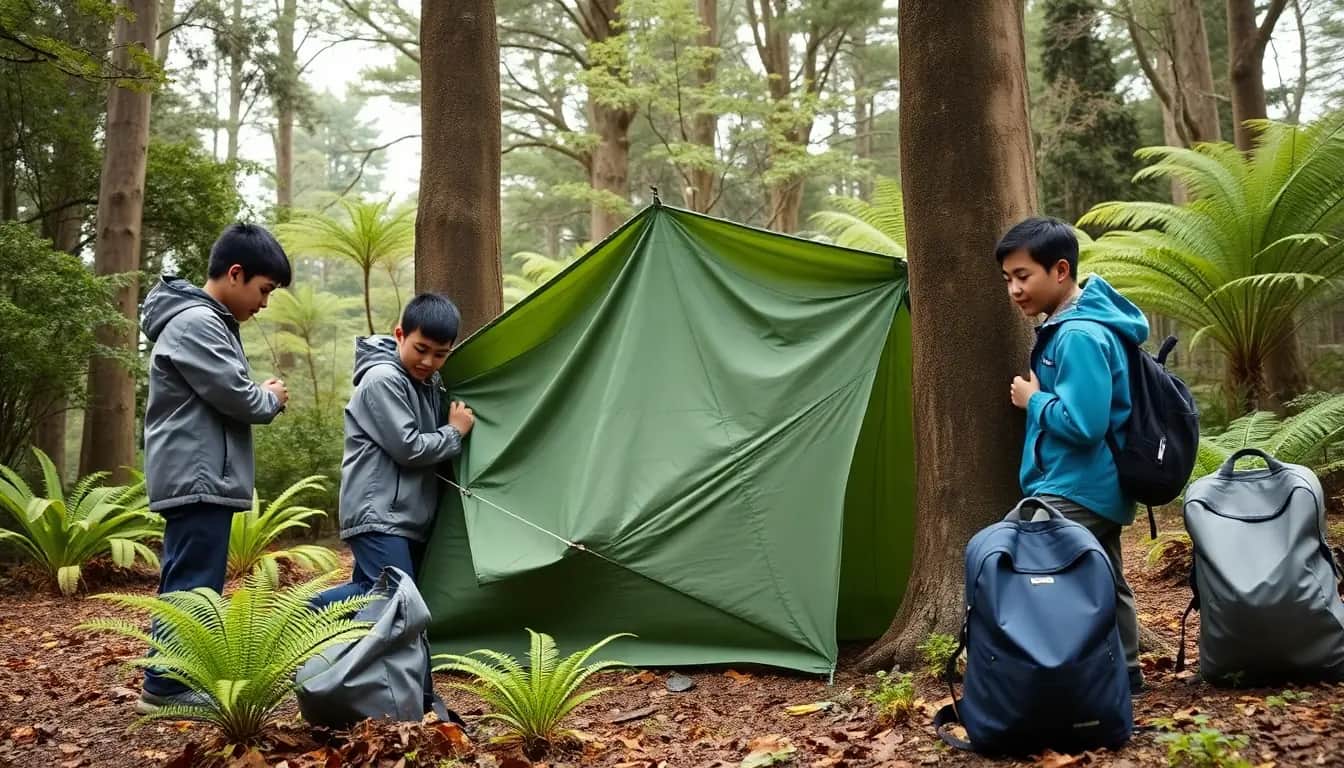
Fits week 4 →Tarp shelterCan your group build a shelter that keeps wind and rain off in 15 minutes?Open
You need: a tarp or large groundsheet per group · pre-cut lengths of cord · tent pegs · a watering can · trees, a fence or poles
- Look at the wind: which way is it blowing? Plan to put the low side of the shelter into the wind.
- Tie a ridge line between two trees or posts using a simple knot your teacher shows you.
- Drape the tarp over the line and peg or weigh down the edges.
- Get everyone inside. Is there room? Are you off the wet ground?
- Test it: one person uses the watering can as rain. Where does water get in? Fix it.
How you'll know: Your shelter keeps the group dry and out of the wind, and you can explain where you put it and why.
Safety: No knives: use pre-cut cord. Check for dead branches overhead before building under trees. Keep the watering can gentle.
Go further: Build a shelter with only what is in your day pack: a rain jacket, a pack liner and some cord.
Fits week 4 →First aid practiceWhat should you do first when someone gets hurt or cold outdoors?Open
You need: scenario cards · a small first aid kit · crepe bandages · a survival blanket or spare warm layers · a phone (not switched on) to practise a 111 call
- Learn DRSABCD: Danger, Response, Send for help, Airway, Breathing, CPR, Defibrillator.
- Practise calling 111: say your name, where you are, what happened and how many people are hurt.
- Sprained ankle: rest, ice or cold water, compression with a bandage, elevation. Help the walker to shelter.
- Cut knee: clean hands or gloves, clean the wound, apply pressure, cover it.
- Cold and wet walker showing the 'umbles': stop, get into shelter, change into dry layers, add a hat, share warm food and a warm drink, and get help.
- Rotate through the scenarios so everyone practises each role.
How you'll know: You can talk through DRSABCD, make a clear pretend 111 call, and show what to do for a sprain, a cut and a cold walker.
Safety: This is practice, not a qualification. Use gloves when handling pretend wounds and never practise chest compressions on a real person.
Go further: Make a pocket-sized first aid card for your group to carry on the trip.
Fits week 4 →Look closer
From the real world
Background reading
Read to understand
Short readings written for Kōkiri Learn students, with their sources.
- Four seasons in one day: weather, wind and staying warmWhy weather in Aotearoa changes so fast, how wind and water steal heat from your body, and how layers keep you safe.
- Finding your way: maps, compasses and planning a routeHow to read a topographic map, use a compass, and plan a route with times, a turnaround point and ways out.
- Everyone home safe: leadership, shelter and first aidHow a group shares jobs and decisions outdoors, and the simple survival and first aid steps that help when things go wrong.
Trusted NZ sites
Explore more
Placed at the stage of the journey where each one helps.
Tune In
NZ Land Safety Code ↗NZ Mountain Safety Council
The five simple steps every trip plan in Aotearoa should follow.
Tune In
Be prepared with the Land Safety Code ↗Department of Conservation
The code with the Tiaki promise, in Easy Read and several languages for whānau.
Tune In
MetService forecasts ↗MetService
Check the forecast, including mountain and park forecasts, before any trip.
Habits
Clothing and equipment ↗NZ Mountain Safety Council
What to wear and carry so you stay warm and dry.
Habits
Leaving trip intentions ↗NZ Mountain Safety Council
Who to tell, what to tell them, and when they should raise the alarm.
Improve
Trip planning ↗NZ Mountain Safety Council
How to choose a trip that fits your group's skills and plan it step by step.
Improve
Plan My Walk ↗NZ Mountain Safety Council
A free planning tool with track information, weather and gear lists.
Improve
NZ Topo Map ↗topomap.co.nz
Free topographic maps of anywhere in New Zealand for route planning.
Improve
Orienteering New Zealand ↗Orienteering NZ
Find a club and permanent orienteering courses near you.
Improve
First aid guides ↗Hato Hone St John
Simple step-by-step guides for sprains, bleeding and calling an ambulance.
Value
Walking and tramping ↗Department of Conservation
Find short walks and tracks across Aotearoa, with information on accessibility and difficulty.
Value
Tramping in New Zealand ↗Te Ara
The history of tramping, clubs and huts in Aotearoa.
Evaluate
Mia & Leo Go Wild! ↗NZ Mountain Safety Council
A children's book about outdoor safety, a model for teaching younger students.
Real audiences
- The teacher or EOTC coordinator who approves the trip, who reads your trip plan
- A younger class you lead around your school-grounds orienteering course
- Whānau at a school evening or in the newsletter: the 'Ready for the Outdoors' gear and safety guide
Work with other schools
- Swap orienteering course designs with a class in another school, adapt each other's course to your own grounds, and compare what worked.
- Share weather diaries with a class in a different region for two weeks and compare how fast weather changed in each place.
- Hold a video hui with a partner school after both trips to compare plans, decisions and what you would change.
- Build a shared 'what to pack' guide where each school adds its local context: coast, mountains, bush or city parks.
Stretch challenges
- Find out how LandSAR volunteers search for missing people, and what walkers can do to help themselves be found.
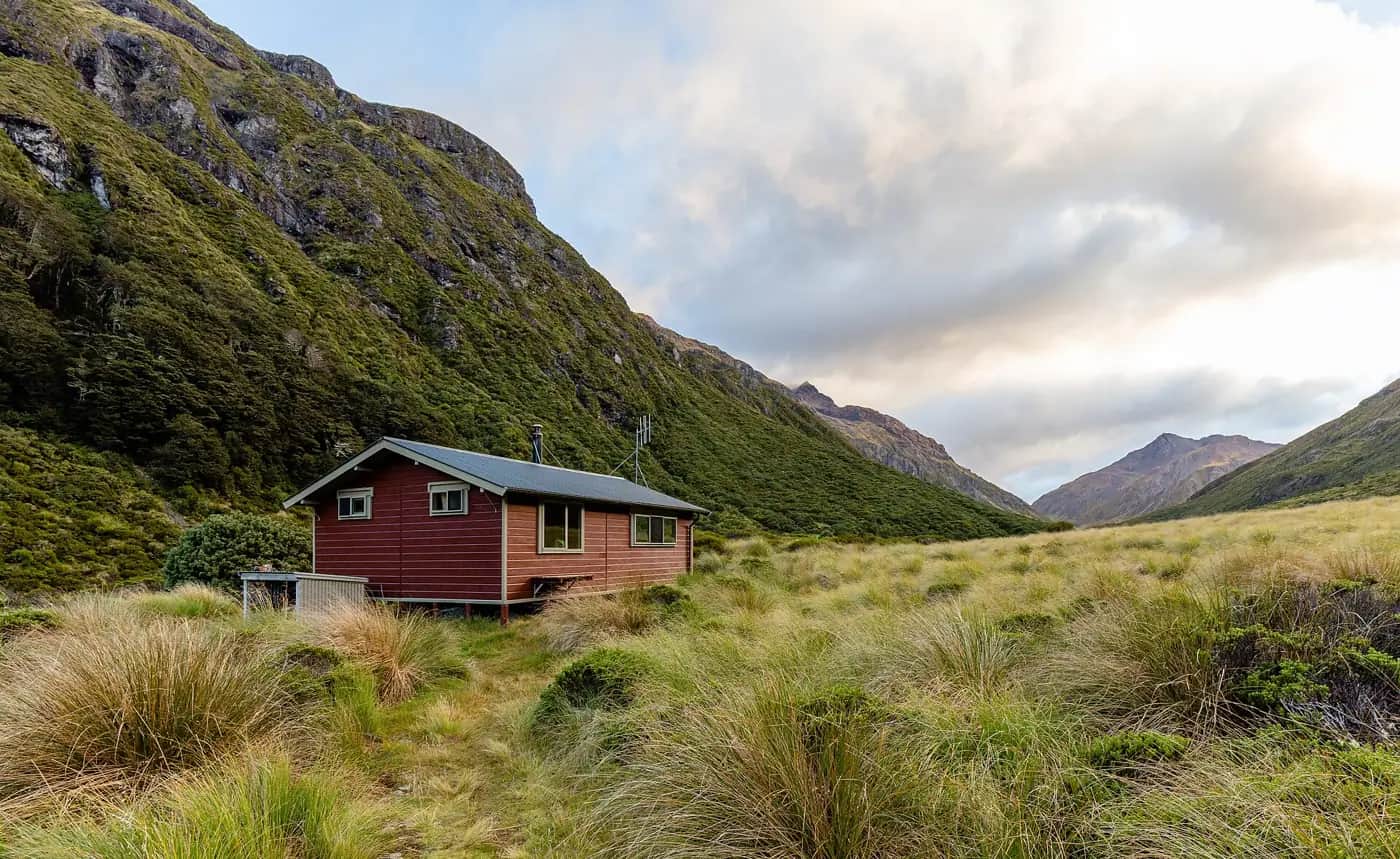
- Plan a two-day tramp to a DOC hut for your whānau, with a gear list, route, times and weather plan.
- Test different emergency shelters (a rubbish bag, a survival blanket, a tarp) for heat loss using the jar method.
- Investigate magnetic declination in your part of New Zealand and how it changes your compass bearings.
- Design an accessible outdoor trip that a wheelchair user and a toddler could both enjoy, using DOC's track information.
New Zealand Curriculum
What this world covers
Mapped to the refreshed Phase 3 statements. The whole class covers both the Year 7 and Year 8 sequences over two years.
Health and Physical Education · PE: outdoor education
Identifying evolving risks in outdoor environments (weather, terrain, water, group), considering group capabilities and needs, and making informed decisions to stay safe
Year 7 sequence
Health and Physical Education · PE: outdoor education
Basic survival skills (building shelter and first aid); preventing hypothermia with wet-weather clothing and correct safety equipment
Year 8 sequence
Health and Physical Education · PE: outdoor education
Leadership roles and shared responsibility in outdoor challenges; reading maps, using a compass and planning safe routes with entry and exit points for land and water sections
Year 8 sequence
Health and Physical Education · Health: relationships
Decision-making and empathy: making group decisions, speaking up about risk and supporting others
Year 7 sequence
Science · Physical Science
Heat transfer (conduction, convection, radiation): why wet and windy conditions chill the body and how layers insulate
Year 7 sequence
Mathematics and Statistics · Geometry
Map scales: measuring route distances on a topographic map and working out travel times
Year 8 sequence
For teachers: how to run it
This world teaches the Phase 3 outdoor education content in the October 2025 HPE teaching sequences. From Year 7: identifying evolving risks, considering group needs and capabilities, and making informed decisions to stay safe in outdoor conditions. From Year 8: basic survival skills (shelter and first aid), preventing hypothermia, correct safety equipment and wet-weather clothing, taking on leadership roles and shared responsibility, and orienteering with map, compass and route planning, including entry and exit points for land and water sections. In a combined class, Year 7 students lead on risk spotting and group needs; Year 8 students lead on navigation, shelter and first aid, and everyone takes a leadership role. Safety and approvals: follow the Ministry of Education EOTC guidelines and your school's EOTC policy. Any trip beyond the school grounds needs a risk analysis and management plan, parent consent, health information (asthma, allergies, diabetes, medication), adult ratios suited to the activity and environment, a qualified first aider, a communication plan (cell coverage is not guaranteed; carry a personal locator beacon in remote areas) and a clear 'go or no-go' weather decision the day before and the morning of. Water sections use a registered provider or qualified staff, lifejackets, and no swimming or river crossings on foot. The student plan is real practice and real input, but adults make the final safety decisions; say so openly, and show students where their ideas changed the plan. Hypothermia teaching: use the 'umbles' (stumbles, mumbles, fumbles, grumbles) and focus on prevention. The layers experiment uses warm tap water only, never boiling. First aid is taught as awareness and practice of simple steps (DRSABCD, calling 111, sprains, cuts, keeping someone warm); invite Hato Hone St John or a local first aid trainer for hands-on CPR if you can. Tarp shelters are built in the school grounds or a reserve with no knives; use pre-cut cord. Inclusion: plan the route and roles so every student can take part fully, including wheelchair users (accessible tracks and orienteering courses exist in most regions) and students who are anxious outdoors; offer roles such as navigator, weather watcher or communicator. Some whānau have lost people in the outdoors or on the water; handle search and rescue stories gently and avoid dramatic footage. Tikanga and care for places: ask mana whenua about the places you visit and any sites to avoid, and use DOC's Tiaki promise and the Land Safety Code together. Kererū, the AI companion, asks one question about the trip plan (for example 'What will you do if the weather turns at the halfway point?'); it never writes the plan or judges it. Links: Science world on heat and energy for the insulation test; Mathematics for map scales and travel times; Social Sciences 'Te Awa Tupua' for topographic maps and grid references; Kōkiri Lab Forest Rangatira pathway for longer bush-based inquiry.
Plan this world into any term with the two-year planner. Students can record their thinking in their Kōkiri Learn portfolio.
More Health and Physical Education worlds



Ready to run it with your class?
Free trial for NZ schools. One combined Years 7–8 class, any term.