Science · World 8 of 8 · Years 7–8
Rocks to Stars: Earth and Space
Crack open a 2-million-year-old shell bed, shrink the Solar System onto your field and find Matariki before dawn.
Big question: What can the rocks under our feet and the stars over our heads tell us about where we come from, and how do we use what the Earth gives us?
- You'll make
- A 'Rocks to Stars' exhibit for a Matariki evening: a labelled local rock-and-fossil collection with your own identification key, a scale-model Solar System walk along the school field, and a pocket night-sky guide that helps whānau find Matariki and the planets.
- For
- Whānau and the community at a Matariki star evening, junior classes who walk your Solar System trail, and the local museum or library, which can display your rock key and sky guide.
- Time
- 5 weeks · 2 sessions a week
Your mission
Why it matters
The local museum is planning a 'Rocks to Stars' evening for Matariki and has asked your class to help. They want a guide to the rocks and fossils people can find close to home, a way to show just how huge space really is, and a night-sky guide whānau can take outside. You have five weeks to find out, test and explain.
Aotearoa sits on the edge of two moving plates, so its rocks tell a busy story of volcanoes, rising mountains and seas that came and went. The gravel in your driveway, the steel in your roof and the concrete in your school all started as rocks. Looking up matters too: people in the Pacific crossed the biggest ocean on Earth by reading the stars, and Matariki now marks a public holiday. Understanding rocks and space helps you use resources wisely, read the land you live on and see your place in a very big universe.
Your first step
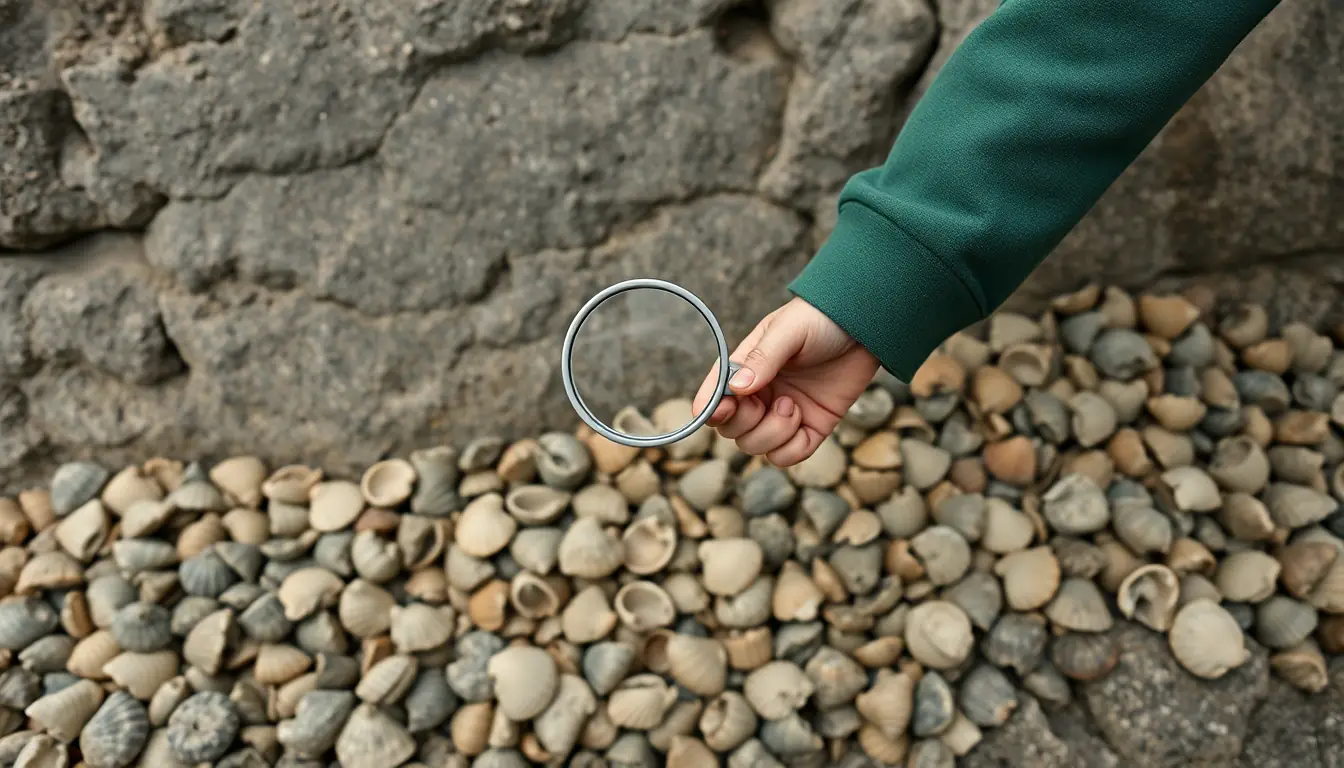
Pick up one stone from the school grounds or on your way to school. Look at it with a magnifying glass. Write down three things you notice and one question about where it came from.
Make it yours
Choose a context
Same big question, three different places to explore it. Pick the one that fits your class and community.
Fossil cliffs and riverbanks
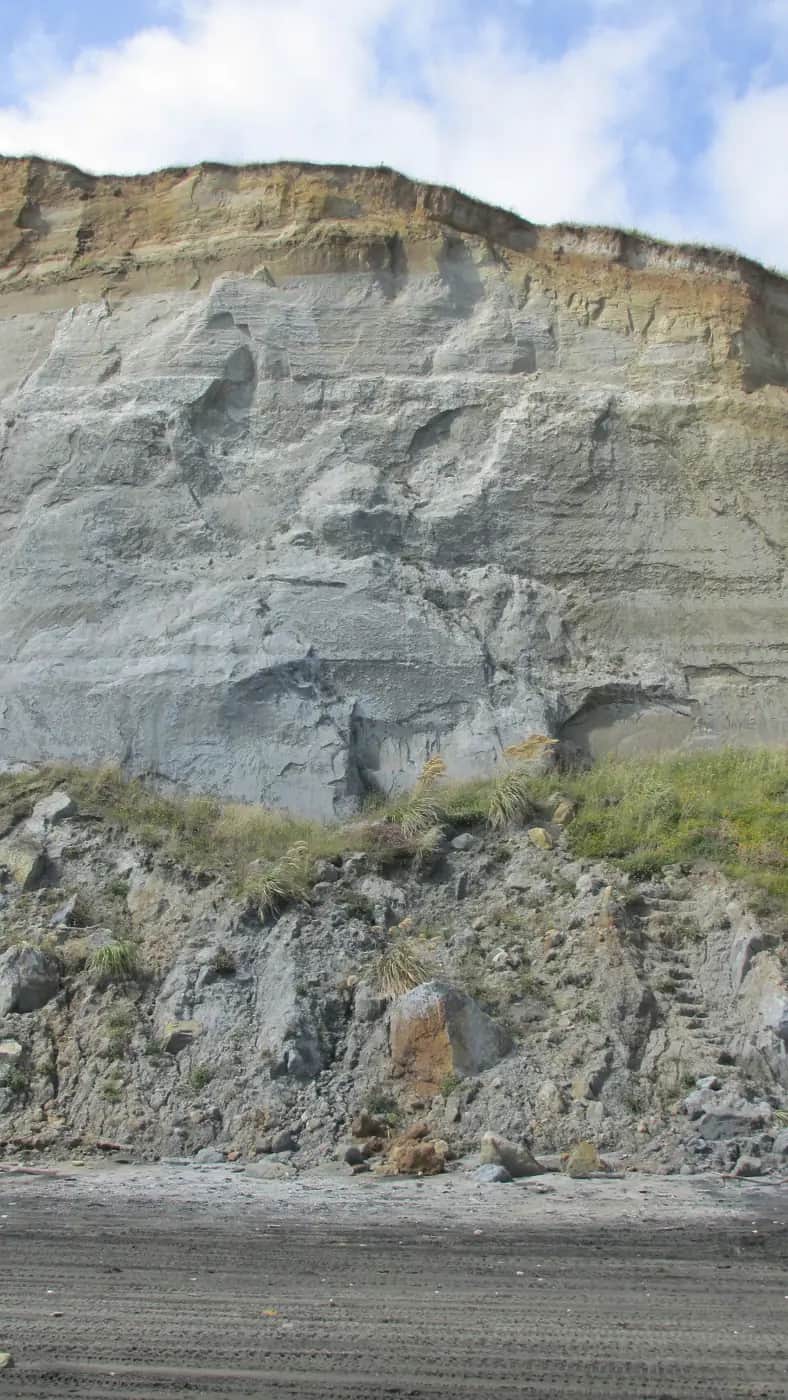
Whanganui's sea cliffs at Castlecliff and Kai Iwi are packed with fossil shells that lived in shallow seas more than a million years ago, layer on layer. Visit them, a local road cutting, a river terrace or a quarry face, and read the story in the layers. Suits coastal and rural schools, and anyone who can get out to a cliff or riverbank.
What is our town made of?
Walk your street like a geologist. Kerbs, concrete, bricks, roofing iron, a war memorial in granite or marble, the gravel on the path: every one came out of the ground somewhere. Trace where each material came from and why it was chosen. Great for urban schools.
The night sky, from marae to Mackenzie
Find Matariki and the planets from your own backyard, compare what city and dark-sky viewers can see (Aoraki Mackenzie is one of the darkest places on Earth), and learn how Pacific navigators used stars to find their way. Work with local kaumātua or a marae if your school has that relationship, and follow their lead.
VOICE
Week by week
Two sessions a week, each with Getting started and Stretch support so the whole class works together.
- W1What is under our feet? Meet the rocksValidate the Problem: The museum's request · Observe: Rock detectives
- W2Layers, fossils and the things we dig upObserve: Reading the layers · Investigate: From the ground to our town
- W3How big is space? Stars, galaxies and our Solar SystemInvestigate: Shrink the Solar System · Investigate: Sorting the sky
- W4Sun, Earth, Moon and MatarikiInvestigate: Moon phases and Matariki · Create Conclusions: Build the exhibit
- W5Check, improve and share at the star eveningCreate Conclusions: Claim, evidence, reasoning · Evaluate: Rocks to Stars showcase
Hands-on
Activities
Investigations and projects that fit the weeks above. Open one to see what you need and how you'll know it worked.
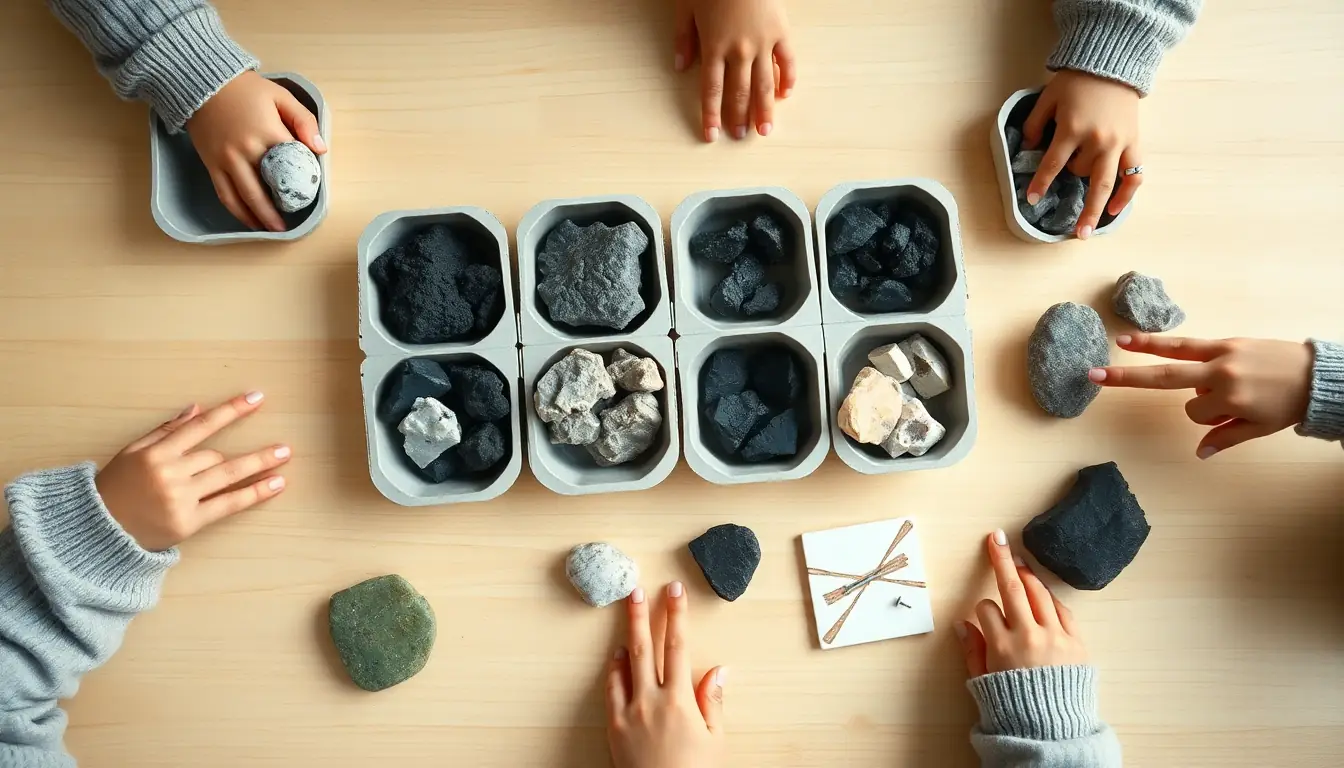
Rock detective kitHow can you tell one rock or mineral from another?Open
You need: 6–10 rock samples (pumice, basalt, greywacke, granite, sandstone, limestone, quartz, coal) · a hand lens · an unglazed white tile · a 5-cent coin and a steel nail · vinegar and a dropper · a bowl of water · goggles
- Look at each rock with the hand lens. Can you see crystals, grains, layers or holes?
- Rub the rock on the white tile. What colour is the streak?
- Try scratching it with your fingernail, then the coin, then the nail. Which one leaves a mark?
- Put one drop of vinegar on a corner. Does it fizz? (Fizzing shows calcium carbonate, found in limestone and shells.)
- Drop it gently into water. Does it float?
- Record each result in your rock passport and name the rock using the class chart.
How you'll know: You can name at least four rocks from your test results, and explain why limestone fizzes and pumice floats.
Safety: Wear goggles when scratching and dropping vinegar. Scratch away from your body. Wash hands after handling coal.
Go further: Use your results to make a hardness order from softest to hardest and compare it with the Mohs scale.
Fits week 1 →Layers in a jarHow do sediments settle into layers?Open
You need: a clear jar with a lid · a handful each of gravel, sand and garden soil · water · a timer · a notebook
- Put the gravel, sand and soil in the jar and fill it three-quarters with water.
- Screw the lid on tight and shake for 30 seconds.
- Predict the order the layers will settle in and draw it.
- Leave the jar still. Draw what you see after 1 minute, 10 minutes and the next day.
- Compare with a photo of a cliff or road cutting. Which layers are oldest?
How you'll know: Heavy gravel settles first at the bottom and fine mud last at the top. You can use this to explain why the lowest layers in a cliff are usually the oldest.
Safety: Glass jars can break: hold with two hands and shake over a table. Wash hands after handling soil.
Go further: Add a small shell before you shake. Where does it end up, and how could it become a fossil?
Fits week 2 →Make a fossilHow does a living thing become a fossil?Open
You need: shells, leaves or a plastic toy animal · salt dough or modelling clay · plaster of Paris and water · a paper cup · petroleum jelly
- Flatten the dough into a thick disc in the bottom of the cup.
- Wipe the shell with a little petroleum jelly and press it firmly into the dough. Lift it out carefully. This is a mould fossil.
- Mix plaster with water until it is like thick cream and pour it into the mould.
- Leave it overnight, then peel away the cup and dough. You now have a cast fossil.
- Write the steps a real shell in the Whanganui sea would go through to become part of the cliff.
How you'll know: You can explain the difference between a mould and a cast, and describe how sediment, time and minerals turn a buried shell into a fossil.
Safety: Wear goggles and gloves when mixing plaster, do not breathe the dust, and never put your hand in setting plaster: it gets hot. Do not pour plaster down the sink.
Go further: Swap fossils with another group and write an identification card for theirs, as a museum would.
Fits week 2 →From rock to road: the materials huntWhat in our school came out of the ground?Open
You need: a clipboard and checklist · a camera or tablet · a magnet · a map of the school
- Walk a planned route with an adult. Find 10 things made from Earth materials: concrete, bricks, gravel, glass, steel, copper pipes, roofing iron, a stone wall.
- Photograph each one and test with the magnet: is there iron or steel in it?
- Record why you think that material was chosen (strong, light, does not rust, cheap, looks good).
- Back in class, find out which rock or deposit each came from (limestone for cement, sand for glass, ironsand for steel).
- Draw a 'from rock to road' flow chart for one material.
How you'll know: You have 10 materials, each linked to a source rock and a reason for its use based on its properties.
Safety: Stay with your group and the adult. Look, do not climb. Keep away from building sites and the caretaker's workshop unless invited.
Go further: Find out how much gravel and sand New Zealand uses each year, and where your region's nearest quarry is.
Fits week 2 →Toilet-paper Solar SystemHow far apart are the planets really?Open
You need: a roll of toilet paper (at least 300 sheets) · 8 planet cards and a Sun card · a marker pen · the scale table · a long, clear space such as the field or a corridor
- Use the scale: 1 sheet stands for about 15 million km.
- Place the Sun card at the start of the roll.
- Count out sheets and put each planet card down at its place: Mercury about 4 sheets, Earth 10, Mars 15, Jupiter 52, Saturn 95, Uranus 191, Neptune 300.
- Walk from the Sun to Neptune. Stop at Earth and look back.
- Write what surprised you, and why pictures of the Solar System are not to scale.
How you'll know: You can explain that the inner planets are crowded close to the Sun and the outer planets are enormously far away, using your scale model.
Safety: Outdoors: sunhat and sunscreen in summer. Pick up all the paper afterwards and recycle it.
Go further: Work out how far away the nearest star after the Sun would be on the same scale (about 40 trillion km). How many rolls would you need?
Fits week 3 →Gravity and orbitsWhat keeps the Moon going around the Earth?Open
You need: a soft ball or beanbag tied to 1 m of string · two balls of different mass (a tennis ball and a heavier ball) · a tape measure · an open space
- Drop the two balls from the same height at the same time. Which lands first? Repeat three times.
- Swing the ball on the string gently in a horizontal circle, low to the ground.
- Let go of the string. Watch which way the ball flies.
- Discuss: what did the string do? What does gravity do for the Moon?
- Draw the Moon's orbit with an arrow showing the pull of gravity towards the Earth.
How you'll know: Both balls land together. The string pulls the ball towards the centre; when it is let go, the ball flies off in a straight line. Gravity is the invisible 'string' holding the Moon in orbit.
Safety: Swing the ball low and slowly, in a clear space, well away from other people and windows.
Go further: Use the PhET Gravity and Orbits simulation to find out what happens to the Moon's orbit if you turn Earth's gravity off.
Fits week 3 →Moon phases in a dark roomWhy does the Moon seem to change shape?Open
You need: a lamp with the shade removed · a polystyrene or tennis ball on a pencil or skewer · a darkened room · a phase-drawing sheet
- Stand in the middle of the room facing the lamp. Your head is the Earth.
- Hold the ball at arm's length, a little above your head, between you and the lamp. How much of the lit side can you see?
- Turn slowly to your left, keeping the ball in front of you. Stop every eighth of a turn and draw the lit shape you see.
- Name each phase: new, crescent, first quarter, gibbous, full.
- Explain in one sentence what causes the phases.
How you'll know: You have drawn a full cycle of phases and can explain that half the Moon is always lit by the Sun, and the phase depends on how much of that half faces us.
Safety: The bare bulb gets hot: do not touch it and keep cords taped down. Move slowly in the dark.
Go further: Find out how the maramataka names nights of the Moon and what some iwi use them to plan, such as planting or fishing.
Fits week 4 →Find Matariki with whānauCan you find Matariki and other stars from your own place?Open
You need: a printed star map or Stellarium Web on a device (set to night mode) · a red-light torch (red cellophane over a torch) · warm clothes · an adult
- Check the weather and the rising time for Matariki in late June or July. Plan to go out about an hour before dawn with an adult.
- Let your eyes get used to the dark for 10 minutes. Use only red light.
- Look east. Find the three stars in a row called Tautoru (Orion's Belt).
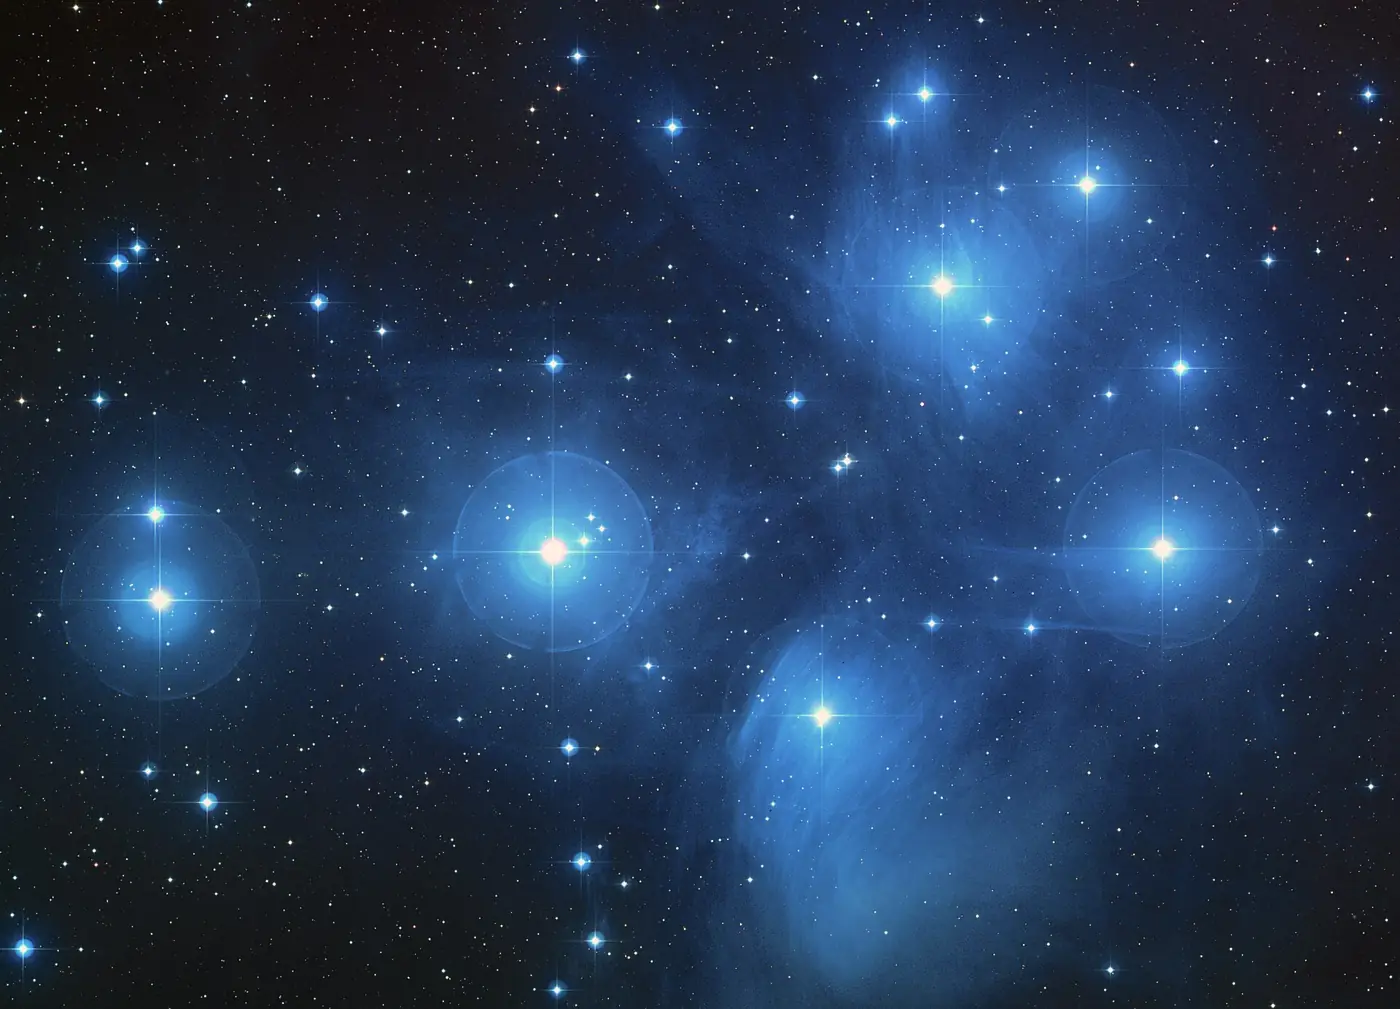
- Follow the line of Tautoru to the left to find the small, misty cluster of Matariki.
- Record what you saw, how many stars you counted and how dark it was. If you watch in the evening instead, look for the Moon and a bright planet.
How you'll know: You have a sky-watch record with the date, time, direction and what you saw, and can explain how you found the cluster.
Safety: Always go with an adult and stay on your own property or a safe, familiar place. Never look at the Sun, even with sunglasses or through binoculars.
Go further: Compare the number of stars you counted with a class member in a darker or brighter place. What difference does light pollution make?
Fits week 4 →Look closer
From the real world
Background reading
Read to understand
Short readings written for Kōkiri Learn students, with their sources.
- Reading the rocks: minerals, rocks and fossilsRocks are made of minerals, and some hold fossils. Together they tell the story of how the land under you was made.
- From the ground up: how we use Earth's resourcesCoal, ironsand, limestone, gravel and pounamu all come out of the ground. We choose each one for its properties.
- Our place in space: stars, gravity and MatarikiThe Sun is one star among billions in one galaxy among trillions. Gravity holds it all together, and Matariki connects the sky to life on the ground.
Trusted NZ sites
Explore more
Placed at the stage of the journey where each one helps.
Validate the Problem
Geology – overview ↗Te Ara – The Encyclopedia of New Zealand
How Aotearoa's rocks tell the story of a land built on moving plates.
Observe
The rock cycle ↗Science Learning Hub
How igneous, sedimentary and metamorphic rocks form and change into each other.
Observe
What are minerals? ↗Science Learning Hub
The difference between a mineral and a rock, with everyday examples.
Observe
Whanganui rocks and climate cycles ↗Science Learning Hub
How the layered cliffs near Whanganui record ice ages and warm times.
Observe
Fossils ↗Te Ara – The Encyclopedia of New Zealand
New Zealand's fossil record, from shells to giant penguins.
Investigate
Mining and underground resources ↗Te Ara – The Encyclopedia of New Zealand
Coal, gold, ironsand, gravel and more: what we dig up and why.
Investigate
Shrink the Solar System ↗Science Learning Hub
A scale-model activity that makes the size of the Solar System real.
Investigate
Gravity and Orbits ↗PhET, University of Colorado
Change the mass and see what happens to the Moon's and Earth's orbits.
Investigate
The Matariki star cluster ↗Science Learning Hub
The science and mātauranga of Matariki, and how to find the cluster.
Investigate
The stars of Matariki ↗Te Papa
The nine stars and what each is connected to.
Create Conclusions
Stellarium Web star map ↗Stellarium
See tonight's sky from your own town to plan your sky guide.
Evaluate
The Moon and its misconceptions ↗Science Learning Hub
Check your Moon model against common mistaken ideas.
Evaluate
What Is a Galaxy? ↗NASA Space Place
Galaxies explained simply, to check the facts on your exhibit.
Real audiences
- Whānau and the community at a Matariki 'Rocks to Stars' evening at school
- Junior classes, who walk your scale-model Solar System trail
- The local museum, library or visitor centre, which can display your rock-and-fossil key or sky guide
Work with other schools
- Swap rock kits by post with a school in a different region (for example, volcanic Rotorua and schist-country Otago) and use each other's keys to identify the new rocks.
- Hold a same-night sky watch with a partner school in a darker or brighter place and compare how many stars of Matariki each class could count.
- Build one long Solar System trail together online: each school makes signs for two planets and shares photos of their part of the walk.
Stretch challenges
- Draw the rock cycle as a flow diagram using real New Zealand examples: Taupō pumice, Southern Alps greywacke, Otago schist and Waitomo limestone.
- Find out how Charles Cotton read the shapes of New Zealand's landforms, and use a topographic map to find a river terrace or old sea cliff near your school.
- Research how Pacific navigators used rising and setting stars to sail between islands, and make a star compass for your own horizon.
- Use PhET's My Solar System to design an orbit that is an ellipse, and explain what Johannes Kepler discovered about planets.
- Find out how giant penguin fossils found in Canterbury and Otago tell us about New Zealand's past seas.
New Zealand Curriculum
What this world covers
Mapped to the refreshed Phase 3 statements. The whole class covers both the Year 7 and Year 8 sequences over two years.
Science · Physical Science
Minerals as natural materials with repeating patterns; rocks made of minerals and crystals that sometimes contain fossils; Earth deposits such as coal and petroleum; choosing Earth materials for uses based on their properties
Year 7 sequence
Science · Physical Science
Galaxies, stars and the Sun; gravity and mass; classifying planets, dwarf planets, moons, asteroids and comets; modelling Earth–Moon and Sun–planet relationships and orbits
Year 8 sequence
Science · Science practices
Using physical models (a scale Solar System, a lamp-and-ball Moon) to explain and predict, and judging what each model gets right and wrong
Year 8 sequence
Mathematics and Statistics · Geometry
Using a scale to shrink real distances in the Solar System onto the school field
Year 8 sequence
Social Sciences · Geography
Tectonic landforms: how moving plates, volcanoes and changing sea levels shaped the rocks and landscapes of Aotearoa
Year 7 sequence
For teachers: how to run it
This world covers the Phase 3 Year 7 content on rocks and minerals (minerals as natural materials with repeating patterns, rocks made of minerals and sometimes containing fossils, Earth deposits such as coal and petroleum, and choosing Earth materials by their properties) in weeks 1–2, and the Year 8 content on the universe (galaxies, stars, gravity, planets, dwarf planets, moons, asteroids and comets, and modelling the Earth–Moon and Sun–planet systems) in weeks 3–4, so a combined class meets both. The curriculum names Charles Cotton (NZ landforms) and Johannes Kepler (elliptical orbits) as scientists to feature. Prep: a rock kit per group (pumice, basalt or scoria, greywacke, granite, sandstone, mudstone or papa, limestone, marble, schist, quartz, coal; many are available from garden centres, beaches or a local quarry), hand lenses, unglazed white tile for streak tests, steel nails, 5-cent coins, vinegar and droppers, plaster of Paris or salt dough, shells, clear jars with lids, sand, gravel and soil; for space, a roll of toilet paper, a tape measure, a lamp with the shade removed, polystyrene or tennis balls on skewers, string and a soft ball. Safety: goggles for scratch and vinegar tests; plaster gets hot as it sets, so no hands inside it; field trips to cliffs need a risk assessment, tide times, a 'stay back from the cliff base' rule (Whanganui cliffs are soft and fall often) and adult supervision; never look at the Sun, with or without binoculars or sunglasses; pre-dawn Matariki viewing happens at home with whānau, not as a school event, unless the school organises it. Collecting: fossils and rocks in DOC reserves, regional parks and on marae land must not be taken; photograph and sketch instead. Pounamu is a taonga: under the Ngāi Tahu (Pounamu Vesting) Act 1997, natural pounamu within the Ngāi Tahu takiwā (most of Te Waipounamu) belongs to Ngāi Tahu; learn about it, do not collect it. Mātauranga Māori: Matariki knowledge, star names and meanings differ between iwi and hapū. Use the Science Learning Hub and Te Papa resources (which draw on the work of Professor Rangi Matamua), invite local kaumātua or your school's iwi partners to share their own knowledge if they wish, and never present one version as the only one. Students design their own symbols for the sky guide; do not copy whakairo or other sacred designs. Differentiation: give a partly finished identification key and a card sort with pictures; stretch students with the rock cycle as a flow diagram, calculating scale distances with powers of ten, or Kepler's ellipses drawn with two pins and a loop of string. Misconceptions to listen for: 'the Moon's phases are caused by Earth's shadow' (they come from how much of the Moon's sunlit half we can see), 'there is no gravity in space' (gravity keeps the Moon and the planets in orbit), 'all rocks are the same age as the Earth', and 'fossils are the actual bones' (most are minerals that replaced the original material). Kōkiri Lab link: the Earth Systems & Space world goes further into plate tectonics, volcanoes, climate and the maramataka, drawing on the Permaculture Design Course modules on topography (reading landforms and geology) and climate (sun angles, seasons and aspect).
Plan this world into any term with the two-year planner. Students can record their thinking in their Kōkiri Learn portfolio.
More Science worlds


Ready to run it with your class?
Free trial for NZ schools. One combined Years 7–8 class, any term.