Science · World 6 of 8 · Years 7–8
Push, Pull and Pressure
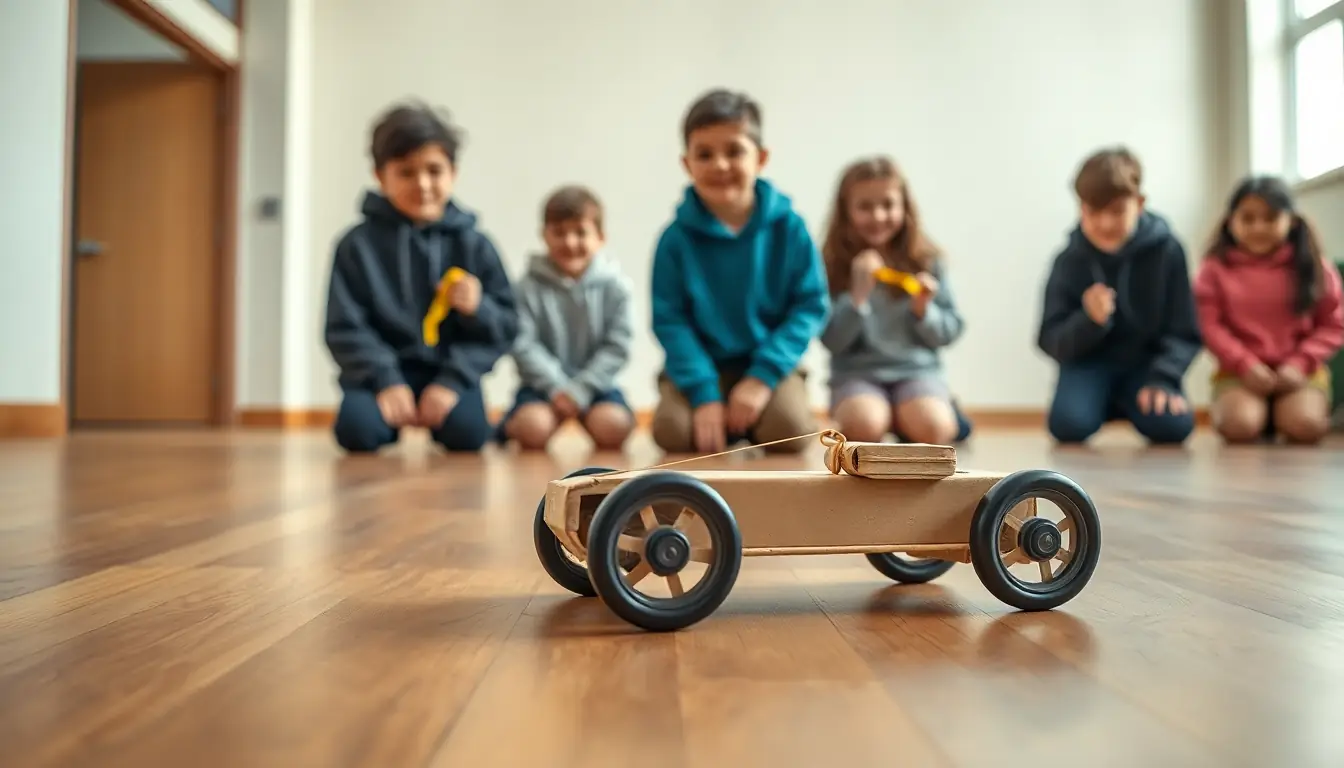
Wind it, launch it, measure it, change one thing. Build an elastic-band car and discover the forces that make it go and stop.
Big question: How do pushes, pulls and friction change the way things move, and how do tool makers use pressure to make a job easier?
- You'll make
- An elastic-band car improved through three recorded test runs, and a 'Pressure at work' poster or short explainer that shows how one real tool concentrates or spreads a force.
- For
- A junior class at a car-racing morning, whānau at a showcase, and a local builder, orchardist, chef or coach who uses tools or friction every day.
- Time
- 5 weeks · 2 sessions a week
Your mission
Why it matters
A junior class has invited your class to run a car-racing morning, but they want cars that actually go the distance. At the same time, the school garden team wants to know why some spades slice into the ground easily while others just bounce. Your job is to test the forces behind both problems and explain them with evidence.
Forces are everywhere: in every step you take, every bike brake you squeeze and every knife that cuts your lunch. Engineers, builders, surgeons and sports coaches all think about friction and pressure to make things safer and work better. Learning to change one thing at a time and record what happens is also how real scientists and designers solve problems, from racing yachts to farm machinery.
Your first step
Stretch a rubber band, bend a paper clip and squash a ball of plasticine. Write one thing you can directly observe about each, then one guess about why. Keep the two lists separate.
Make it yours
Choose a context
Same big question, three different places to explore it. Pick the one that fits your class and community.
The school hall race track
Race cars on a hard floor, then on carpet, a ramp and the netball court. Find out why wheels, surfaces and slopes matter, and connect it to skateboards, scooters and bike brakes you use every day. Works anywhere, and suits urban schools with a hall or covered area.
The farm, orchard or māra kai
Pointed fence posts, sharp spades, wide tractor tyres and gumboots in mud are all pressure problems. Test garden tools, visit a local orchard or farm, and ask the people who use the tools why they are shaped the way they are. Rural and small-town schools can bring in real equipment.
Sand, mud and snow
Why do you sink in soft beach sand in jandals but not in bare feet? Why do snowshoes and wide 4WD tyres work? Test footprints and 'sinking' on the beach, in a sandpit or on a muddy field, and compare with how people across Aotearoa and the Pacific have shaped tools like the toki and the ngira.
VOICE
Week by week
Two sessions a week, each with Getting started and Stretch support so the whole class works together.
- W1Why do some cars go further? Spot the forcesValidate the Problem: The mystery car · Observe: Stretch, bend, squash
- W2Friction: the force that fights backObserve: Surface slide · Investigate: Build and first run
- W3One change at a time: runs 2 and 3Investigate: Run 2 and run 3 · Investigate: Surfaces and slopes
- W4Pressure: same force, different areaInvestigate: Dent detectives · Create Conclusions: Claim, evidence, reasoning
- W5Race day and the pressure showcaseEvaluate: How sure are we? · Evaluate: Car-racing morning
Hands-on
Activities
Investigations and projects that fit the weeks above. Open one to see what you need and how you'll know it worked.
Make a force meterHow can you measure a push or a pull?Open
You need: a paper or plastic cup · a rubber band · a paper clip bent into a hook · a ruler · sticky tape · bags of rice weighing 100 g, 200 g, 300 g
- Punch two holes near the top of the cup and tie string through to make a handle.
- Hang the cup from the rubber band and hook the rubber band onto a pencil held over a table edge.
- Tape the ruler upright behind it. Mark where the bottom of the cup sits.
- Add each rice bag and mark the new stretch. You now have a scale.
- Use it to measure the pull needed to drag a shoe across the floor.
How you'll know: The band stretches further for heavier bags in a steady pattern, so you can read a force from the stretch.
Safety: Goggles if you are stretching bands hard. Do not aim bands at people.
Go further: Add a 400 g bag. Does the pattern stay the same, or does the band start to behave differently?
Fits week 1 →Elastic or plastic?Which materials spring back, and which stay changed?Open
You need: rubber bands · a spring from an old pen · paper clips · thin and thick garden wire · plasticine · a sponge · a ruler
- Measure each object before you start.
- Stretch, bend or squash it with a steady force, then let go.
- Measure it again and record whether it went back to its shape.
- Bend thin wire and thick wire by the same amount and compare how hard it was.
How you'll know: Your table sorts every object into elastic (springs back) or plastic (stays changed), and names the internal force: tension or compression.
Safety: Wire ends can be sharp: bend them over with pliers. Goggles on for springs.
Go further: Find something that is elastic for a small force but plastic for a big one. Where is the change-over point?
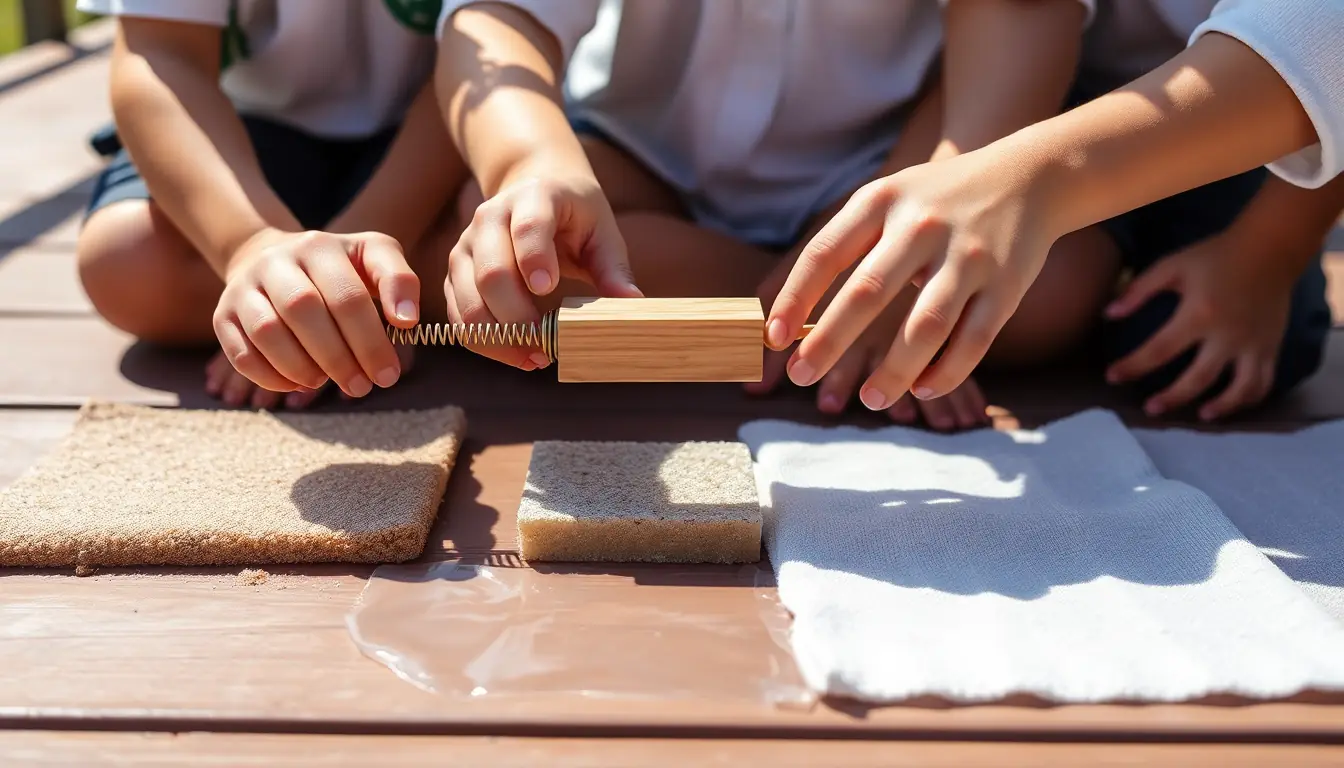
Fits week 1 →Friction slideWhich surface has the most grip?Open
You need: a small wooden block or a shoe · a force meter or spring balance · sandpaper, carpet, lino, plastic sheet, a wet towel · a results table
- Lay the surfaces side by side on a flat table or deck.
- Pull the block slowly across each surface with the force meter.
- Read the force just as the block starts to move.
- Repeat three times on each surface and work out the mean.
How you'll know: The roughest surfaces need the biggest pull, and your repeats are close to each other, which makes the pattern believable.
Go further: Add a second block on top. How does doubling the weight change the friction?
Fits week 2 →The elastic-band car challengeWhat single change makes your car travel furthest?Open
You need: identical kits: card or construction-kit chassis, 2 axles (skewers), wheels (bottle tops, CDs or kit wheels in two sizes), straws as bearings, thick and thin elastic bands · masking tape start line · a tape measure · pause sheets
- Build a car. Loop one end of the band around the rear axle and anchor the other end to the front of the chassis.
- Wind the rear axle backwards exactly the agreed number of turns.
- Put the rear axle on the start line and let go without pushing.
- Measure the distance from the start line to the rear axle. Record it.
- Fill in the pause sheet: what you saw, one change, and why.
- Make only that change. Run again. Repeat for three runs.
How you'll know: Your pause sheets show one change at a time, and you can point to the run where the distance jumped and say why.
Safety: Tape over skewer points. Keep run lanes clear so cars do not trip anyone.
Go further: Use gears or pulleys between the band and the axle and explain what changed.
Fits week 2 →Ramps and surfacesHow do slope and surface change how far a car rolls?Open
You need: a plank · books to prop it at three heights · a toy car or your best elastic-band car · carpet, lino, grass, sand areas · tape measure
- Set the ramp at the lowest height. Let the car roll from the same mark each time.
- Measure how far it travels past the bottom of the ramp. Repeat three times.
- Change only the height. Repeat.
- Then keep the height the same and change the floor surface.
How you'll know: Your bar graph shows a clear pattern for height and for surface, and you name the independent and dependent variables correctly.
Safety: Keep ramps stable. Outdoors, watch for other classes and slippery grass.
Go further: Explain in terms of gravity and friction why a skateboard slows faster on grass than on concrete.
Fits week 3 →Dent detectivesDoes the same weight press harder on a small area?Open
You need: a slab of plasticine or playdough smoothed flat · a 500 g bag of rice or a full drink bottle · blocks or lids of three different base sizes · a ruler · a toothpick for measuring depth
- Measure the base of each block and work out its area (length times width).
- Stand the first block on the plasticine and balance the rice bag on top for 30 seconds.
- Lift it off and measure the depth of the dent with a toothpick marked in millimetres.
- Smooth the plasticine and repeat with each block.
How you'll know: The smallest base makes the deepest dent even though the weight did not change: same force, smaller area, more pressure.
Go further: Work out the pressure for each block: force (about 5 newtons for 500 g) divided by area in square centimetres.
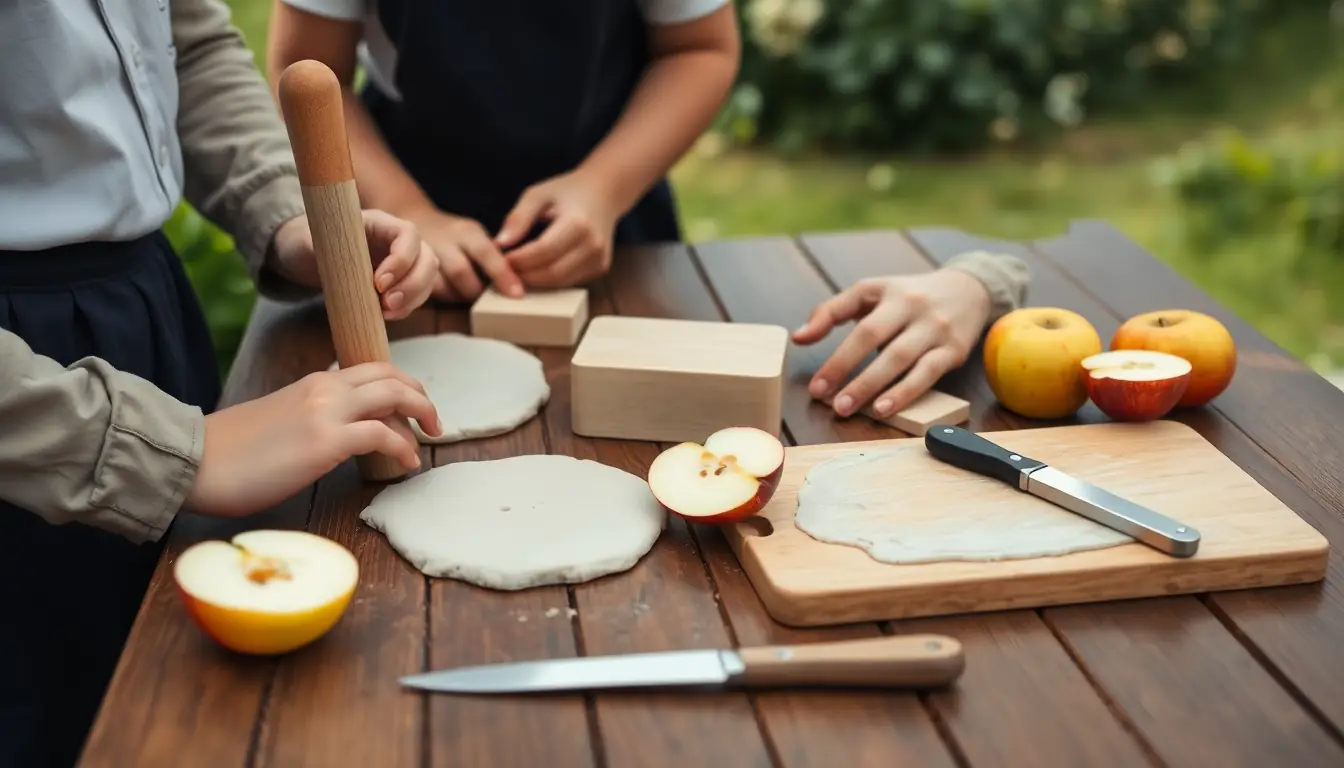
Fits week 4 →Tool detectivesHow is a tool shaped to concentrate or spread a force?Open
You need: an apple · a blunt butter knife · a rolling pin · a wooden skewer · playdough · photos of a toki (adze), a ngira (needle), a hammer and a drawing pin
- Try to cut the apple with the flat side of the knife, then with its edge. Compare.
- Press the rolling pin and then the skewer point into playdough with the same gentle push.
- For each photo, circle the part that meets the material and the part your hand pushes on.
- Decide: is this tool designed to make pressure bigger (cut, pierce) or smaller (spread, flatten)?
How you'll know: You can explain every tool with the words force, area and pressure, and you notice that most tools have a wide end for your hand and a narrow end for the job.
Safety: Blunt knives only. Cut on a board, away from your fingers. Check for food allergies before handling food.
Go further: Design your own tool for a real job in the garden or kitchen and label where it concentrates and where it spreads the force.
Fits week 4 →Sinking feetWhy do you sink in sand in some shoes but not others?Open
You need: a sandpit or beach · a ruler · different footwear: gumboots, jandals, sneakers, bare feet · a flat board about 30 cm square
- Smooth a patch of damp sand.
- Stand still on one foot for five seconds in each type of footwear, then step off.
- Measure the depth of each footprint.
- Stand on the board and measure again.
How you'll know: The board makes the shallowest print because your weight is spread over a bigger area. That is how snowshoes and wide tractor tyres work.
Safety: Check the sand for sharp objects first. An adult nearby at the beach, and stay away from the water's edge.
Go further: Trace each shoe on grid paper, count the squares to find its area, and see whether area predicts depth.
Fits week 4 →Look closer
From the real world
Background reading
Read to understand
Short readings written for Kōkiri Learn students, with their sources.
- Pushes, pulls and the force that fights backForces can speed things up, slow them down, change their direction or change their shape. Friction is the force that works against movement.
- The science of an elastic-band carA wound-up elastic band stores energy. How far your car goes depends on how that energy reaches the road, and on testing one change at a time.
- Pressure: why sharp things cut and wide things float on mudPressure depends on how much force there is and how big the area is. Tool makers use this idea every day.
Trusted NZ sites
Explore more
Placed at the stage of the journey where each one helps.
Validate the Problem
Physical World – forces ↗Science Learning Hub
The big ideas about forces, pushes and pulls in one place.
Observe
Friction – the contact force that slows or stops moving objects ↗Science Learning Hub
Friction ideas, NZ contexts and hands-on activities.
Investigate
Forces and Motion: Basics ↗PhET, University of Colorado
Push crates with and without friction and watch the force arrows.
Investigate
Forces and speed ↗Science Learning Hub
How forces speed things up and slow them down, with cycling examples.
Create Conclusions
Simple machines ↗Science Learning Hub
How levers, wedges and wheels change the size and direction of a force.
Create Conclusions
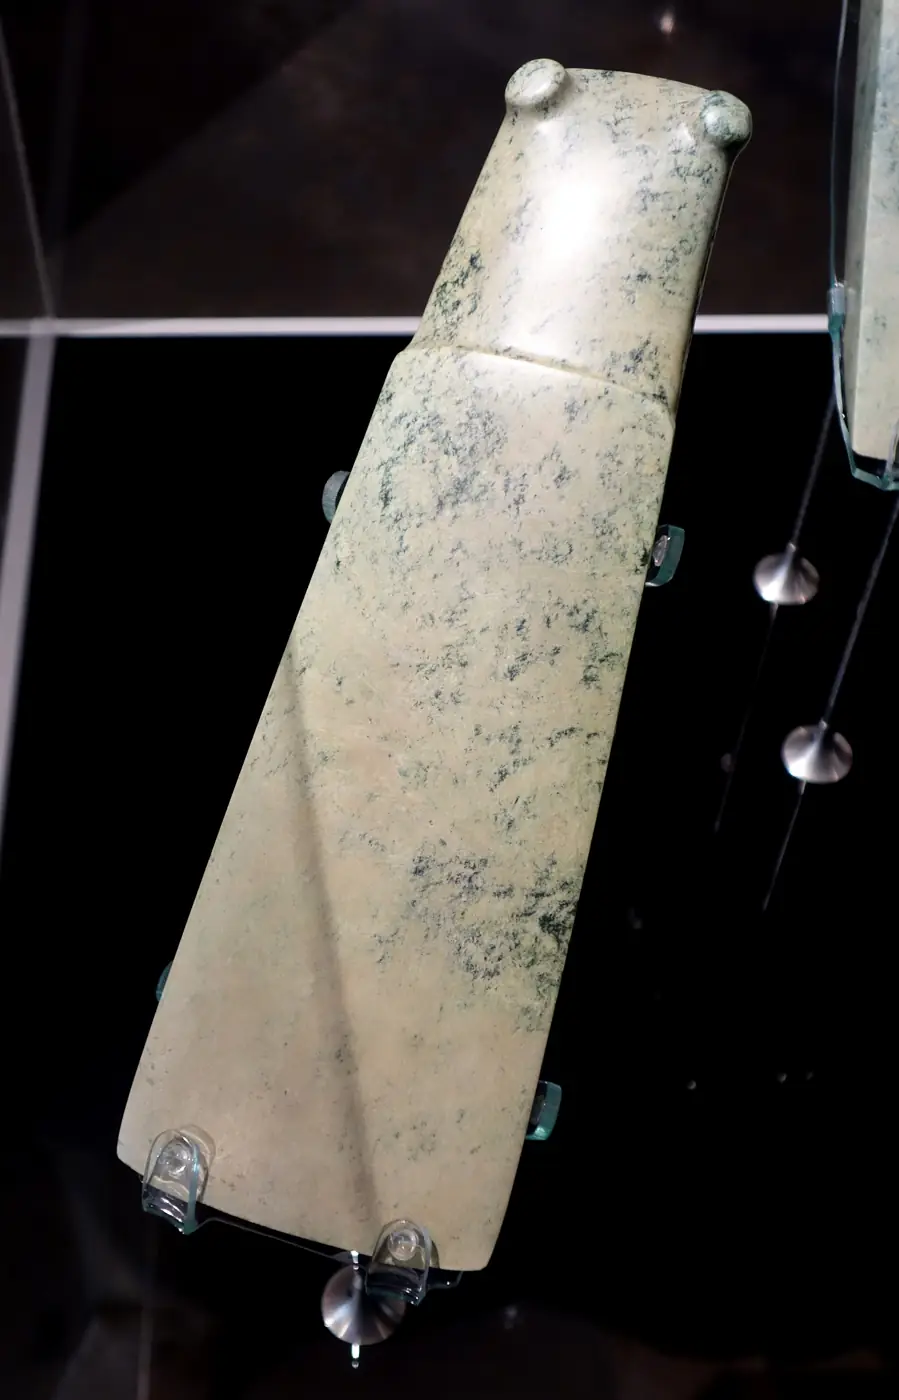
Pounamu adze ↗Science Learning Hub
A close look at a traditional toki and how its edge was shaped.
Evaluate
Physics made simple – force and motion ↗Science Learning Hub
Check your explanations against clear definitions of the key ideas.
Real audiences
- A junior class at a car-racing morning where your group explains and launches your car
- A local builder, orchardist, chef or coach who talks about the tools or grip they rely on
- Whānau at a showcase of 'Pressure at work' posters
Work with other schools
- Agree on a standard car and winding rule with a partner school, run the same tests and compare distances on a shared spreadsheet.
- Post each other a mystery car design with no instructions and see whether the other class can improve it with one change.
- Hold a video race-off where each class explains its best single change before the run.
Stretch challenges
- Design a way to stop your elastic-band car in a set distance (a brake) and test how friction does it.
- Research how road surfaces in Aotearoa are designed to grip in the wet, and explain the science to a learner driver in your whānau.
- Calculate the pressure under your own feet standing flat and on tiptoe, using your weight in newtons and the area of your footprint.
- Compare the design of a bike brake, a scooter brake and a skateboard's wheels, and explain which forces each one uses.
New Zealand Curriculum
What this world covers
Mapped to the refreshed Phase 3 statements. The whole class covers both the Year 7 and Year 8 sequences over two years.
Science · Physical Science
Internal forces (tension, compression) and external forces (applied force, friction); forces change shape, size and position; friction opposes motion and makes heat; elastic and plastic changes
Year 7 sequence
Science · Physical Science
Pressure as force spread over an area; how tools such as a pin, knife, hammer, rolling pin, toki and ngira are shaped to concentrate or spread force
Year 8 sequence
Science · Science practices
Naming independent and dependent variables, changing one thing at a time and repeating runs for reliable results
Year 7 sequence
Technology · Systems and control
Mechanical systems: axles, wheels and stored elastic energy in a simple vehicle
Year 7 sequence
Mathematics and Statistics · Statistics
Mean, median and range of repeated test-run distances
Year 7 sequence
For teachers: how to run it
This world covers the Phase 3 Year 7 content on deformation, internal and external forces and friction (weeks 1–3) and the Year 8 content on pressure on solids and tool design (week 4), with Year 7 practices of identifying independent and dependent variables. It builds directly on the Royal Society Te Apārangi DIVE elastic-band car inquiry: groups receive identical kits (construction kit or recycled materials: card chassis, bottle-top or CD wheels, skewer axles, straws as bearings, thick and thin elastic bands), wind the axle a fixed number of turns (write it on the board, e.g. eight), start every run with the rear axle on the same taped line, and complete a pause sheet after each run that records the result, one observation and one named change with a reason before touching the car again. Keep the brief genuinely open: do not hint at wheel size or band thickness. Use the observation/inference T-chart and the anchor question 'Which observation are you basing that on?'. Prep: spring balances or homemade rubber-band force meters, a plank for a ramp, surface samples, plasticine or playdough, a mass (a 500 g bag of rice or a full drink bottle), blocks of different base areas, apples, a blunt knife and a rolling pin. Safety: blunt butter knives only for students; the teacher demonstrates any sharp blade; skewer ends taped; goggles when stretching elastic bands to snapping point; clear run lanes. Cultural care: the toki and the ngira are taonga. Learn about them from museum images and Science Learning Hub material; students design their own tools and do not replicate taonga forms. If mana whenua or a local carver is willing to talk about tool making, arrange it through the school's iwi relationships. Differentiation: provide a partly filled pause sheet and force-arrow stickers; stretch students with pressure calculations in newtons per square centimetre, or with gears. Kōkiri Lab link: the Robotics & Systems world takes the car further into motors, gears, sensors and control.
Plan this world into any term with the two-year planner. Students can record their thinking in their Kōkiri Learn portfolio.
More Science worlds
 4 weeksNgā Tohu o te Taiao: Signs in Our Environment
 5 weeksTe Pūnaha Hauropi: Investigating Ecosystem Change
 5 weeksThe Hidden World of Cells
 5 weeksFuel, Breath and Family Traits
 5 weeksMatter on the Move: Heat, Mixtures and Change
 5 weeksSpark: Static and Circuits
 5 weeksRocks to Stars: Earth and Space
Ready to run it with your class?
Free trial for NZ schools. One combined Years 7–8 class, any term.