Science · World 5 of 8 · Years 7–8
Matter on the Move: Heat, Mixtures and Change
Why does a cold room stay cold, a hot drink go lukewarm and salt vanish in water? Follow the particles and find out.
Big question: How does heat move through the stuff around us, and how can we use what we learn about particles to keep a space warm and tell a mixture from a brand-new substance?
- You'll make
- A tested 'keep it warm' design (an insulated kai carrier, a model room or a chilly bin upgrade) backed by your own temperature data, plus a one-page 'Heat at home' explainer that shows conduction, convection and radiation with drawings of particles.
- For
- Whānau at a winter science evening, the school property manager or caretaker, and a marae or community kitchen team who keep food hot or cold for big groups.
- Time
- 5 weeks · 2 sessions a week
Your mission
Why it matters
It is the middle of winter. Some classrooms and homes in your area are cold and damp in the morning, and the school kitchen team keeps asking how to keep kai hot on the way to the hall. Your class has been asked to find out how heat escapes, test what really stops it, and explain the science to the people who look after these spaces.
Cold, damp homes make people sick. New Zealand research has shown that insulating older houses cut coughs, wheezing, doctor visits and days off school. Understanding how heat moves, and what particles are doing when things melt, dissolve or react, helps you make smart choices about keeping warm, cooking safely, saving power and using materials well. It is also the science behind everything from a hāngī pit to a chilly bin to the salt on your fish and chips.
Your first step
Put your hand on a metal table leg, a wooden desk and a woollen jersey that have all been in the same room. Which feels coldest? Write down why you think so. You will test that idea properly this week.
Make it yours
Choose a context
Same big question, three different places to explore it. Pick the one that fits your class and community.
The cold classroom or home in winter
Map warm and cold spots in your classroom or a room at home with a thermometer. Find the draughts, the bare windows and the uninsulated ceiling, then test which materials would slow the heat loss most. Great for urban schools in older buildings.
The marae or community kitchen
Big kitchens cook for hundreds at tangihanga, hui and sports days. Learn from the kitchen team how they keep kai hot or cold, how steam, boiling and cooling work at scale, and which changes in cooking are physical and which make new substances. Visit only with an invitation and follow the kitchen's own tikanga.
Summer at the coast: ice, chilly bins and salt
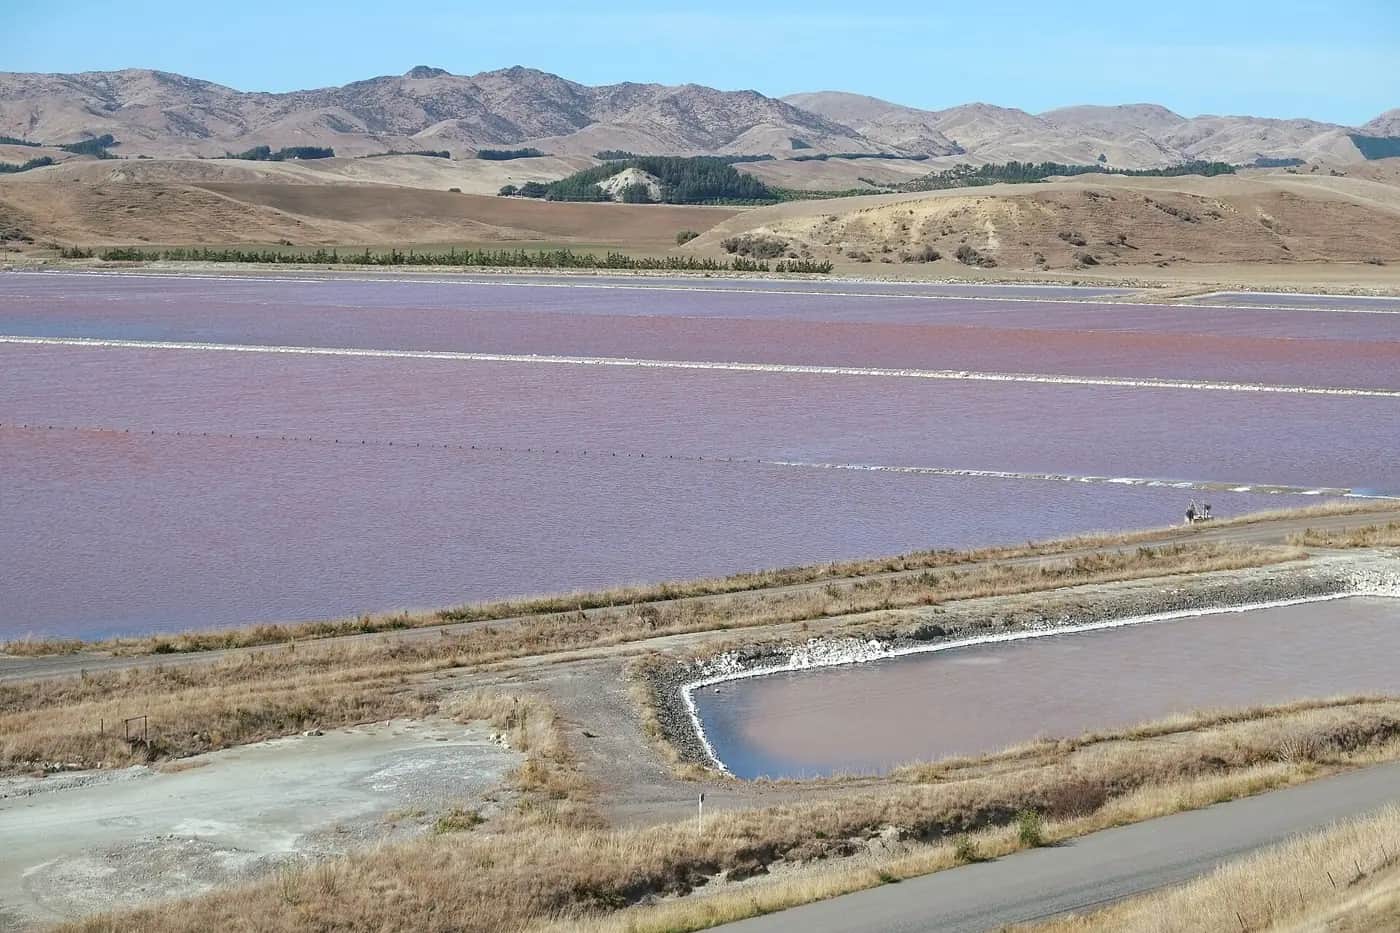
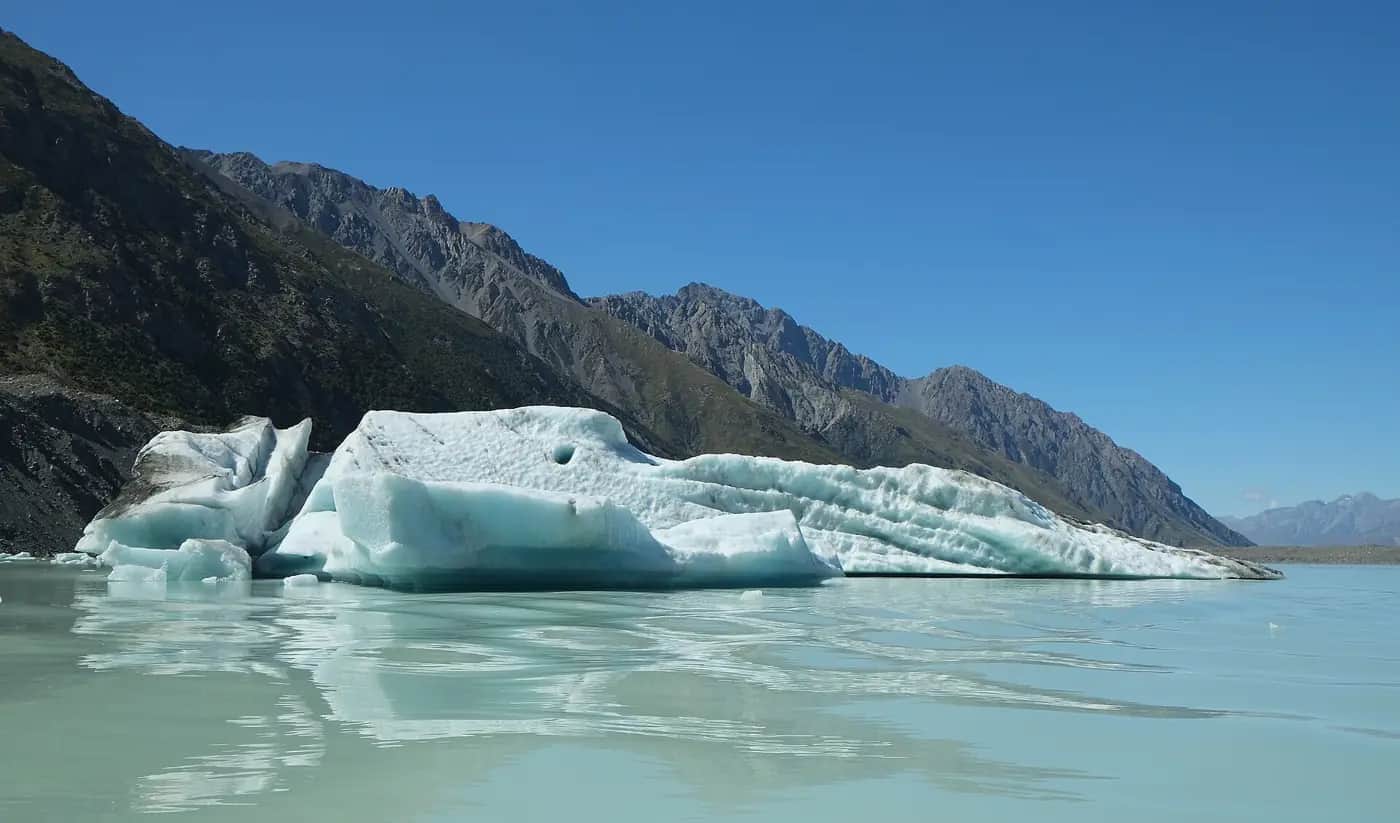
Keep ice frozen for a day at the beach, find out why seawater leaves salt behind, and look at how Lake Grassmere in Marlborough makes salt from the sea using sun and wind. Works for coastal, rural and Pacific-connected classes who spend time by the moana.
VOICE
Week by week
Two sessions a week, each with Getting started and Stretch support so the whole class works together.
- W1Where is our heat going? Notice the problem and meet the particlesValidate the Problem: Hunting for cold spots · Observe: Solids, liquids and gases up close
- W2Three ways heat travelsObserve: Conduction, convection, radiation stations · Investigate: Planning a fair insulation test
- W3Test it: which materials keep heat in?Investigate: Insulation fair test · Investigate: Why does water break the rules?
- W4Mixtures and new substances: kitchen chemistryInvestigate: Separate the mystery mix · Create Conclusions: Physical or chemical change?
- W5Design, test and share what we foundEvaluate: Build and test the keep-it-warm design · Evaluate: Heat at home showcase
Hands-on
Activities
Investigations and projects that fit the weeks above. Open one to see what you need and how you'll know it worked.
Syringe squashWhy can you squash air but not water?Open
You need: 3 plastic syringes (no needles) with caps or fingers over the tip · water · dry sand · particle diagram sheet
- Fill one syringe with air, one with water and one with sand. Block the tip with a cap or your finger.
- Push each plunger gently. Measure how far it moves using the scale on the side.
- Record the distances in a table.
- Draw what the particles might look like inside each syringe before and after pushing.
How you'll know: Your drawings show gas particles with lots of empty space between them, which is why the air squashed most.
Safety: Syringes without needles only. Point them at the sink, not at people.
Go further: Warm the air syringe in your hands for a minute with the tip blocked. Does the plunger move? Explain why using particle movement.
Fits week 1 →The ice melt raceWhich material moves heat into ice fastest?Open
You need: ice cubes the same size · a metal tray or baking tin · a plastic lid · a wooden chopping board · a stopwatch
- Leave all three surfaces in the room for an hour so they are the same temperature.
- Put one ice cube on each at exactly the same time.
- Time how long until each cube is fully melted, or measure the puddle after 5 minutes.
- Repeat with fresh cubes and work out the average.
How you'll know: The ice on metal melts first because metal is a good conductor: it passes heat from the room into the ice quickly.
Go further: Explain why the metal tray felt colder to your hand even though it was the same temperature as the wood.
Fits week 2 →Convection in a jarDoes warm water rise?Open
You need: a large clear container of cold water · a small jar · warm tap water · food colouring · tongs or string to lower the jar
- Fill the small jar with warm water and add two drops of food colouring.
- Carefully lower the small jar, open side up, to the bottom of the big container of cold water.
- Watch for two minutes without bumping the table. Draw what the colour does.
- Repeat with cold dyed water in a room-temperature container and compare.
How you'll know: The warm coloured water rises in a plume and spreads at the top, showing a convection current: warm water is less dense and floats up.
Safety: Warm tap water only. Wipe spills straight away.
Go further: Explain how the same idea moves warm air around a room with a heater and why ceilings lose so much heat.
Fits week 2 →Wrap it up: the insulation fair testWhich everyday material best keeps a jar of water warm?Open
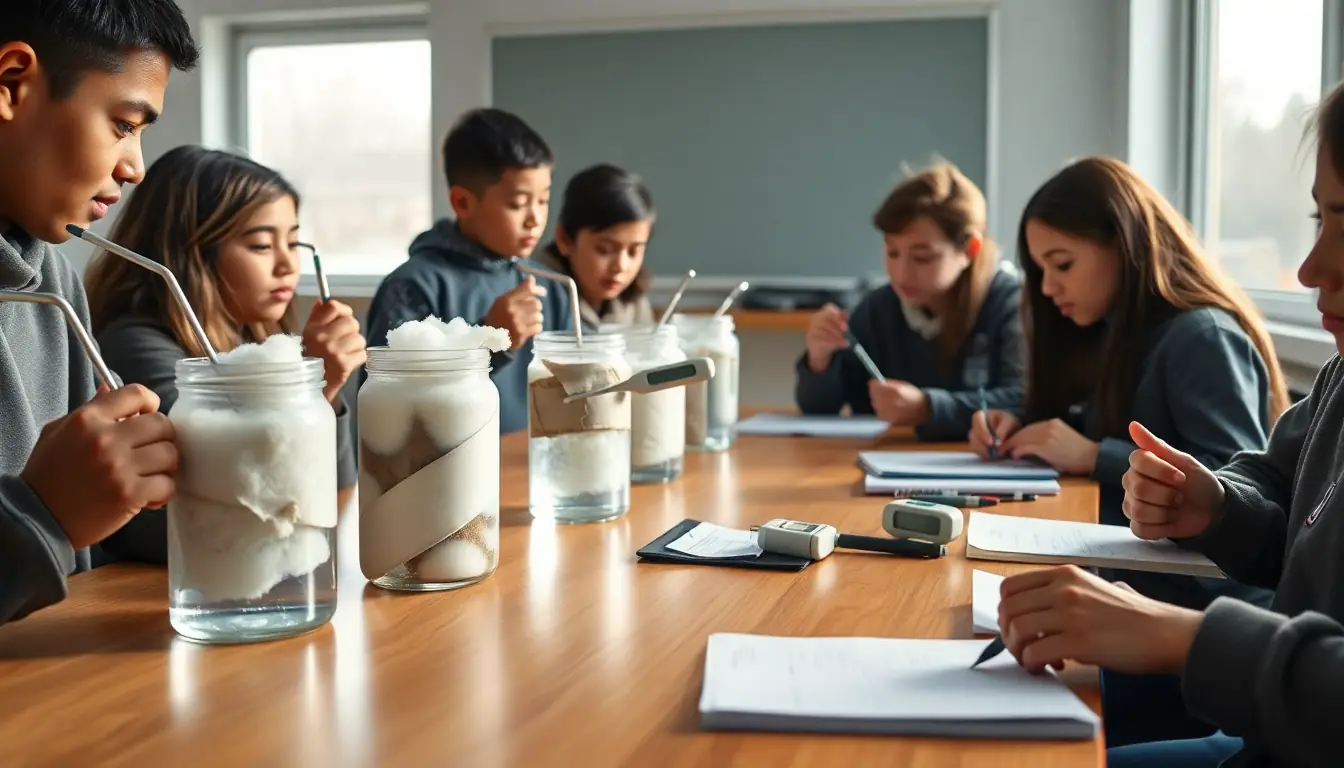
You need: 5 identical jars with lids · hot tap water · wool, bubble wrap, newspaper, foil (same thickness or number of layers) · rubber bands · thermometers · stopwatch · results table
- Wrap four jars, each in a different material. Leave one unwrapped as your control.
- Pour the same amount of hot tap water into every jar and put the lids on.
- Measure the starting temperature of each jar.
- Measure again every 5 minutes for 30 minutes.
- Work out each jar's total temperature drop and draw a line graph.
How you'll know: The best insulator has the smallest temperature drop compared with the control, and the pattern shows up again when other groups repeat the test.
Safety: Hot tap water only, poured by an adult. Hold jars by the lid, not the sides, if they are hot.
Go further: Test whether two thin layers beat one thick layer of the same material. What does trapped air have to do with it?
Fits week 3 →Black, white or shiny?Which surface soaks up the most heat from the sun?Open
You need: 3 identical cans or jars · black paper, white paper, aluminium foil · water · thermometers · a sunny window or a desk lamp
- Wrap one can in black paper, one in white and one in foil.
- Fill each with the same amount of room-temperature water.
- Place them side by side in the sun, the same distance from the window.
- Take temperatures every 5 minutes for 20 minutes.
How you'll know: The black can warms fastest because dark surfaces absorb more radiation, while shiny foil reflects most of it.
Go further: Use your results to explain why chilly bins are often white, and why some solar hot water panels are black.
Fits week 2 →The mystery mixtureCan you get every part of a mixture back out again?Open
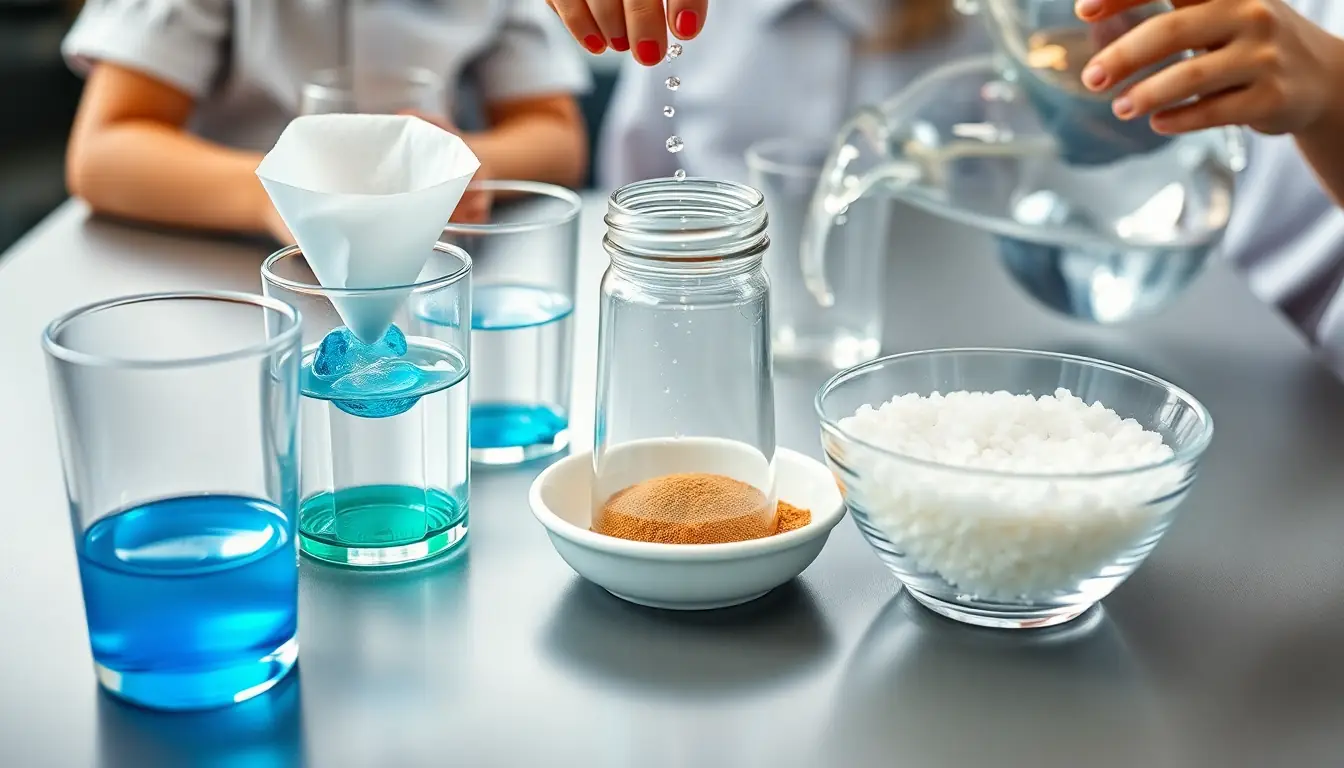
You need: a cup of mixed sand, salt, small paper clips and dried peas · a sieve · a magnet in a zip-lock bag · water · a funnel and filter paper or coffee filter · a saucer
- Sieve out the peas.
- Run the bagged magnet over the rest to lift out the paper clips.
- Stir the sand and salt into water. The salt dissolves; the sand does not.
- Filter the mixture. Sand stays in the paper; salty water drips through.
- Leave the salty water on a saucer in a sunny place for a few days. Salt crystals appear as the water evaporates.
How you'll know: You end up with four separate piles, which proves the salt never disappeared: it was spread through the water as tiny particles.
Safety: Keep the magnet in a bag so filings or clips do not stick to it. Wash hands after handling the mixture.
Go further: Find out how Lake Grassmere saltworks uses the same idea on a giant scale, and what the sun and wind each do.
Fits week 4 →Sugar raceDoes sugar dissolve faster in warm water or cold water?Open
You need: sugar cubes or teaspoons of sugar · clear cups · cold, room-temperature and warm tap water · thermometer · stopwatch · spoons
- Pour the same amount of water at three different temperatures into three cups. Measure each temperature.
- Add one sugar cube to each at the same moment.
- Stir each cup the same number of times every 10 seconds.
- Time how long until you can see no more sugar.
- Repeat twice and find the average.
How you'll know: Warm water dissolves the sugar fastest. Your particle drawing shows faster-moving water particles pulling the sugar apart quicker.
Safety: Warm tap water only. No tasting.
Go further: Do the opposite with gas: open a warm and a cold bottle of fizzy water. Which fizzes more, and what does it tell you about gas dissolving?
Fits week 4 →Change detectivesWhich changes make a brand-new substance?Open
You need: goggles · baking soda and vinegar in a zip-lock bag · chocolate in a zip-lock bag · a bowl of warm water · damp steel wool in a jar (set up a week earlier) · a signs-of-change checklist
- Melt chocolate in its bag in warm water, then let it set again. Record what happens.
- Add a spoon of baking soda to a little vinegar in a bag and seal it. Feel the bag and watch.
- Look at the steel wool that has been sitting damp for a week. Compare it with fresh steel wool.
- Tick the signs of change for each: new colour, gas, temperature change, new solid.
- Decide: physical change or chemical change? Reversible or not?
How you'll know: You can back up each decision with at least one observed sign, and you can say which ones could be turned back.
Safety: Goggles on. Do not seal the bag too tightly or let it burst near faces. Wear gloves for steel wool. Wash hands afterwards.
Go further: Watch or ask about a cooking process at home or in the marae kitchen (bread rising, a hāngī, a boiled egg) and decide which changes are chemical.
Fits week 4 →Look closer
From the real world
Background reading
Read to understand
Short readings written for Kōkiri Learn students, with their sources.
- Particles on the moveEverything around you is made of tiny particles that never stop moving. Heat changes how fast they move and how far apart they are.
- Three ways heat travels (and how to stop it)Heat always moves from warm places to cold ones, by conduction, convection and radiation. Insulation slows it down.
- Mixtures, solutions and brand-new substancesSome changes just mix particles or move them around. Others rearrange particles into something completely new.
Trusted NZ sites
Explore more
Placed at the stage of the journey where each one helps.
Validate the Problem
Insulation ↗Science Learning Hub
How trapped air and insulating materials slow heat escaping from buildings.
Observe
States of matter ↗Science Learning Hub
Clear particle pictures of solids, liquids and gases.
Observe
States of Matter: Basics ↗PhET, University of Colorado
Heat and cool particles on screen and watch them change state.
Investigate
Energy Forms and Changes ↗PhET, University of Colorado
Watch heat flow between blocks of iron, brick and water.
Investigate
Kitchen science ↗Science Learning Hub
Everyday kitchen investigations into mixing, heating and changing materials.
Create Conclusions
Changes of matter ↗Science Learning Hub
Articles and activities on physical and chemical changes to check your conclusions.
Evaluate
Insulate your home ↗EECA
Real-world advice on which insulation matters most in NZ homes.
Real audiences
- Whānau at a winter science evening where students demonstrate the insulation test
- The school property manager or caretaker, with evidence-based suggestions for a cold classroom
- A marae or community kitchen team, with a tested idea for carrying kai hot or cold
Work with other schools
- Run the same insulation test with a partner school in a colder or warmer part of Aotearoa and compare cooling curves on a shared spreadsheet.
- Swap wool, flax fibre or other local insulation samples by post with another school and test each other's materials.
- Hold a video call where each class shows its best keep-it-warm design and the other class suggests one improvement.
Stretch challenges
- Design and test a solar oven from a pizza box and foil, and explain each part using conduction, convection and radiation.
- Make a cooling curve on a spreadsheet: measure a cup of hot water every minute for 40 minutes and describe the shape of the graph.
- Research the Housing, Insulation and Health study and explain in five sentences why warmer homes mean fewer days off school.
- Grow salt or sugar crystals on a string over a week and explain their shape using the idea of repeating particle patterns.
New Zealand Curriculum
What this world covers
Mapped to the refreshed Phase 3 statements. The whole class covers both the Year 7 and Year 8 sequences over two years.
Science · Physical Science
States of matter and the particle model; heat transfer by conduction, convection and radiation; insulating materials and why water expands when it freezes
Year 7 sequence
Science · Physical Science
Homogeneous and heterogeneous mixtures, solutions and suspensions, solubility and temperature, and telling physical change from chemical change
Year 8 sequence
Science · Science practices
Planning a fair test of insulating materials: one changed variable, controlled variables and repeated temperature readings
Year 7 sequence
Mathematics and Statistics · Statistics
Line graphs of cooling over time and comparing groups with the mean
Year 7 sequence
Technology · Materials and ingredients
Choosing materials responsibly for an insulated product, including recycled and natural options such as wool
Year 7 sequence
For teachers: how to run it
This world covers the Phase 3 Year 7 content on states of matter, the particle model and thermal energy transfer (weeks 1–3) and the Year 8 content on mixtures, solutions, solubility and chemical change (weeks 4–5), so a combined class meets both through one winter context. Prep: collect identical glass jars or cans with lids, a range of wrapping materials (wool, bubble wrap, newspaper, foil, cotton, polystyrene offcuts), digital thermometers or temperature probes (one per group), stopwatches, food colouring, clear plastic cups, sand, salt, sugar, baking soda, vinegar, steel wool and filter paper or coffee filters. Safety: use hot tap water (below 55 °C) for student work; the teacher alone handles kettle-hot water, candles and any flame. Goggles for all mixing and fizzing. Check food allergies before any tasting (and generally, no tasting in science). Steel wool splinters: use gloves. Protocols: the marae kitchen context is by invitation only and through the school's own iwi and marae relationships; ask the kitchen team what can be observed or photographed and follow their tikanga around food spaces. Differentiation: give a partly drawn particle diagram and a results table template to students who need it; stretch others with cooling curves on a spreadsheet, a comparison of heat loss per area, or a costing of real insulation options using EECA guidance. Misconceptions to listen for: 'cold gets in' (heat flows out), 'metal is colder' (it conducts heat away from your hand faster), 'the salt disappeared' (it is still there as particles; evaporate it to prove it). Kōkiri Lab link: the Ecohome & Design world extends this into passive solar design, thermal mass and whole-house systems, drawing on the Permaculture Design Course module on aquaponics and the ecohome.
Plan this world into any term with the two-year planner. Students can record their thinking in their Kōkiri Learn portfolio.


Ready to run it with your class?
Free trial for NZ schools. One combined Years 7–8 class, any term.