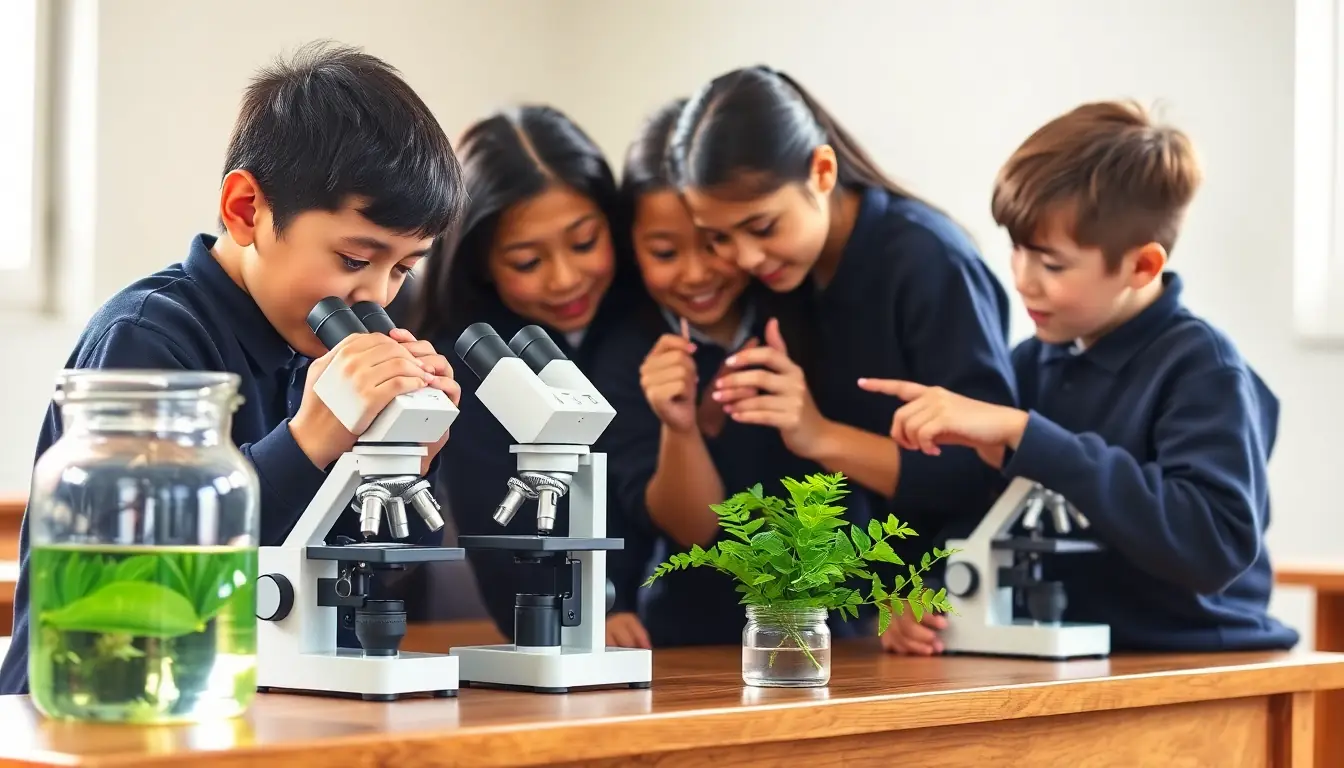
Science · World 3 of 8 · Years 7–8
The Hidden World of Cells
A drop of pond water is a crowded city. A teaspoon of soil holds more lives than there are people on Earth. Come and meet them.
Big question: What is going on inside living things that is far too small to see, and how do tiny cells turn sunlight, sugar and air into energy for life?
- You'll make
- A 'Hidden World' exhibition: a microscope station with your own labelled drawings or phone photos of real cells, a model cell you built, and an evidence poster from one experiment (floating leaf discs or yeast balloons) that explains what the cells were doing, using a flow chart that links photosynthesis, diffusion and respiration.
- For
- A junior buddy class who visit your microscope stations, whānau at a science evening, and the school garden or kitchen team who asked the questions
- Time
- 5 weeks · 2 sessions a week
Your mission
Why it matters
Your school has been lent a set of microscopes for one term. At the same time, three puzzles have landed on your desk: the school pond turned bright green over summer, the garden team wants to know why their compost heap gets warm, and the kitchen wants to know what actually makes bread dough rise. All three answers are hiding in cells. Your class will explore the invisible world, run real experiments, and open a 'Hidden World' exhibition for younger students and whānau.
Every living thing, from a kauri to a kererū to you, is built from cells, and most of the living things on Earth are made of just one cell. Microbes clean our water, feed our soils, make our bread and keep our guts working, and a few make us sick. Plants capture sunlight to make the sugar that almost every food chain runs on, and every cell in your body burns that fuel with oxygen. When you understand cells, you understand why ponds bloom, why soil needs life in it, why you breathe, and why doctors, farmers, bakers and conservation scientists all use microscopes.
Your first step
Put one drop of water from a pond, puddle or plant saucer on a slide and look at it under the lowest magnification. Draw everything you see move. Then write one question you want answered.
Make it yours
Choose a context
Same big question, three different places to explore it. Pick the one that fits your class and community.
The school garden and compost heap
Healthy soil is alive. Sift compost and leaf litter for the white threads of fungi, set up a sealed mud column to grow soil bacteria and algae, look at root hairs and leaf cells, and find out how fungi swap nutrients with plant roots in return for sugar. Works for any school with a garden, a compost bin or a patch of bush.
A pond, wetland or stream edge
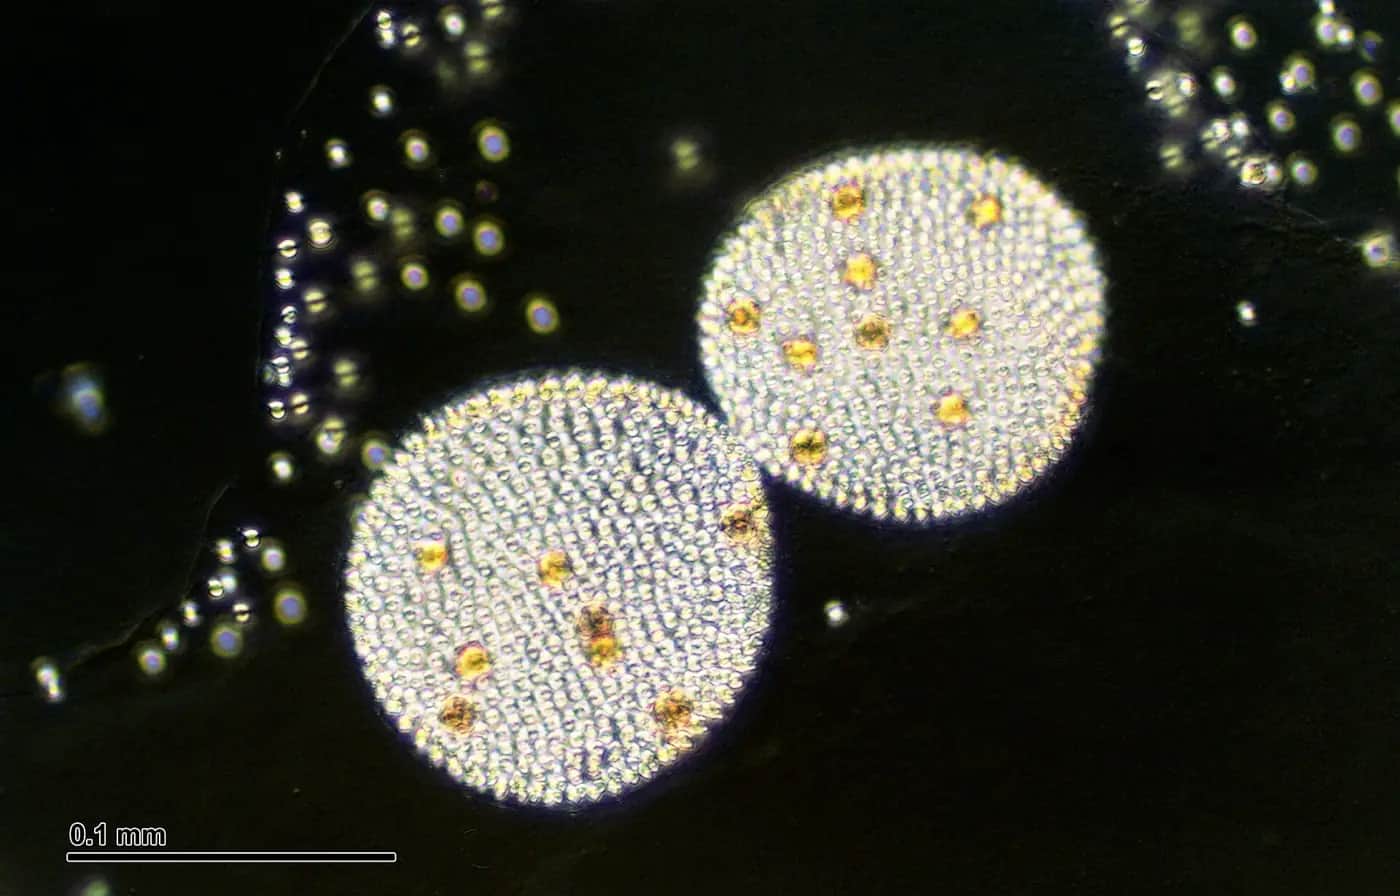
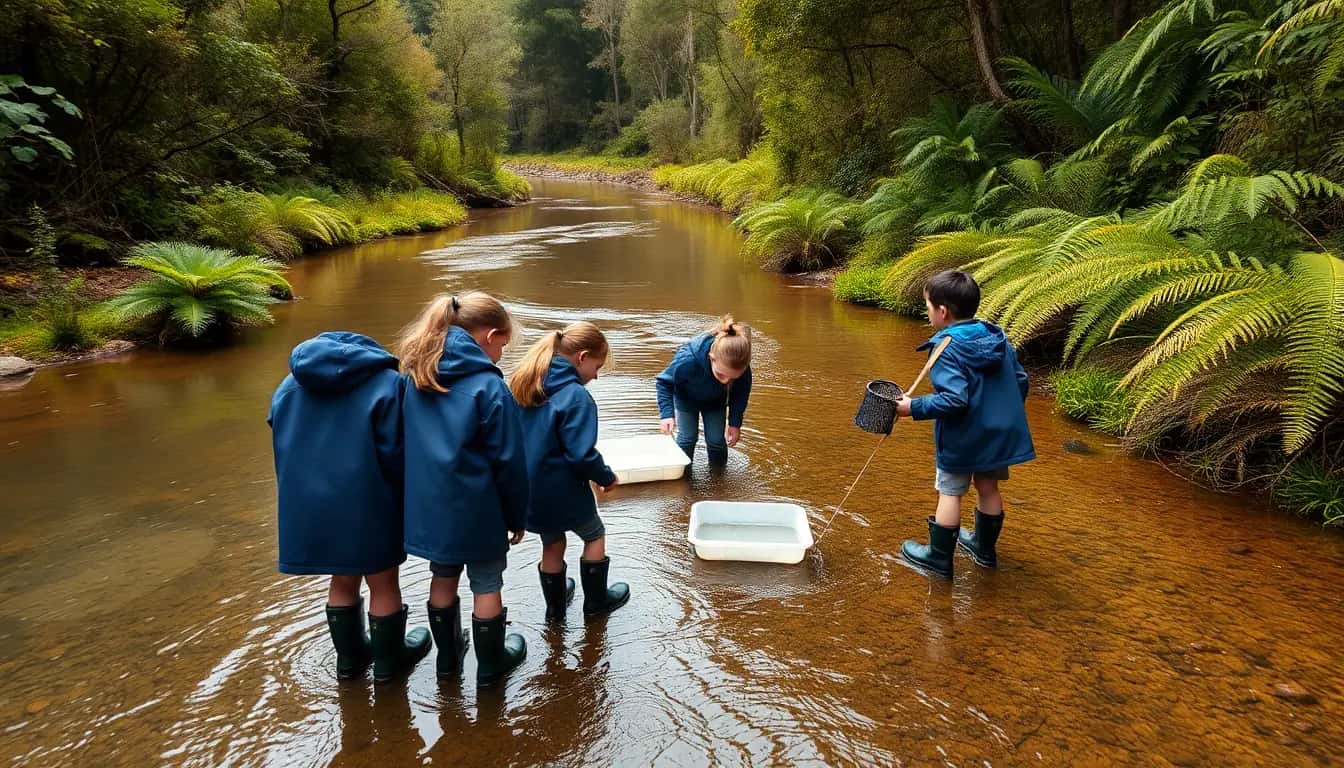
Collect a jar of water from a pond, a wetland drain or the edge of a slow stream and go on a microscope safari: green single-celled algae that make their own food, and hunters like paramecium that chase it. Find out why ponds turn green when fertiliser runs in, and why algae matter to every freshwater food web. Good for urban, rural and marae-based classes near water.
The kitchen and the bakery
Yeast is a single-celled fungus that makes bread rise. Test what yeast needs to release energy, compare it with the bubbling starter used for rēwena bread, and look at the cells in onions, potatoes and spinach. If a whānau member or local baker can share how they make rēwena or other breads, invite them in and follow their lead on how the recipe is shared.
VOICE
Week by week
Two sessions a week, each with Getting started and Stretch support so the whole class works together.
- W1Too small to see: what is hiding in a drop of water?Validate the Problem: Three puzzles, one invisible answer · Observe: Earn your microscope licence
- W2Reading cells: plant or animal, and what each part doesObserve: Plant cells, animal cells · Investigate: How big is a cell? Cells with special jobs
- W3Single-celled life, and how things get in and out of cellsInvestigate: Pond drop safari and soil life · Investigate: The diffusion race
- W4Fuel from light, energy from fuel: photosynthesis and respirationInvestigate: Floating leaf discs · Create Conclusions: What were the cells doing?
- W5Open the Hidden World exhibitionCreate Conclusions: Build the exhibition · Evaluate: Hidden World open day
Hands-on
Activities
Investigations and projects that fit the weeks above. Open one to see what you need and how you'll know it worked.
Microscope licenceHow do you get a sharp, safe view of something tiny?Open
You need: a school microscope or digital microscope · slides · a hair, a wool thread, a scrap of newspaper, a grain of salt · sticky tape · drawing frame sheet
- Carry the microscope with one hand under the base and one on the arm.
- Tape a hair and a wool thread across a slide. Put it on the stage with the lowest-power lens in place.
- Look from the side and move the lens close to the slide. Then look through the eyepiece and focus by moving it away.
- Draw what you see inside a circle. Add a title and the magnification (eyepiece times lens, for example 10 × 4 = 40 times).
- Try the newspaper and salt. Change to the next lens only when the view is sharp.
How you'll know: Your drawings are sharp, have a title and magnification, and you never crunched a slide.
Safety: Never point a microscope mirror at the sun; it can damage your eyes.
Go further: Work out how many times bigger the image is on each lens and explain why you see less of the slide on high power.
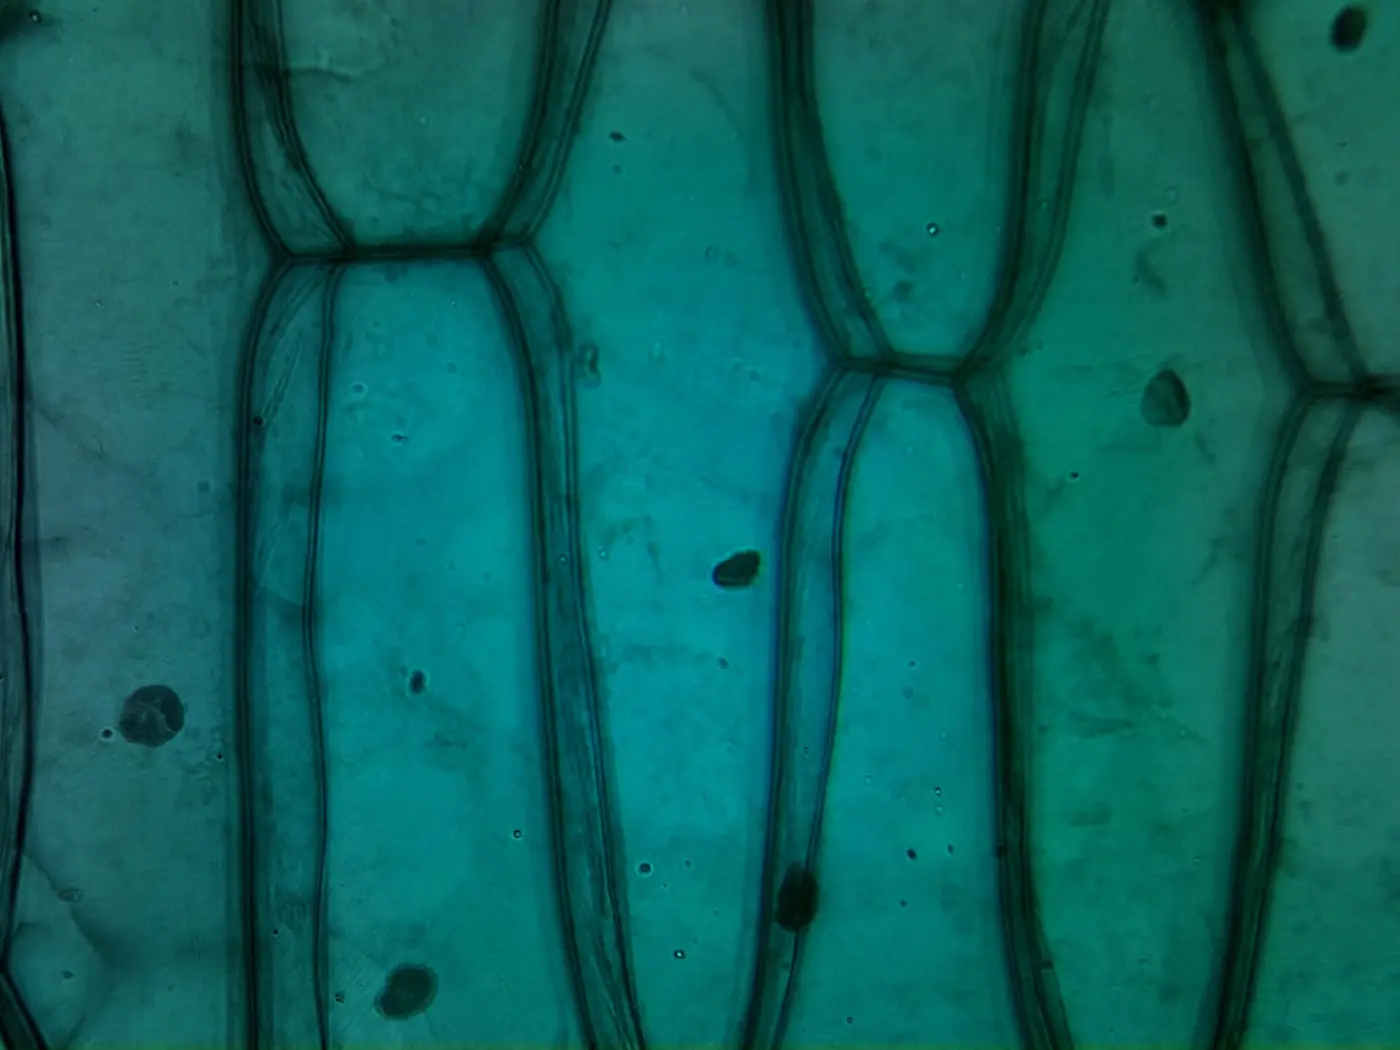
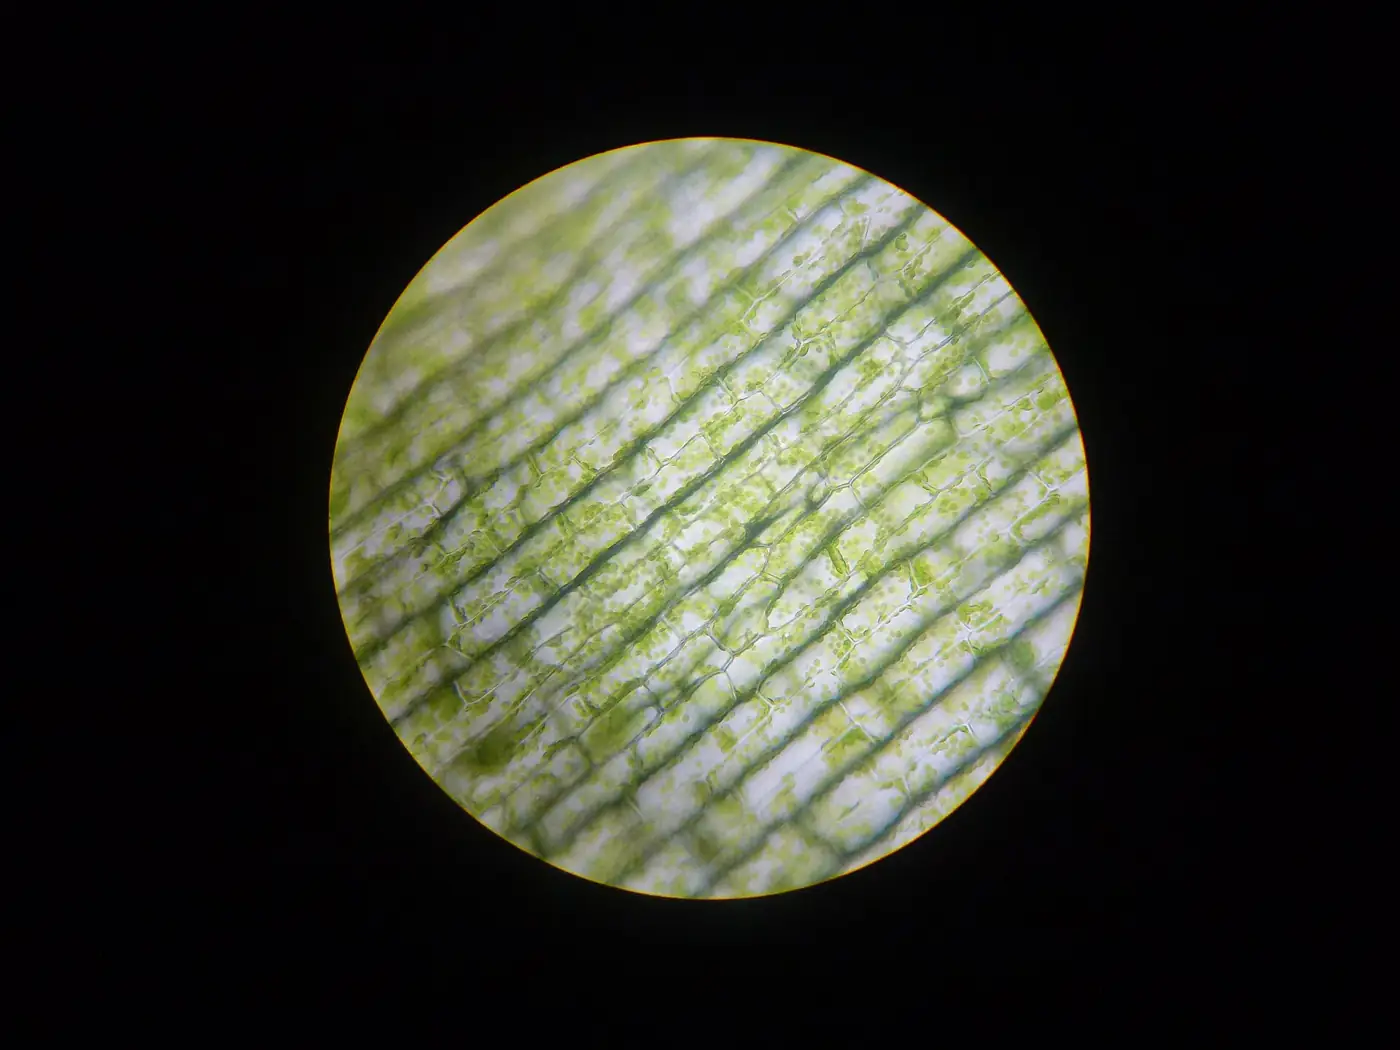
Fits week 1 →Onion and moss cellsWhat do real plant cells look like?Open
You need: an onion · moss from a damp wall or path · tweezers · slides and plastic coverslips · dilute iodine solution in a dropper bottle · paper towels · goggles
- Peel the thin see-through skin from inside an onion layer with tweezers.
- Lay it flat on a slide, add one drop of iodine and lower a coverslip at an angle.
- Find the cells on low power, then medium. Draw four cells and label the wall, nucleus and cytoplasm.
- Put one tiny moss leaf in a drop of water on a new slide. Look for the green chloroplasts.
- Compare: why does the moss leaf have chloroplasts and the onion skin not?
How you'll know: Your drawing shows brick-like cells with walls and a nucleus, and you can explain that onion bulbs grow underground where there is no light.
Safety: Goggles on for iodine. It stains skin and clothes; wipe spills straight away.
Go further: Look at a thin slice of red capsicum skin or a spinach leaf peel and compare the cells.
Fits week 1 →Cell in a bagWhat does each part of a cell do?Open
You need: zip-lock bags · clear hair gel or cornflour gel (cytoplasm) · a small ball or grape (nucleus) · green beads or peas (chloroplasts) · a small water balloon (vacuole) · rice grains (mitochondria) · a small plastic box (cell wall) · labels
- Fill a bag with gel. This is the cytoplasm and the bag is the membrane.
- Add the nucleus and the mitochondria. You have a model animal cell.
- Make a second bag and add chloroplasts and a big vacuole, then put it inside a box for the wall. That is a plant cell.
- Label each part with its job in your own words.
- Squeeze each model. Which keeps its shape? Why do plants need walls?
How you'll know: You can point to every part and say its job, and explain two differences between plant and animal cells.
Safety: Check for food allergies before using any food items, and do not eat the models.
Go further: Make a model of a specialised cell, such as a root hair cell or a guard cell, and explain how its shape suits its job.
Fits week 2 →How big is a cell?How can you measure something smaller than a millimetre?Open
You need: a microscope · a clear plastic ruler with millimetre marks · your onion slide · a calculator
- Put the clear ruler on the stage and focus on the lowest power. Count how many millimetres fit across the circle.
- Swap in the onion slide on the same lens. Count how many cells fit across the circle end to end.
- Divide the circle width by the number of cells to get one cell's length in millimetres.
- Multiply by 1000 to change millimetres into micrometres (µm).
- Compare with other groups. Why might results differ?
How you'll know: You have a cell length with units, and it is in the right range for onion cells (roughly 0.1 to 0.4 mm).
Go further: On higher power the field of view shrinks. Work out the new width from the magnification and measure a smaller cell.
Fits week 2 →Pond drop safariWhat lives in a single drop of pond water?Open
You need: a screw-top jar of pond, wetland or slow stream water with some weed or mud · droppers · cavity slides or slides and coverslips · a microscope · gloves · pond ID sheet
- Collect water from a safe edge with an adult. Include a little floating weed or bottom sludge; that is where most life is.
- Leave the jar near a window for a day with the lid loose.
- Put one drop on a slide and search slowly on low power. When something moves, follow it.
- Draw each organism. Is it green (can make food) or not green (must eat)? Is it one cell or many?
- Return the water to where it came from or pour it on the garden.
How you'll know: You have drawn at least three different organisms and said which ones are producers and which are consumers.
Safety: Gloves on, cover any cuts, never collect from drains or stagnant sumps, never drink it, and wash hands after. Leave pest plants where they are.
Go further: Put a drop from near a fertilised lawn or farm drain beside a drop from a bush stream. Which has more green algae, and why might that be?
Fits week 3 →The diffusion raceHow do substances move into and out of cells, and why are cells so small?Open
You need: clear cups · cold and warm tap water · food colouring · a stopwatch · a potato or firm jelly cut into cubes of 1 cm, 2 cm and 3 cm · a knife for the teacher · a ruler
- Fill one cup with cold water and one with warm. Add one drop of colouring to each at the same moment.
- Time how long until each cup looks evenly coloured.
- Put the three cubes into a bowl of strongly coloured water for 15 minutes.
- Take them out, have the teacher cut each in half, and measure how far the colour moved in.
- Work out which cube is coloured all the way through. Explain what that means for a real cell.
How you'll know: Warm water mixes faster because particles move faster, and only the smallest cube coloured right through, so a small cell gets what it needs quickly.
Safety: Warm tap water only. The teacher does the cutting.
Go further: Calculate surface area divided by volume for each cube and show it on a bar graph.
Fits week 3 →Grow a mud columnWhat soil microbes grow when we give them food and light?Open
You need: a tall clear plastic bottle with the top cut off, or a tall jar · mud from a pond edge or wetland · a spoon of shredded newspaper · half a boiled egg yolk · pond water · cling film and a rubber band · gloves
- Wearing gloves, mix mud with shredded newspaper and egg yolk. Pack it into the bottom third of the bottle.
- Fill with more plain mud to about two thirds, then top up with pond water, leaving a small air gap.
- Seal the top tightly with cling film and a rubber band. It stays sealed from now on.
- Stand it in a bright window (not full sun) and photograph it every few days for five weeks.
- Record the colours and bands that appear. Each colour is a different community of bacteria or algae.
How you'll know: Your photo series shows colour bands forming over time, and you can say which layers probably have oxygen and light and which do not.
Safety: Never open the column once sealed; it can hold smelly gases and germs. The teacher disposes of it sealed.
Go further: Set up a second column in the dark and compare after five weeks. What does light change?
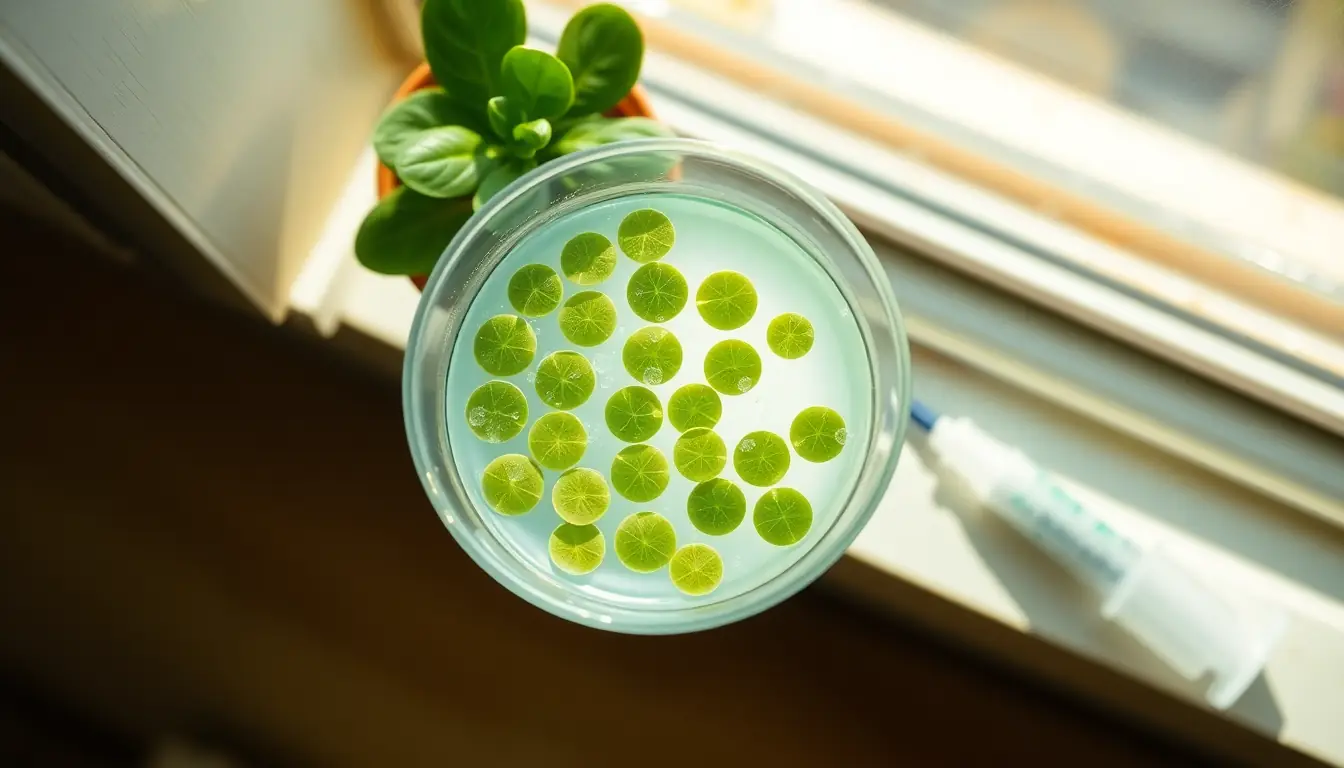
Fits week 3 →Floating leaf discsDoes more light mean more photosynthesis?Open
You need: fresh spinach or silverbeet leaves · a hole punch or a wide drinking straw · a 10 mL plastic syringe without a needle · water with a pinch of baking soda and one drop of dish soap · clear cups · a desk lamp · a ruler and stopwatch
- Punch 30 leaf discs, avoiding the big veins.
- Put 10 discs in the syringe with the baking soda water. Cover the tip with a finger and pull the plunger back to suck the air out of the leaves. Repeat until they sink.
- Tip the sunken discs into a cup of the same solution. Do this for three cups.
- Place the cups 10 cm, 25 cm and 50 cm from the lamp. Count the floating discs every minute for 20 minutes.
- Graph discs floating against time for each distance.
How you'll know: The discs closest to the light float first, because photosynthesis makes oxygen that fills the air spaces in the leaf.
Safety: Lamps get hot. Keep water away from plugs and cords.
Go further: Wrap one cup in foil. Do those discs float? What does that prove about light?
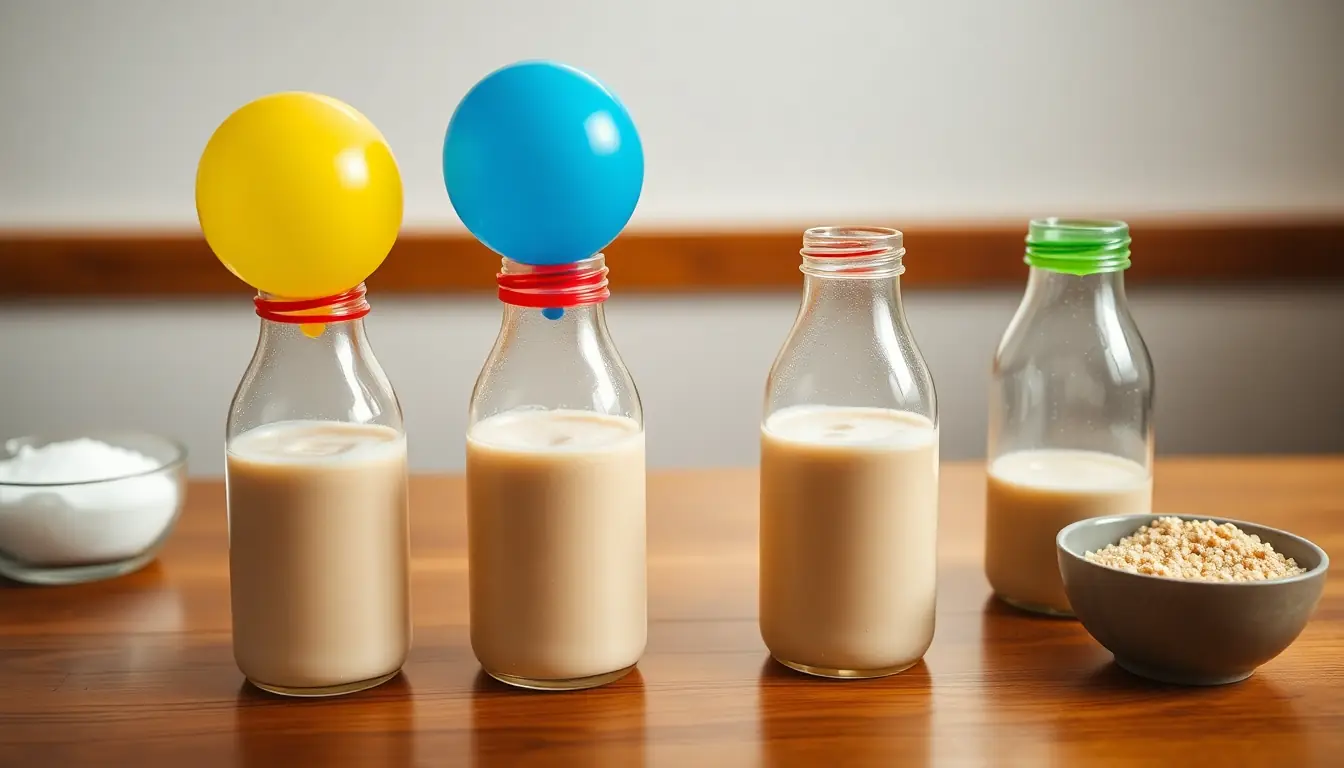
Fits week 4 →Yeast balloonsWhat do yeast cells need to release energy?Open
You need: dried baker's yeast · sugar · warm tap water (about 35–40 °C) · 3 or 4 small plastic bottles · balloons · a funnel · string and a ruler · a thermometer
- Put one teaspoon of yeast and 100 mL of warm water in each bottle.
- Add sugar: none, one teaspoon, two teaspoons, three teaspoons. Swirl gently.
- Stretch a balloon over each neck and stand the bottles side by side.
- After 20 and 40 minutes, measure around each balloon at its widest point with string.
- Explain: what did the yeast use, and what gas filled the balloon?
How you'll know: The bottle with no sugar barely changes, and the sugar bottles fill with carbon dioxide, showing yeast cells break down sugar to release energy.
Safety: Warm tap water only, not boiling. Do not drink or taste the mixture.
Go further: Keep the sugar the same and change the water temperature instead (cold, warm, hot tap). Explain the pattern using what you know about living cells.
Fits week 4 →Look closer
From the real world
Background reading
Read to understand
Short readings written for Kōkiri Learn students, with their sources.
- Cells: the building blocks of lifeEvery living thing is made of cells. Plant and animal cells share many parts, but plants have a few extras that let them stand up and make their own food.
- Single-celled wonders in ponds, soil and breadMost living things on Earth are just one cell. They swim in ponds, feed the soil and even make bread rise.
- Sunlight, sugar and air: how cells get their energyPlants make sugar from light, water and carbon dioxide. Every cell then breaks sugar down with oxygen to release energy. Diffusion moves the gases in and out.
Trusted NZ sites
Explore more
Placed at the stage of the journey where each one helps.
Validate the Problem
Microorganisms ↗Science Learning Hub
What microbes are, where they live and why they matter, with many NZ stories.
Observe
Exploring with microscopes ↗Science Learning Hub
How microscopes work and what scientists see with them.
Observe
Cells ↗Science Learning Hub
The main parts of plant and animal cells, and how to look at onion cells.
Observe
Cell size and scale ↗Learn.Genetics, University of Utah
Zoom from a coffee bean down to a carbon atom to feel how small cells really are.
Investigate
Observing soil microbes ↗Science Learning Hub
Safe ways to see the invisible life in soil.
Investigate
Diffusion ↗PhET, University of Colorado
Watch particles spread out and change the temperature to see what happens.
Create Conclusions
Photosynthesis ↗Science Learning Hub
A clear diagram to check your flow chart against.
Evaluate
Fermentation ↗Science Learning Hub
How yeast and bacteria are used to make bread and other kai, to test your yeast conclusions.
Real audiences
- A junior buddy class who visit microscope stations and find cells for themselves
- Whānau at a science evening with a live pond-drop projection
- The school garden or kitchen team, with a written answer to the question they asked
Work with other schools
- Swap pond-drop drawings and photos with a class in a different region, and compare which organisms live in town ponds, farm drains and bush streams.
- Run the same yeast balloon test with a partner school on the same day and pool the results in a shared spreadsheet to see if the pattern holds.
- Build a shared online 'Hidden World' field guide with other classes, each adding their best labelled microscope photo and one fact.
Stretch challenges
- Make a stop-motion or flip-book of a single cell dividing into two, and find out how long bacteria take to double.
- Research Antonie van Leeuwenhoek, who first saw single-celled life in pond water with a homemade lens, and build a simple water-drop magnifier.
- Find out how mycorrhizal fungi trade water and nutrients with plant roots in exchange for sugar, and draw the trade as a two-way arrow diagram.
- Investigate why algal blooms happen in New Zealand lakes and rivers, and what councils do when a lake is closed for toxic algae.
- Compare stomata on the top and bottom of a leaf using clear nail polish peels, and suggest why the numbers differ.
New Zealand Curriculum
What this world covers
Mapped to the refreshed Phase 3 statements. The whole class covers both the Year 7 and Year 8 sequences over two years.
Science · Biological Science
Cells and organisation: organelles (membrane, cytoplasm, nucleus, mitochondria, vacuole, cell wall, chloroplasts), plant and animal cells, specialised cells, unicellular and multicellular organisms, microorganisms, and cells to tissues to organs to systems
Year 7 sequence
Science · Biological Science
Diffusion, cellular respiration and photosynthesis, and how glucose and oxygen made in chloroplasts are used in mitochondria to release energy
Year 7 sequence
Science · Science practices
Recording cells with labelled diagrams and digital images, and designing and carrying out investigations into the requirements for photosynthesis and respiration
Year 7 sequence
Mathematics and Statistics · Measurement
Estimating very small lengths from a microscope's field of view and converting between millimetres and micrometres
Year 7 sequence
English · Oral language
Explaining a scientific process clearly to a younger audience at an exhibition station
Year 7 sequence
For teachers: how to run it
This world covers the Phase 3 Year 7 biological science content on cells and organisation (organelles, plant and animal cells, specialised cells, unicellular and multicellular organisms, microorganisms, levels of organisation) and the linked body-systems content on diffusion, cellular respiration and photosynthesis. The science practices focus is recording cells with labelled diagrams or digital images, comparing size and scale, and designing investigations into what photosynthesis and respiration need. Prep: microscopes (borrow a class set from a local secondary school or university outreach programme if needed; USB digital microscopes and phone clip-on lenses work well for projecting to the class), slides, plastic coverslips (glass coverslips are sharp; if used, count them in and out), droppers, dilute iodine solution, a hand lens per pair, clear cups, baking soda, a plastic syringe (no needle) and hole punch or straw for leaf discs, spinach or silverbeet leaves, dried yeast, sugar, small plastic bottles and balloons, thermometers, food colouring, potatoes or jelly cubes, and screw-top jars for pond water. Order of work: teach a 'microscope licence' first (carrying with two hands, starting on lowest power, focusing upward away from the slide). Safety: iodine stains and irritates eyes, so wear goggles and wipe spills. Pond and stream water may carry germs: collect from safe edges with an adult, wear gloves, cover cuts, never from drains or stagnant sumps, and wash hands afterwards. Do not collect, move or tip out aquatic pest plants (Canadian pondweed, egeria, hornwort, lagarosiphon); put plant waste in the rubbish, never down a drain or into a waterway. Microbe work: follow Ministry guidance and your school's policy. Never culture microbes from people, toilets or rubbish; keep mud columns and any mould bags sealed for their whole life, and the teacher disposes of them unopened. Cheek-cell slides involve body fluids, so use prepared slides or digital images of animal cells unless your school's policy allows it. Yeast: warm tap water only (about 35–40 °C). Lamps for leaf discs get hot. The leaf starch test needs leaves softened in hot alcohol: this is a teacher-only demonstration with a water bath and no flame, or show it with images. Note for teachers: in a sealed bottle yeast mostly ferments, which is a type of respiration without oxygen; the curriculum at this level only needs aerobic respiration, so describe the yeast test as 'yeast cells releasing energy from sugar and giving off carbon dioxide' and keep the fine print for curious students. Differentiation: labelled cell diagrams with blanks, a drawing frame for microscope sketches (circle, magnification, title, labels), sentence starters for the claim-evidence-reasoning poster; stretch students calculate real cell sizes from field-of-view width and graph leaf-disc float times against lamp distance. Cultural care: if a whānau member shares a rēwena or other family bread recipe, it is theirs to share; ask how they would like it acknowledged. Mātauranga about soils, freshwater and kai should come from your school's own iwi and hapū relationships. Kōkiri Lab link: the Regenerative Systems & Living world goes deeper into soil life and the soil food web, drawing on the Permaculture Design Course module on healthy soil.
Plan this world into any term with the two-year planner. Students can record their thinking in their Kōkiri Learn portfolio.
More Science worlds

Ready to run it with your class?
Free trial for NZ schools. One combined Years 7–8 class, any term.